In the world of photo editing, a vignette (dark areas at the edge of an image) can add a special depth and attention to your photo. You want to give your image an elegant focus on certain areas without compromising the quality of the overall shot. This tutorial will show you two effective methods to add a vignette in Affinity Photo. While the first method is quick and easy, the second method will introduce you to a more refined technique that gives you more control over the end result.
Key Takeaways
- There are two main methods to add a vignette to a photo: using the Live Filter and by manual editing using layers and masks.
- The manual method allows for more precise adjustments and highlighting of specific areas in the image.
- You can use different blending modes and adjustments to achieve the desired effects.
Steps to Create a Vignette in Affinity Photo
First Method: Vignette using the Live Filter
To quickly add a vignette to your image, you can use the Live Filter.
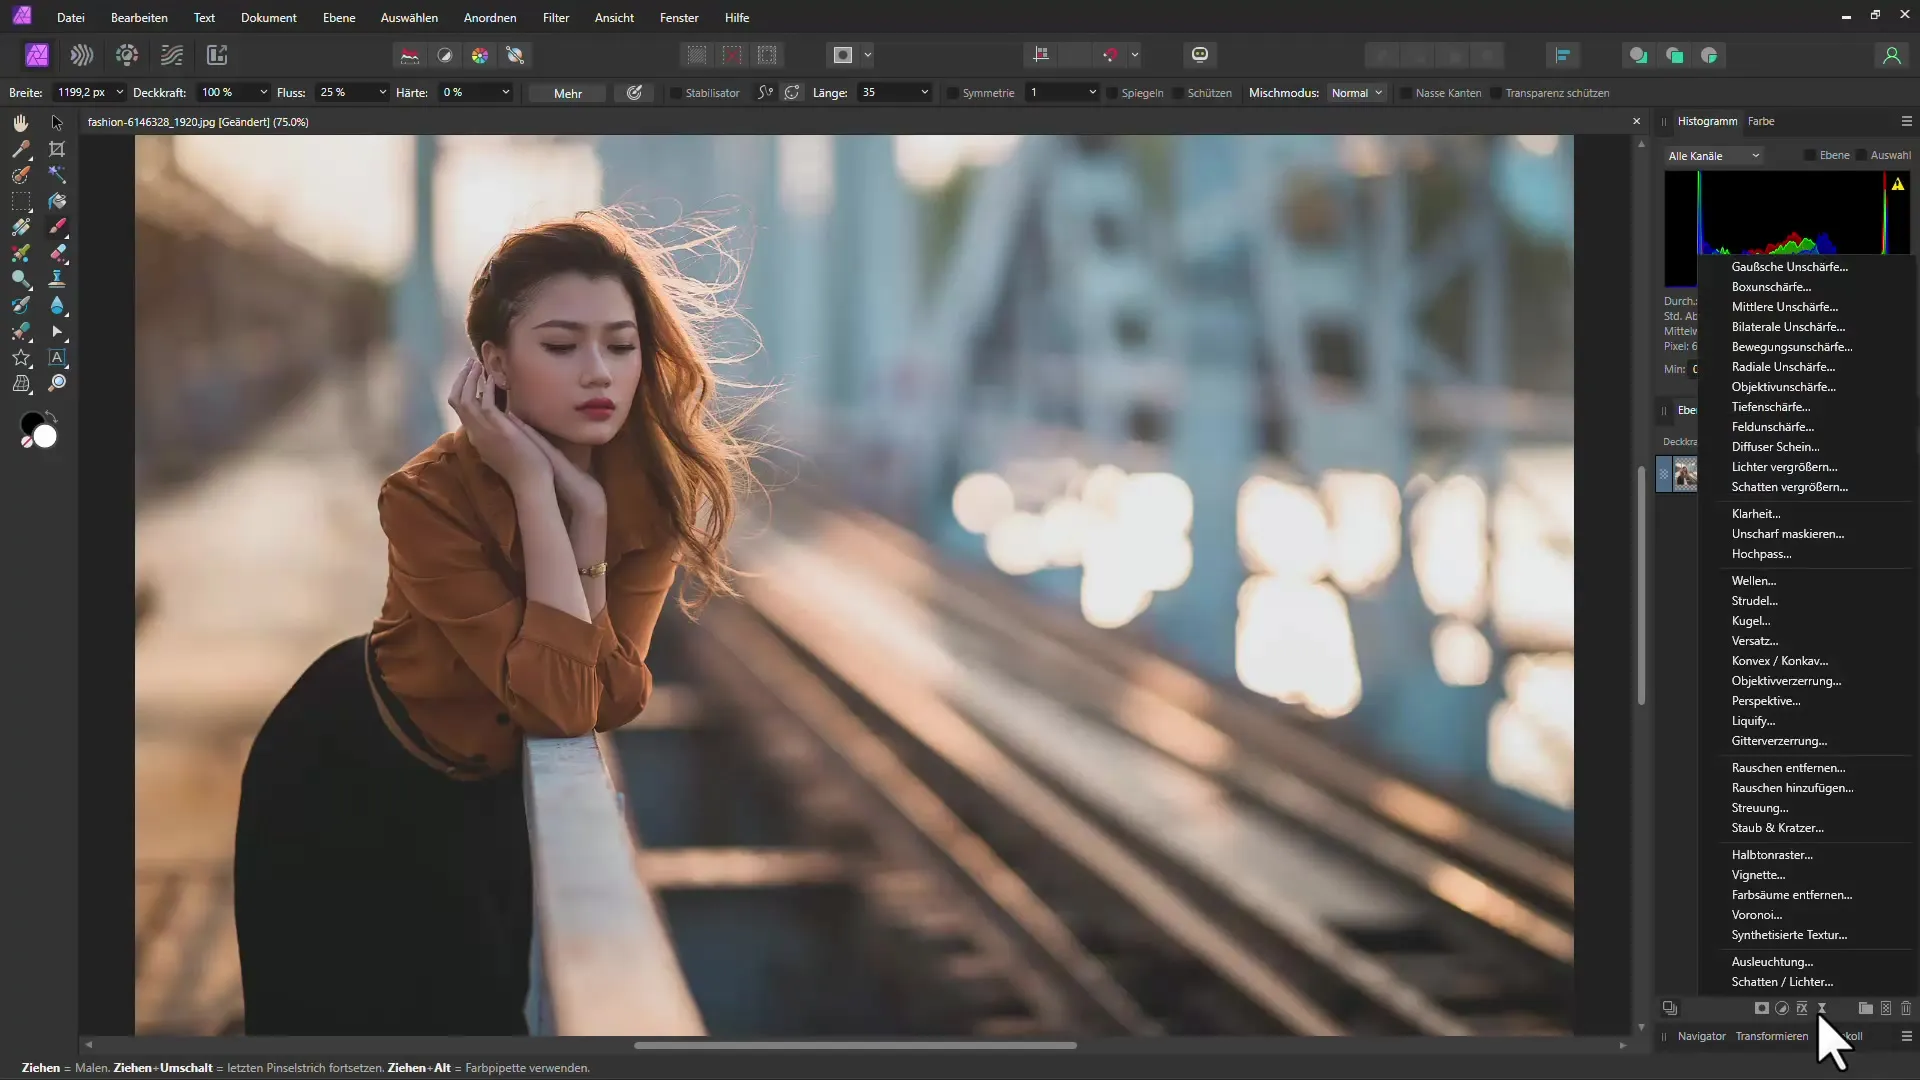
Start with your image in Affinity Photo. Click on the Live Filter icon in the bottom bar and then select the "Vignette" option. This method is great for fast adjustments.
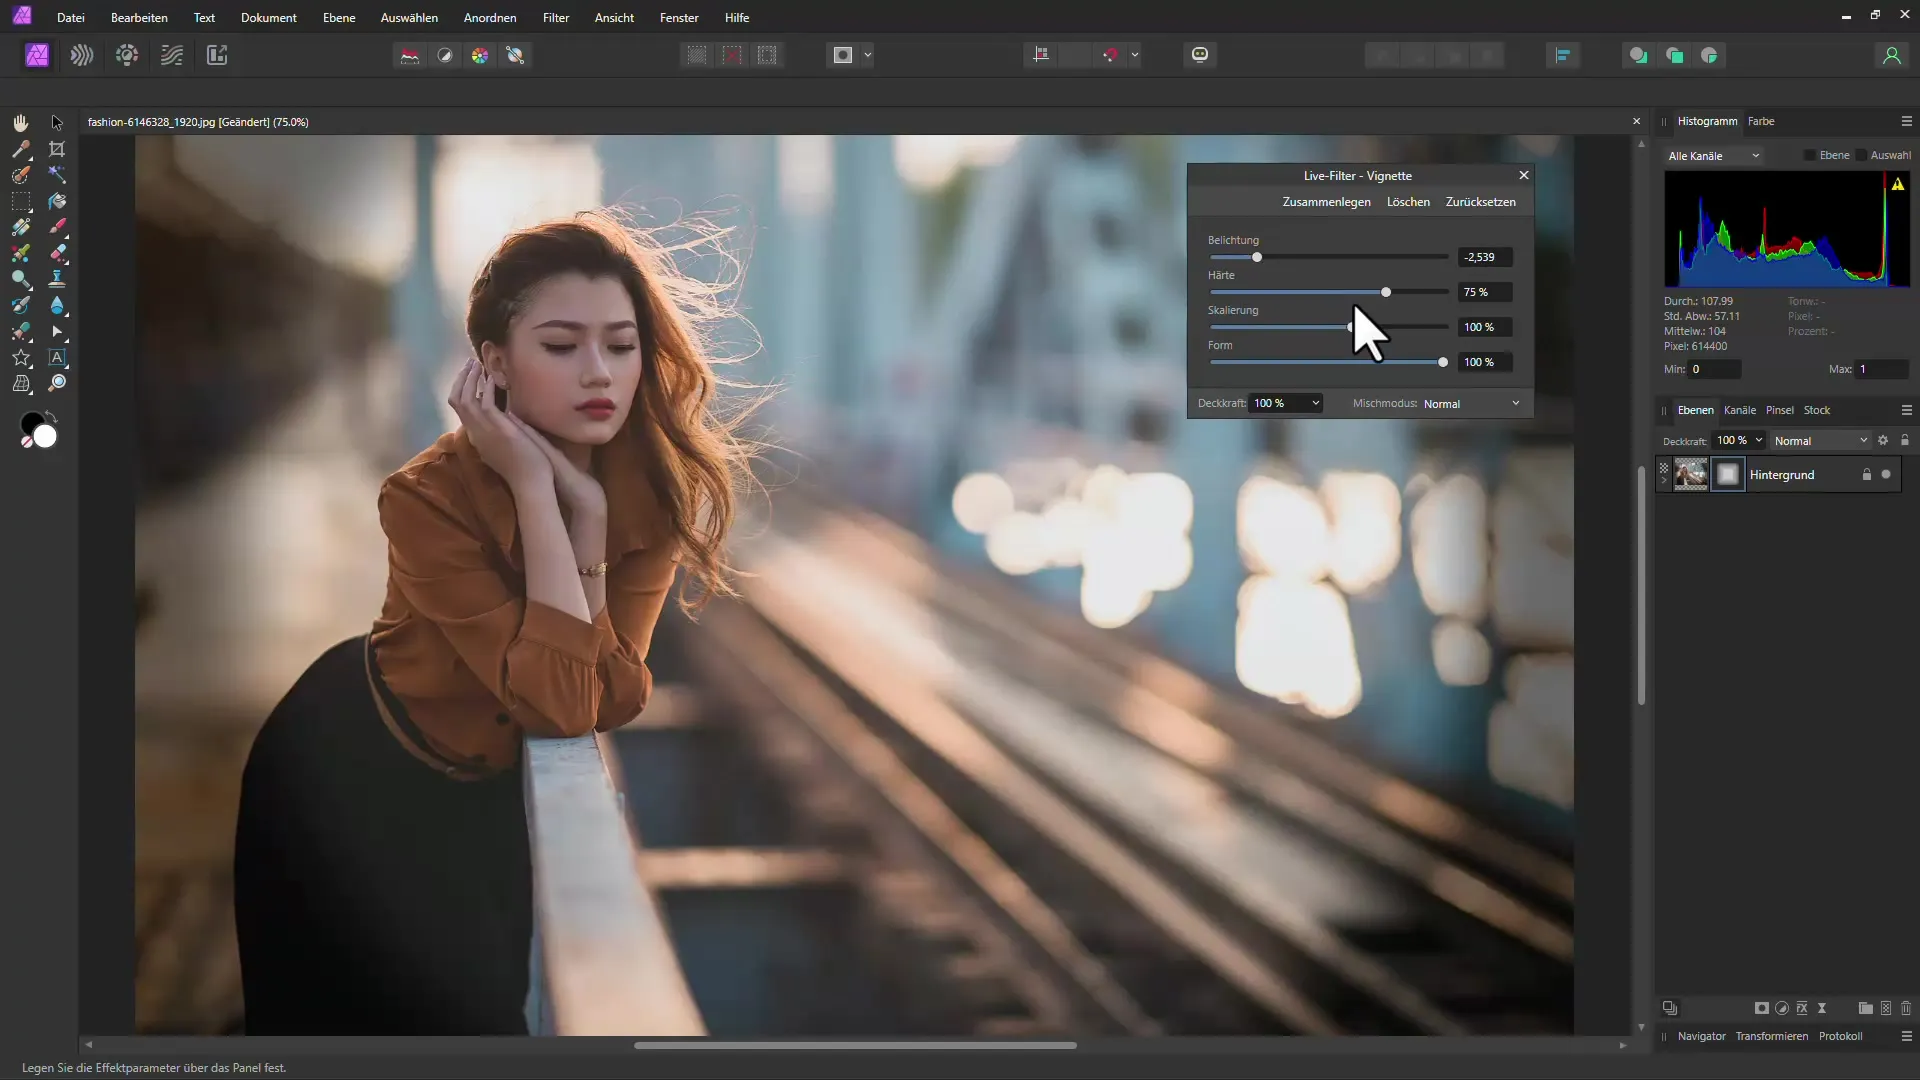
You will see that you can move the slider to the left to achieve darkening of the corners. Take a look at the change - the edges of your image will darken, putting a stronger focus on the center of the image.
However, the issue here is that the vignette can appear quite harsh and may not always achieve the desired effect. Often, you want the main subject, in this case a person, to be highlighted. This method does not give you the ability to selectively highlight specific areas, such as the face of the person depicted.
Second Method: Manually Creating a Vignette
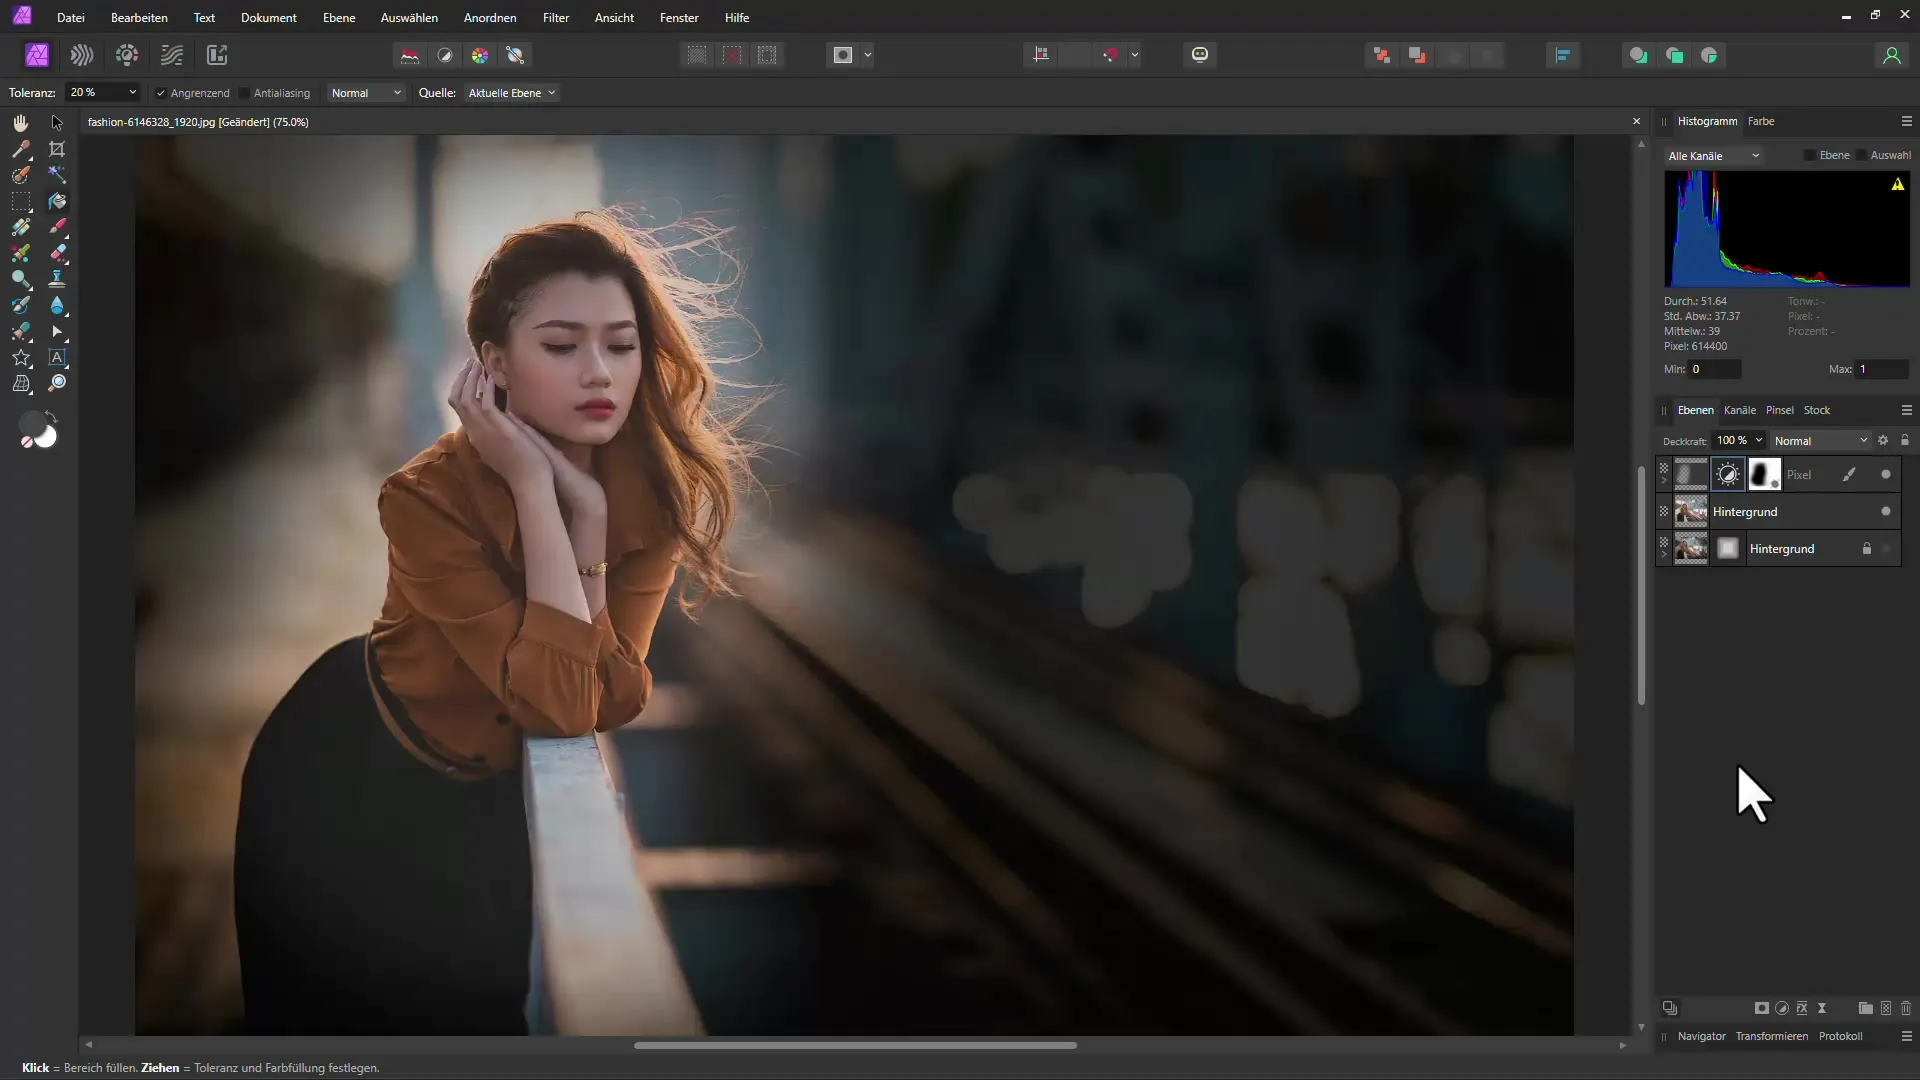
Now let's move on to the second, smarter method that gives you more creative control. First, you need to duplicate the layer. Select the layer of your image and press "Ctrl + J" to create a copy. This will give you a backup of your original layer.
Now you can adjust the layer structure. Delete the Live Filter from the top layer as you no longer need it. Hide the top layer to keep the bottom layer visible.
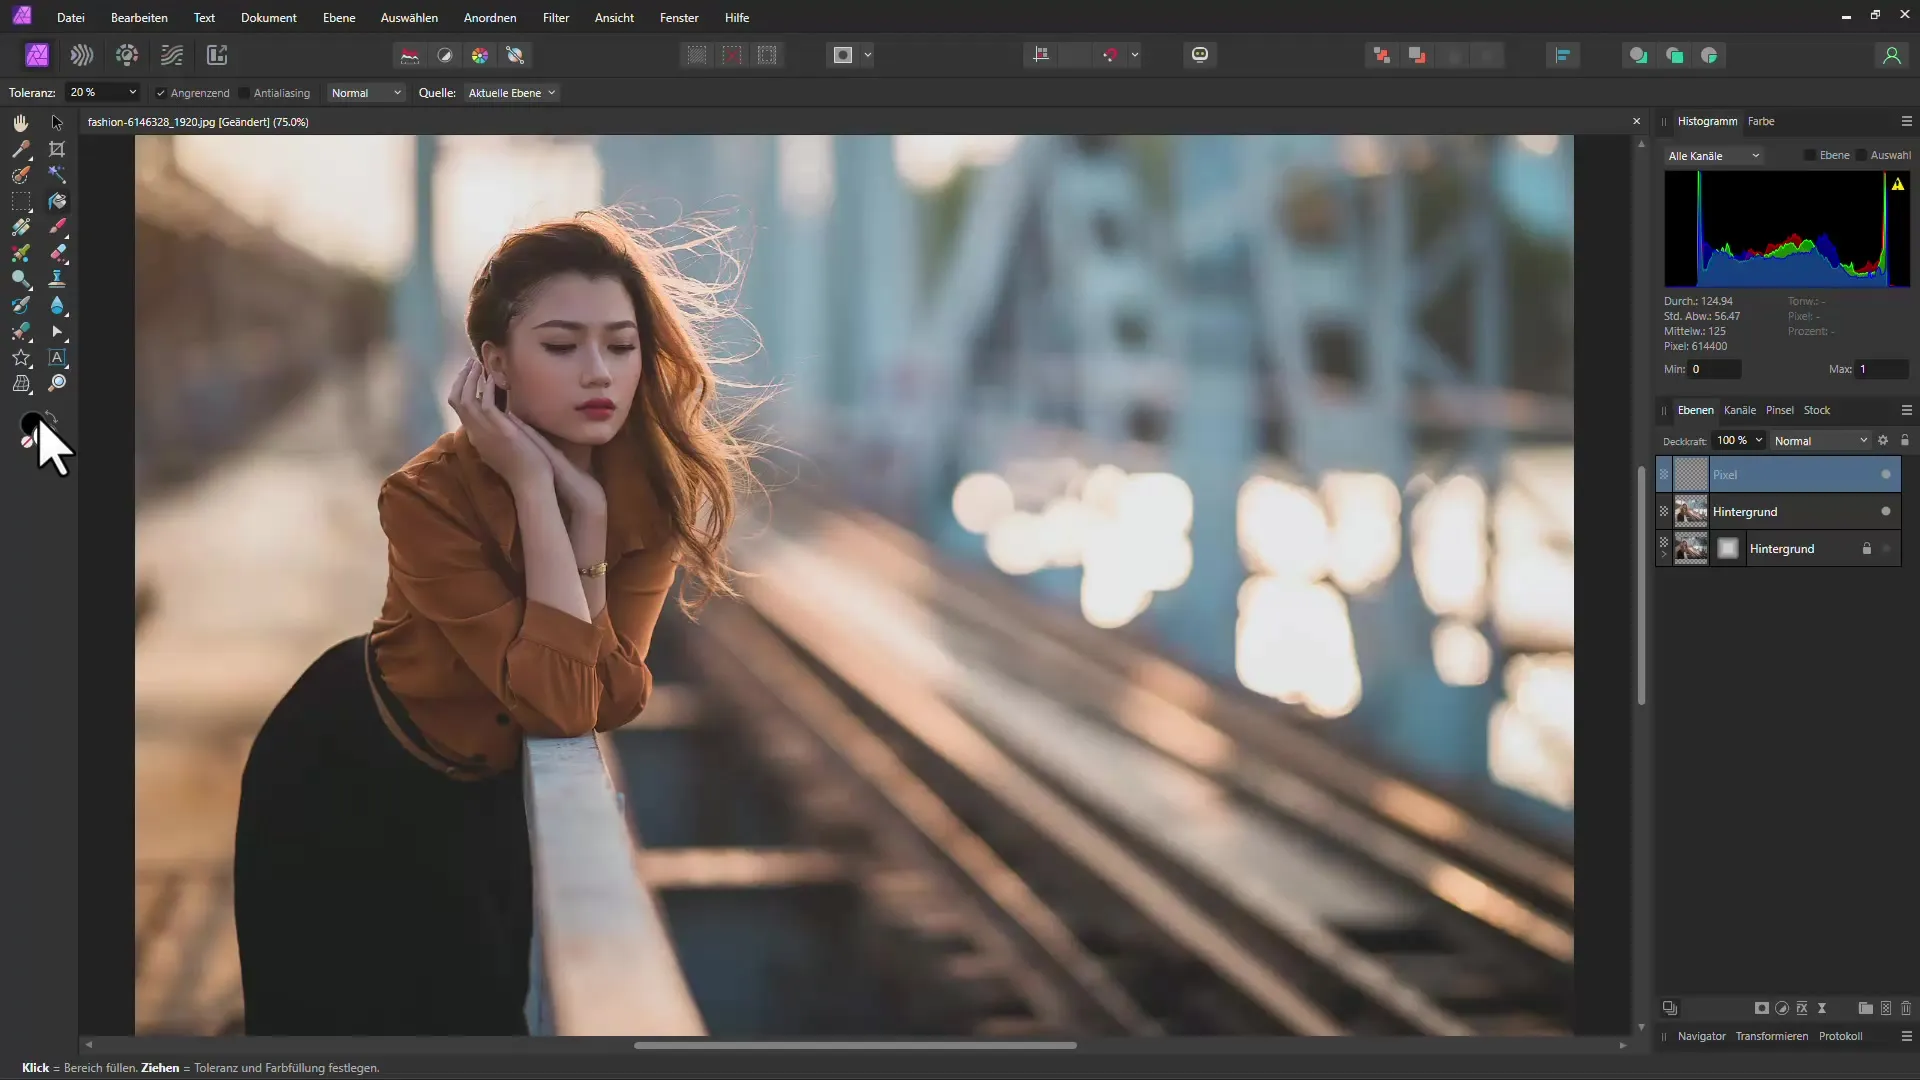
In the next step, you need to create a new pixel layer. Fill this new layer with the color black using the fill tool. This black layer will serve as the base for your vignette.
Now comes the crucial step: change the blend mode of this black layer. Experiment a bit and try out different modes to see which one looks best. The "Average" mode can often produce a good effect, but it heavily depends on the content of your image.
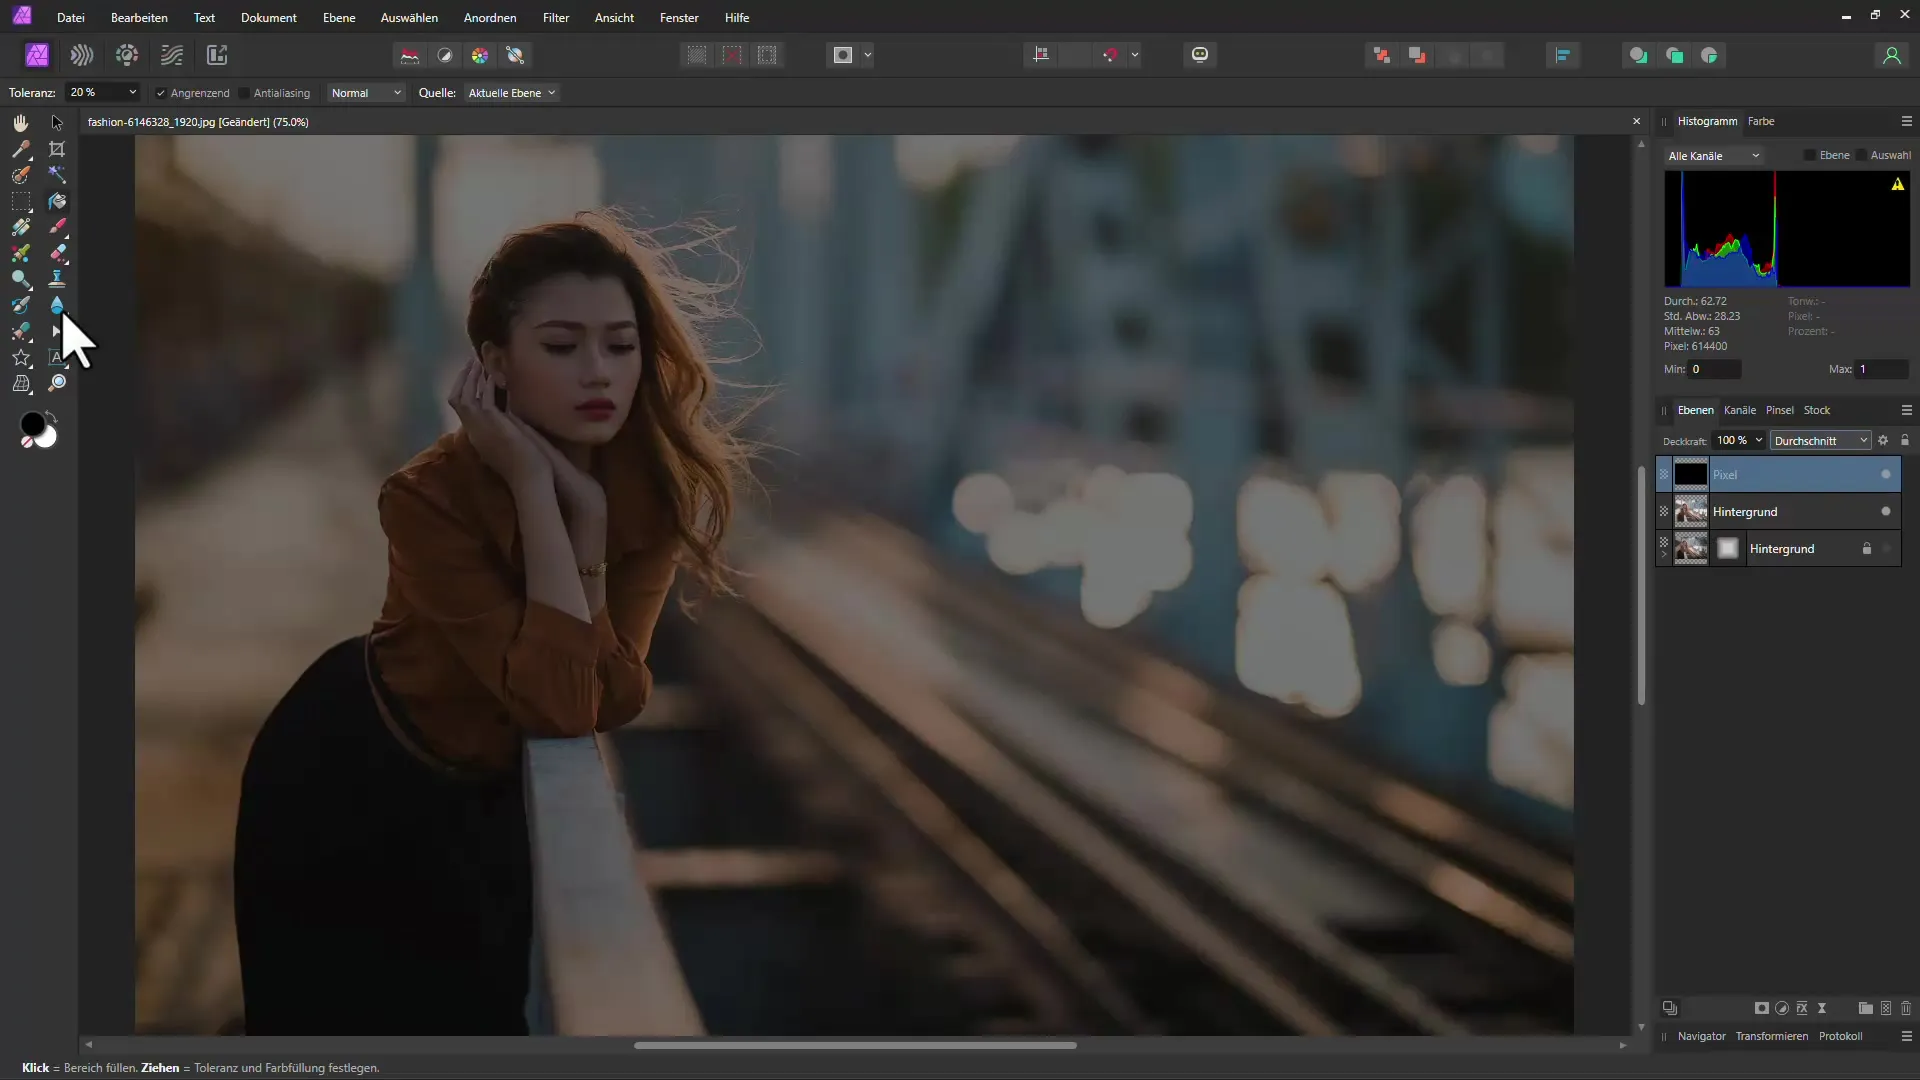
After selecting the blend mode, you can create a mask for the black layer. With this mask, you can selectively lighten areas that should not be affected by the vignette. To create the mask, click on the mask icon.
Now select the paintbrush and make sure to use a very soft brush. Typically, you will need a brush with higher opacity to ensure a smooth transition between dark and light areas.
Make sure that when painting on the mask, you use black to lighten the areas of your choice. You will quickly notice that the painted areas will lighten up, while the edges remain dark.
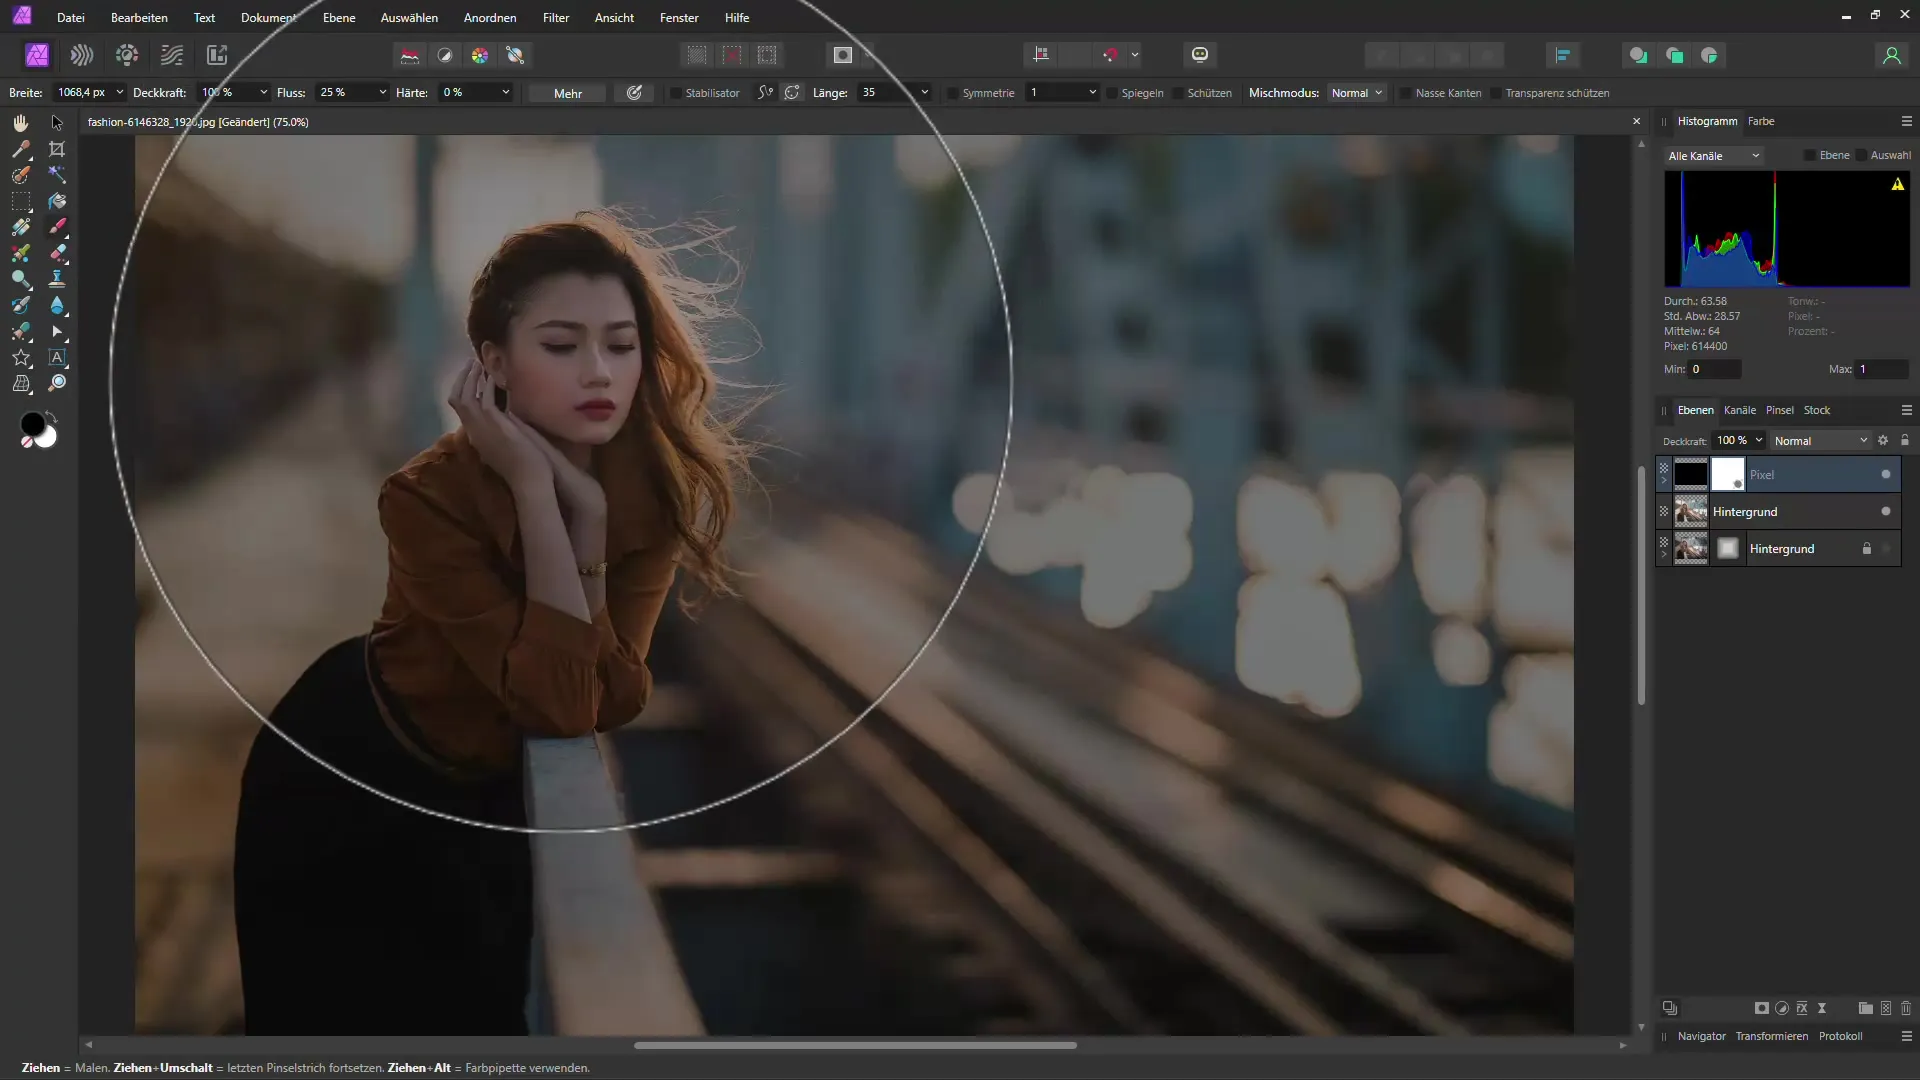
This way, you can achieve targeted highlighting on your main subject. Make sure to edit only the most relevant areas so that the focus remains on the person depicted.
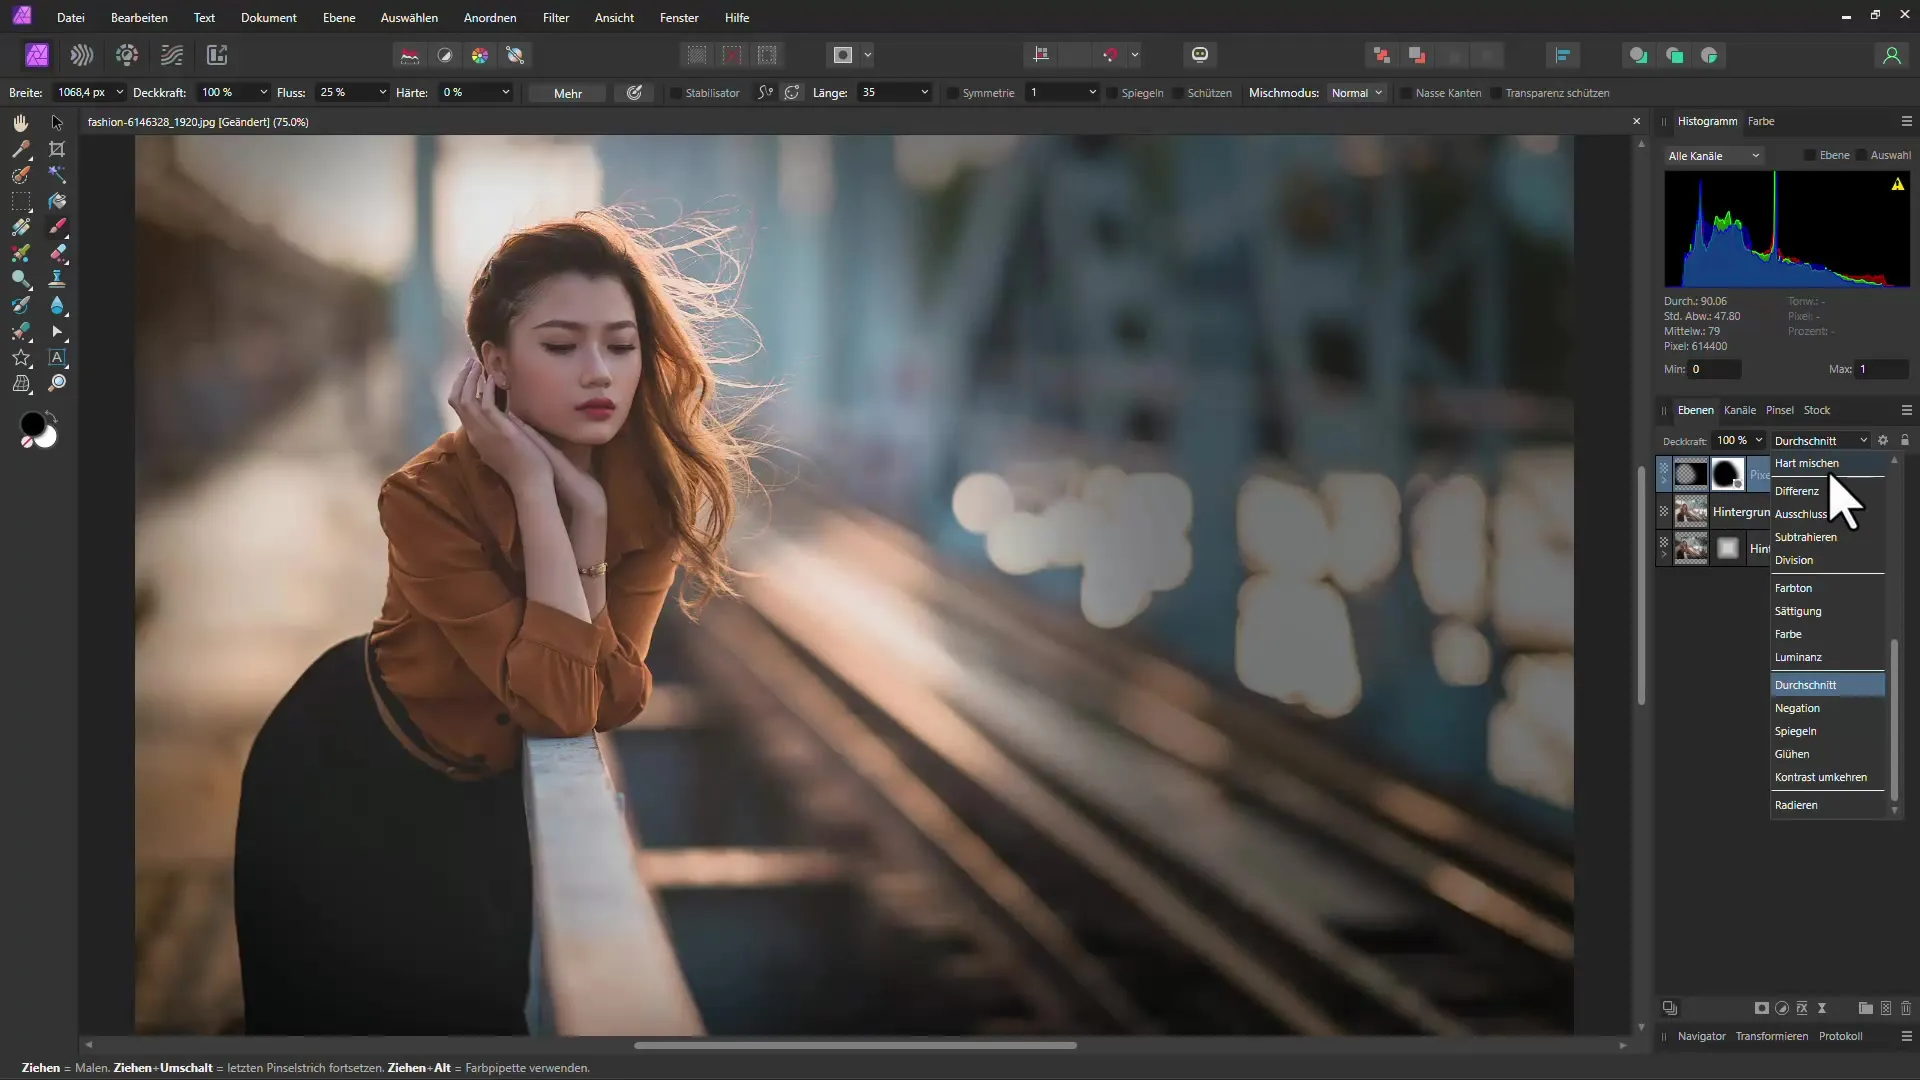
Once you are done with the mask, you can readjust the blending mode to further refine the image. Check if you can enhance the image by adding contrasts or richer colors.
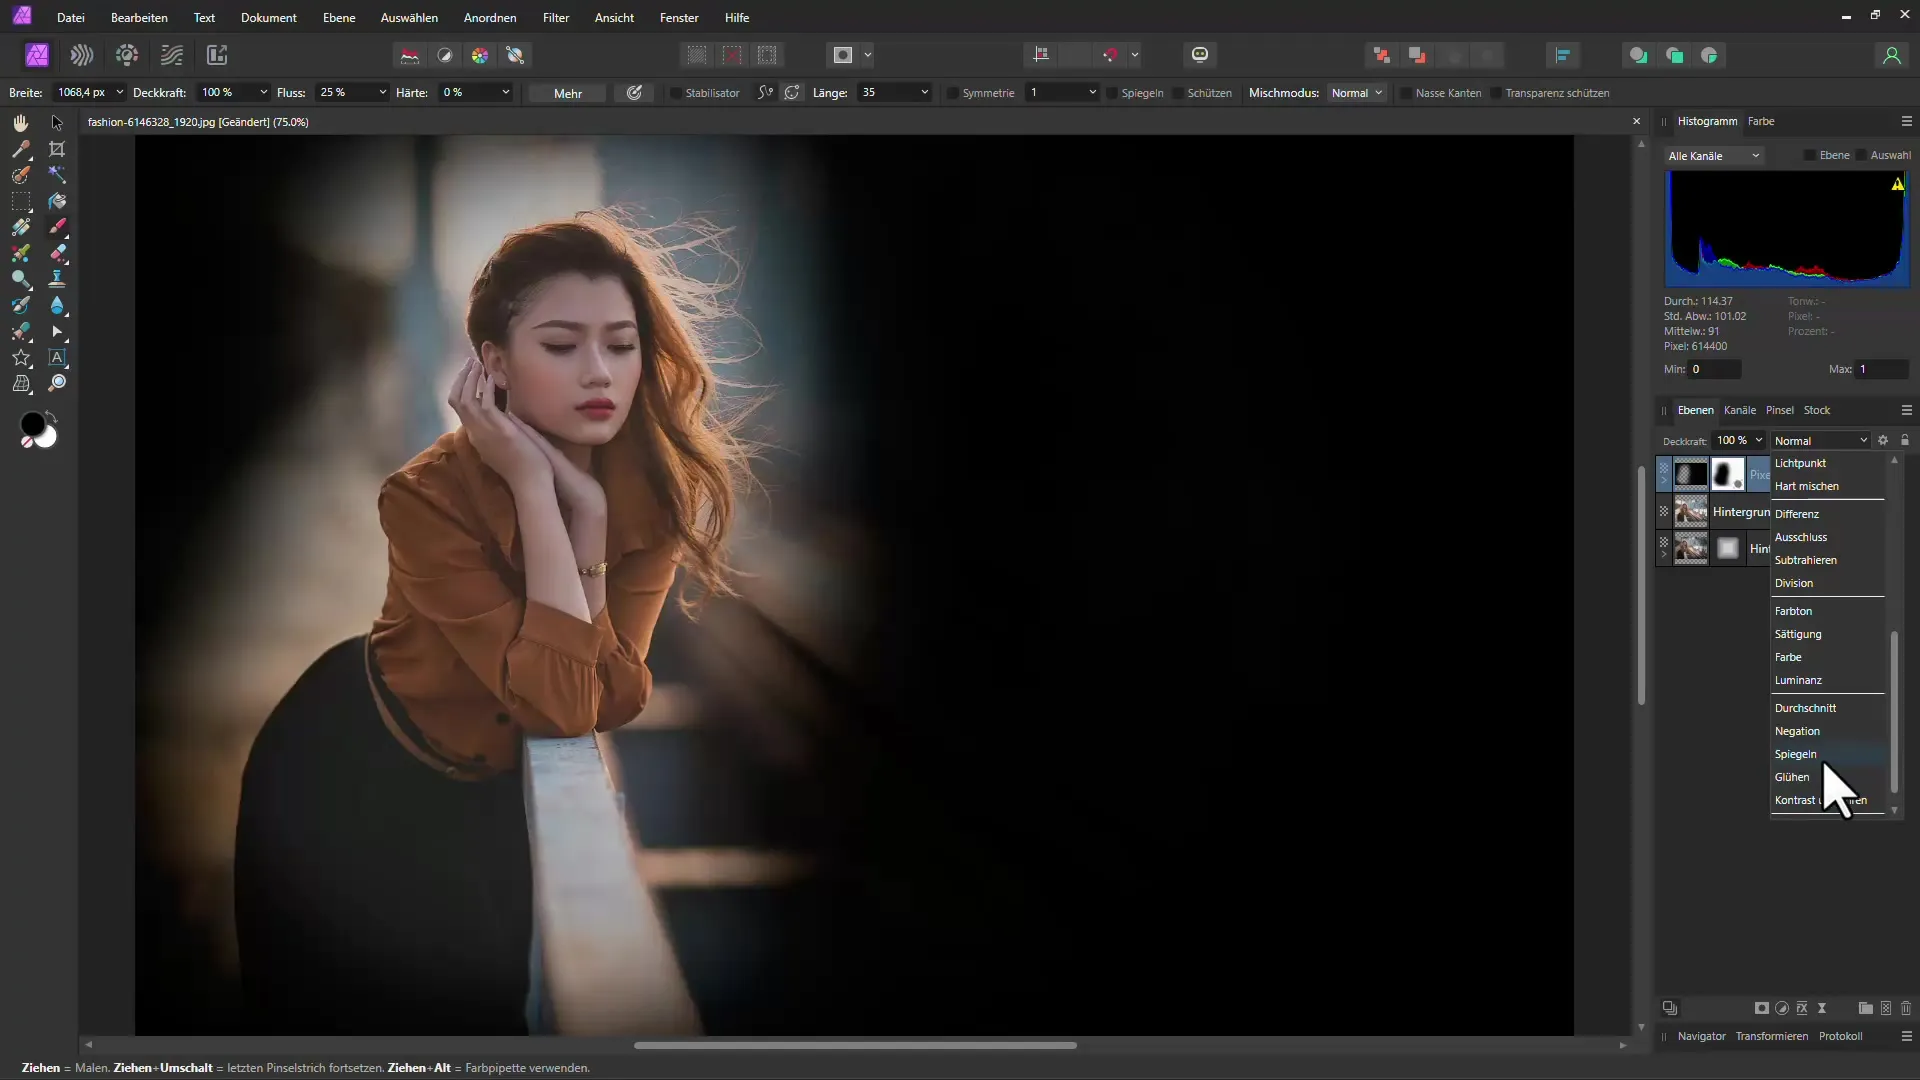
Also, test different color values, not just black. A gray or other color choice can lead to very different and interesting effects. This way, you can maximize your creative freedom.
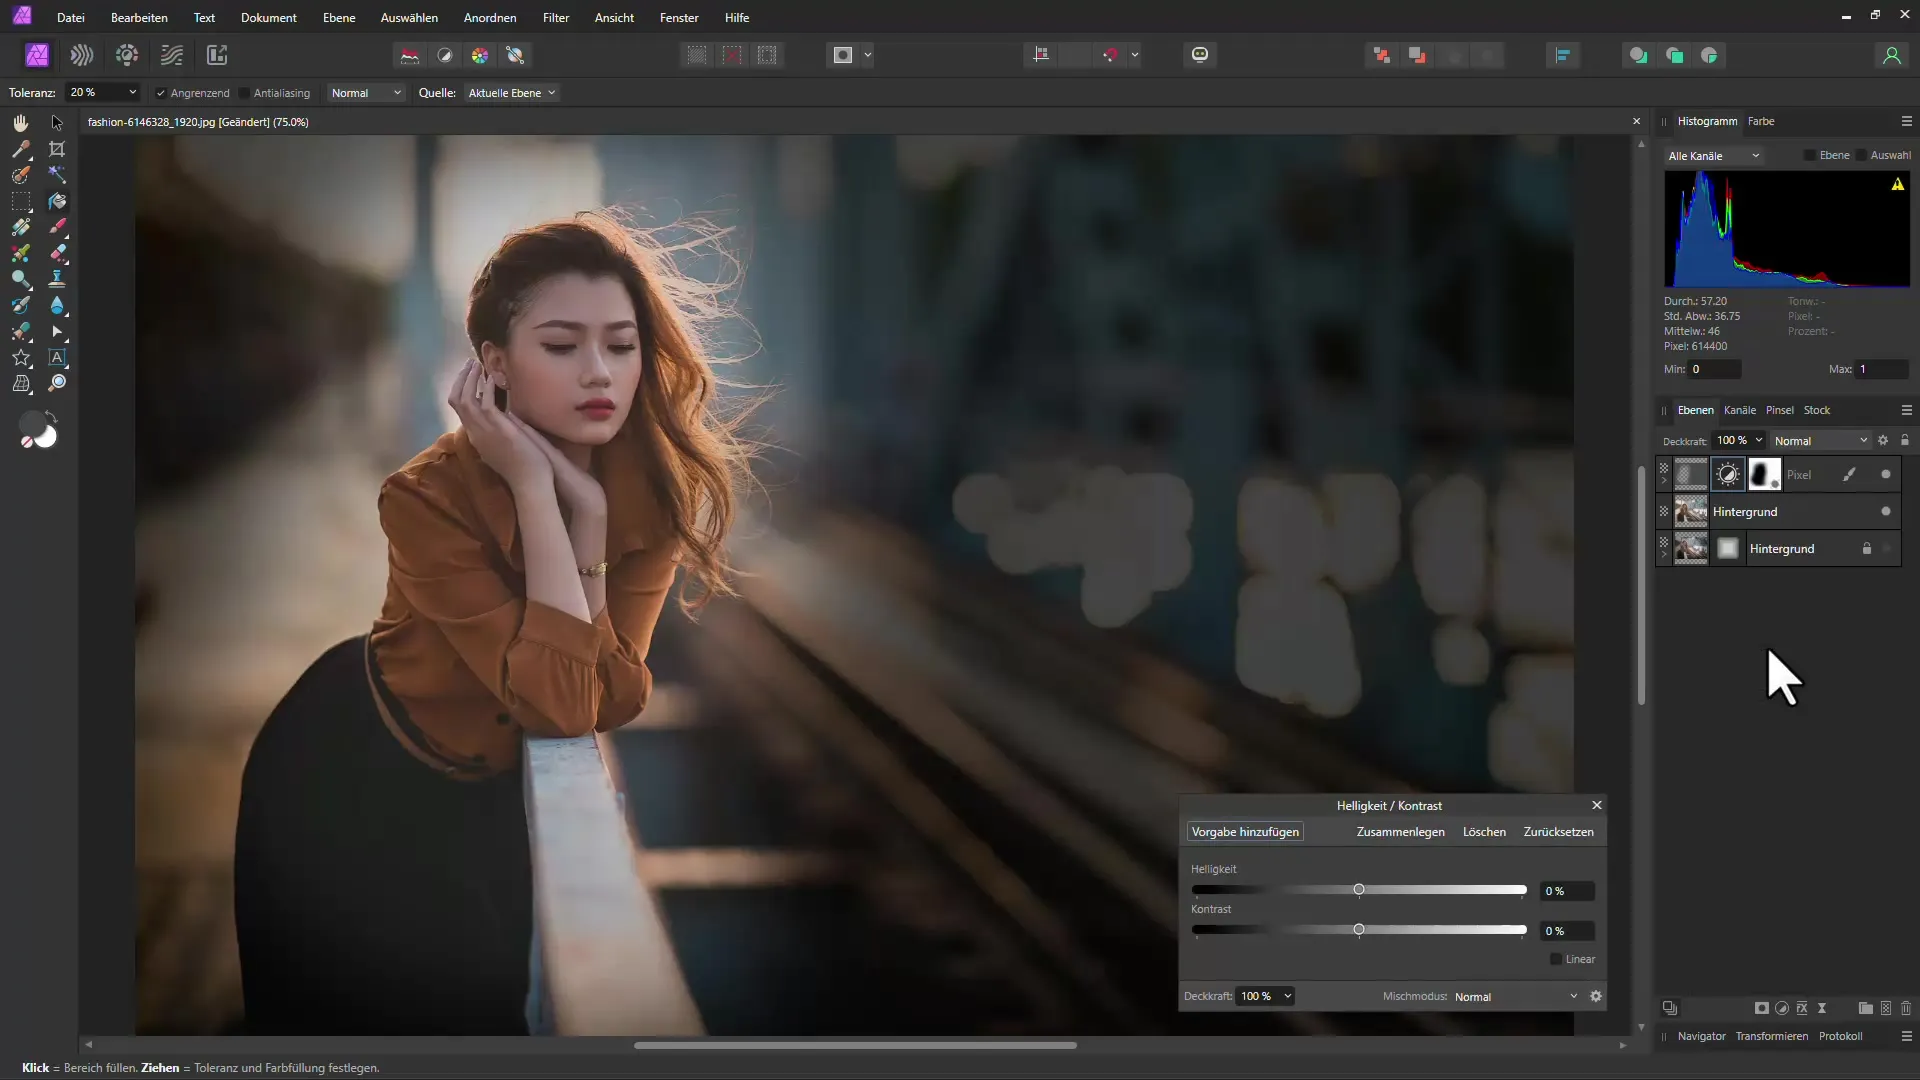
Overall, you now have the opportunity to create a simpler or more sophisticated vignette that evokes the exact feeling you desire.
Summary
In this tutorial, you have learned how to add a vignette to your photo in Affinity Photo using two methods. The first method offers a quick solution while the second provides you with more control and flexibility in editing. Experiment with different blending modes and color selections to achieve the best result for your image. I hope this guide has helped you improve your photo editing techniques.
Frequently Asked Questions
How do I add a vignette quickly?You can quickly add a vignette by using the Live Filter in Affinity Photo and selecting the "Vignette" option.
How can I create a manual vignette?You can create a manual vignette by duplicating the image, adding a black pixel layer, and then using blending modes and masks to highlight specific areas.
Can I change the blending modes during vignette editing?Yes, you can change the blending modes to achieve different effects and improve the presentation of your vignette.
How can I adjust the selection in the vignette?You can adjust the selection by selectively brightening with the mask and paintbrush while leaving dark areas.
What is the advantage of the second method compared to the first?The second method allows for more precise adjustment of the vignette and gives you more control over specific areas of your image.


