In this tutorial, I'll show you how to quickly and effectively remove distracting objects like grids in Affinity Photo. The example we will use involves a grid in front of a big cat. Often in photos, there are elements that distract from the actual scene or disrupt the aesthetics. It is important to know how to quickly remove these elements in order to achieve the desired image. Let's get started!
Key Insights
- With the right tools, you can easily and quickly remove objects in Affinity Photo.
- The paintbrush, combined with the "Inpainting" function, provides an effective method for erasing distracting elements.
- After initially removing elements, you can continue working with various retouching tools to optimize the image quality.
Step-by-Step Guide
First, open Affinity Photo and load the image with the unwanted grid.
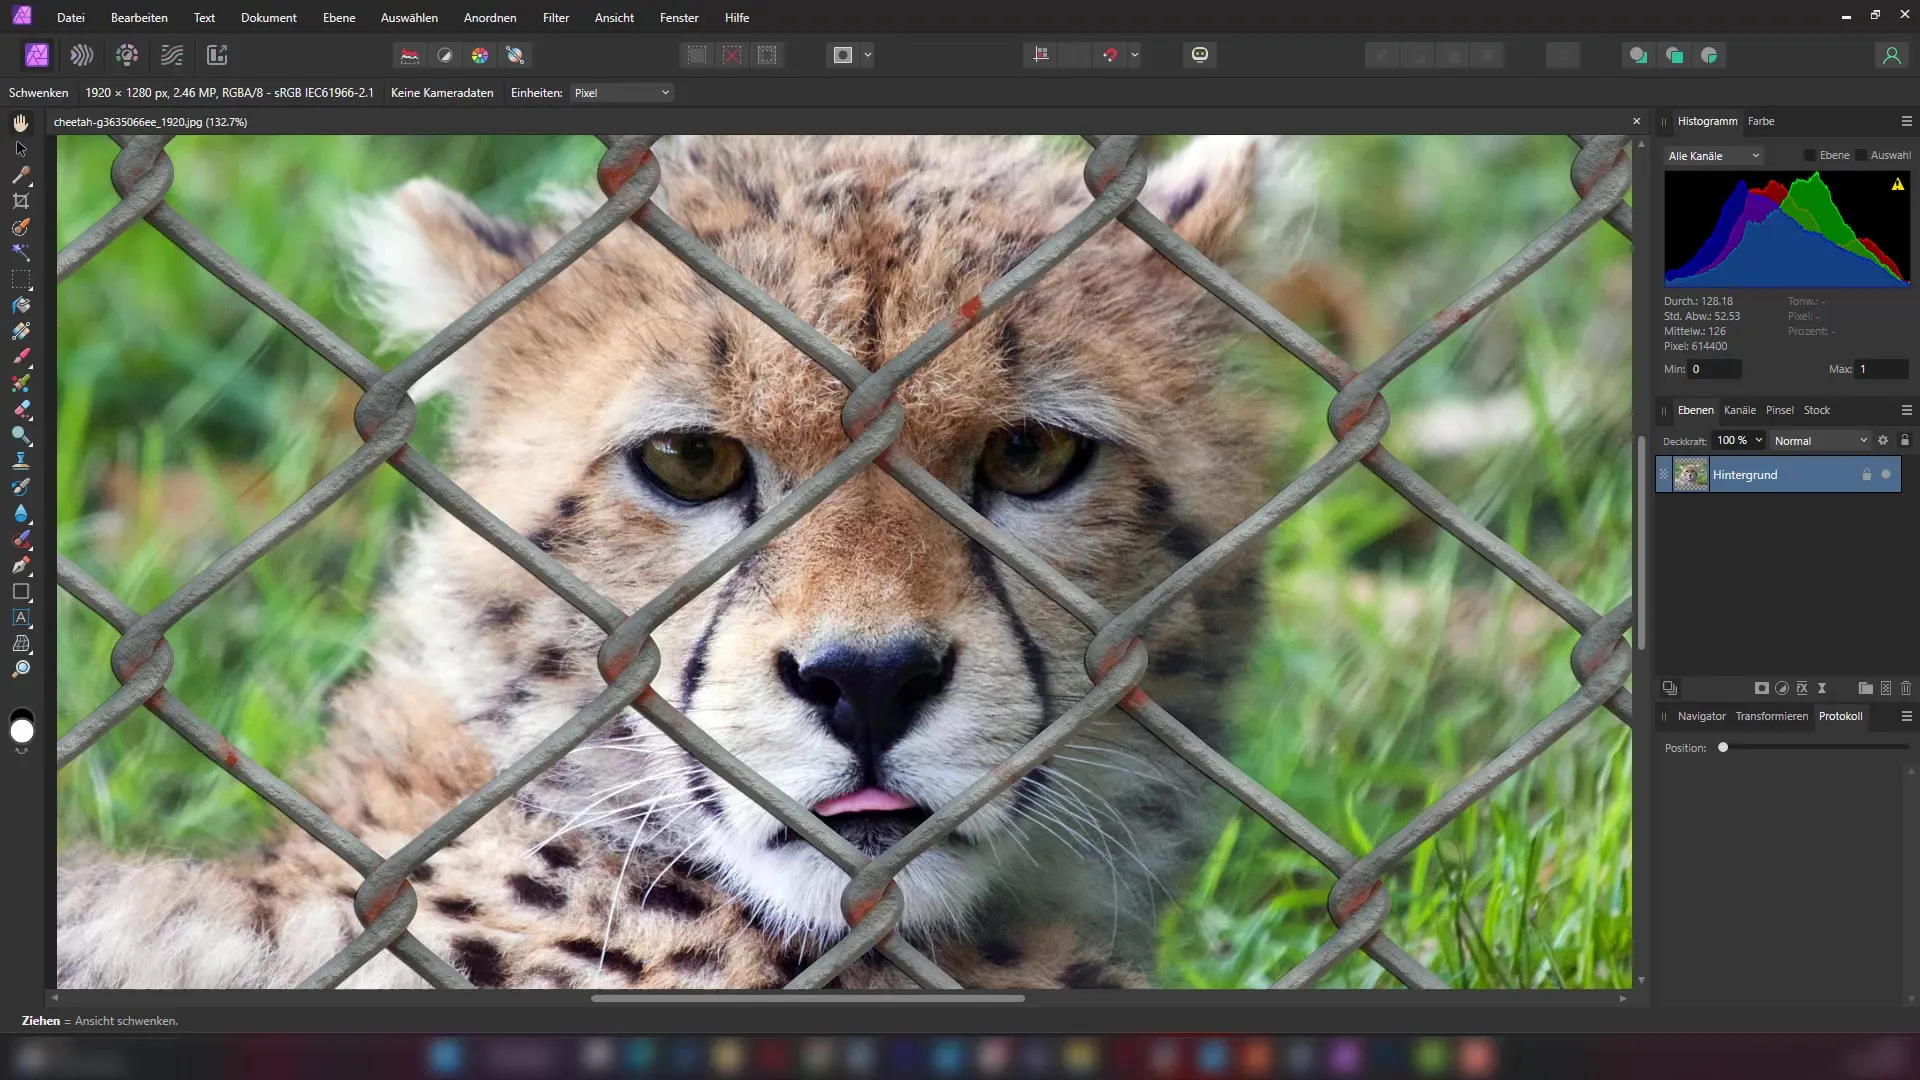
In the next step, create a new layer. You can do this by clicking on "Layer" in the menu bar and then selecting "New Layer".
Now, grab the paintbrush tool. You can adjust the brush size by holding down the Shift key, allowing you to draw straight lines, which helps you work faster and more precisely.
Start painting over the grid. Make sure that you can enlarge or reduce the brush as needed using the ALT key and the Control key, helping you capture the desired details more quickly.
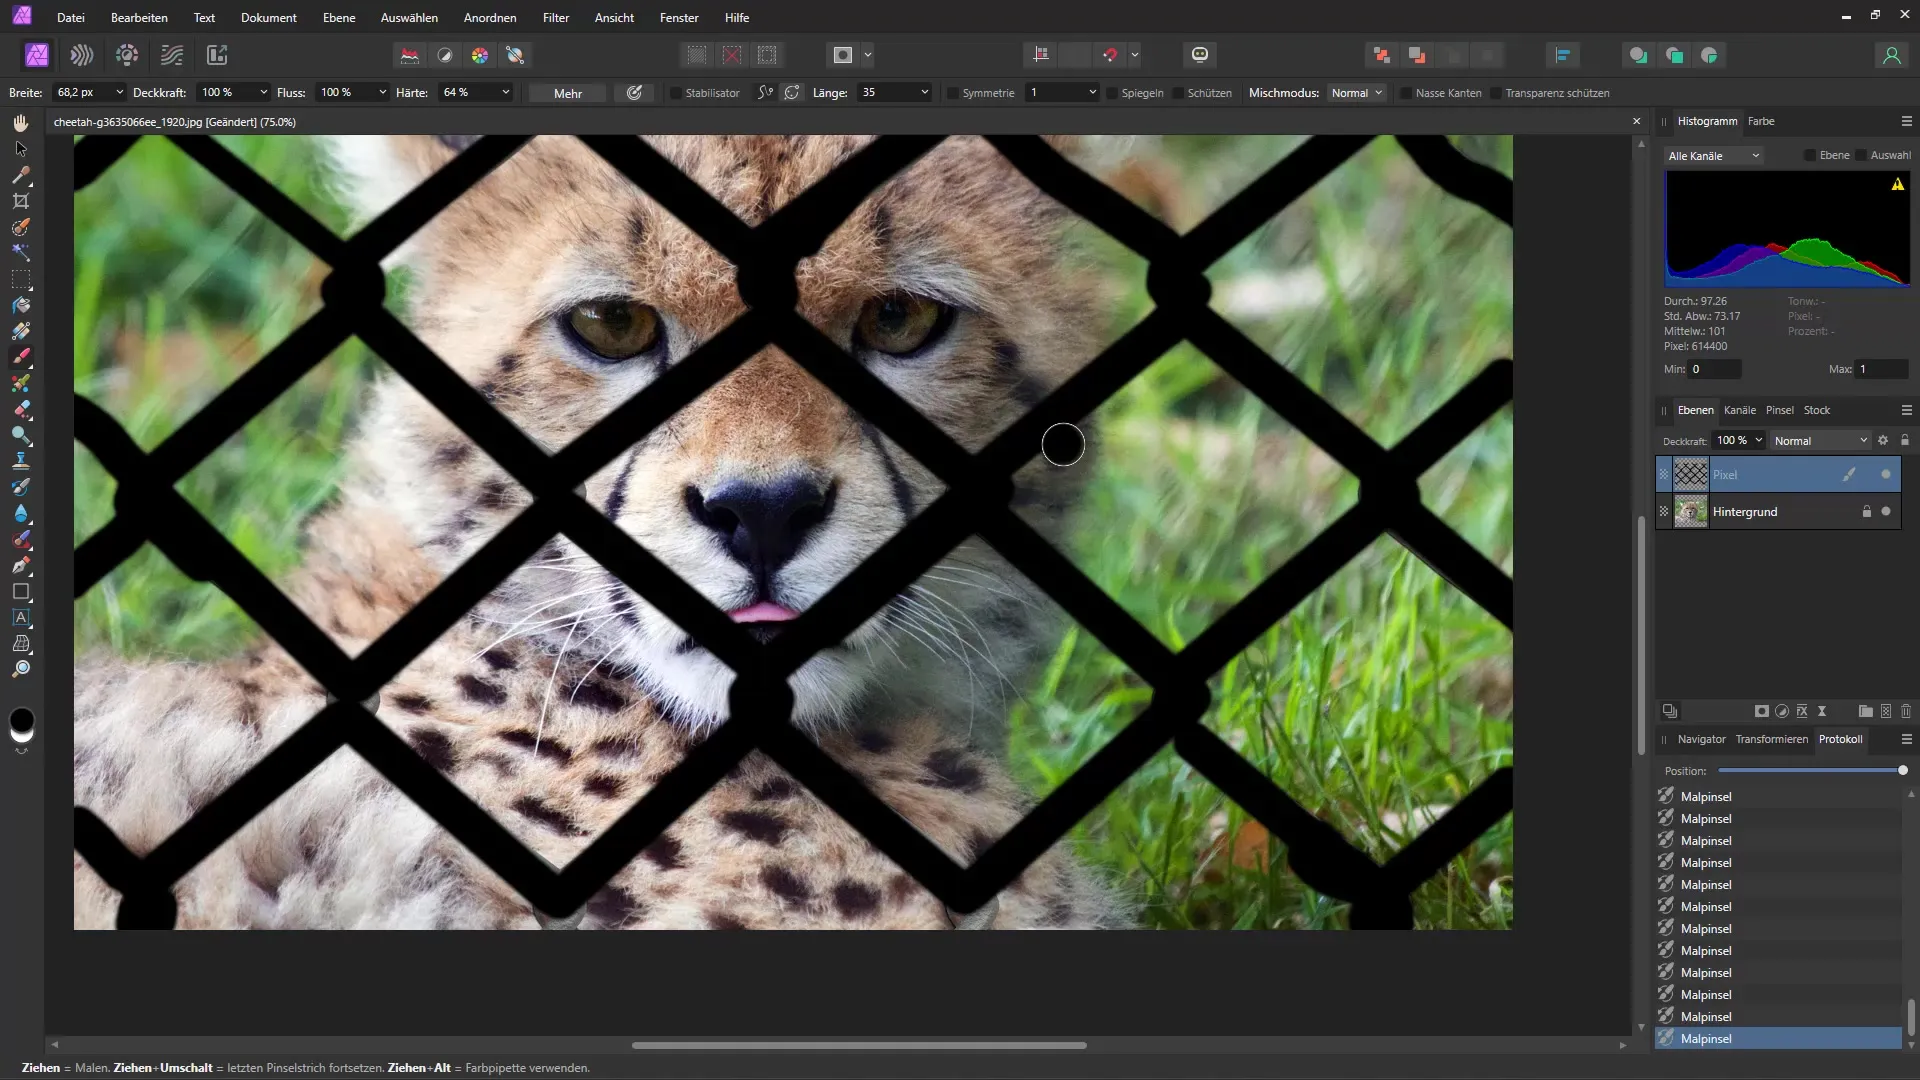
Once you have completely painted the grid, select the brush layer with the left mouse button while holding down the CTRL key. This will create a selection.
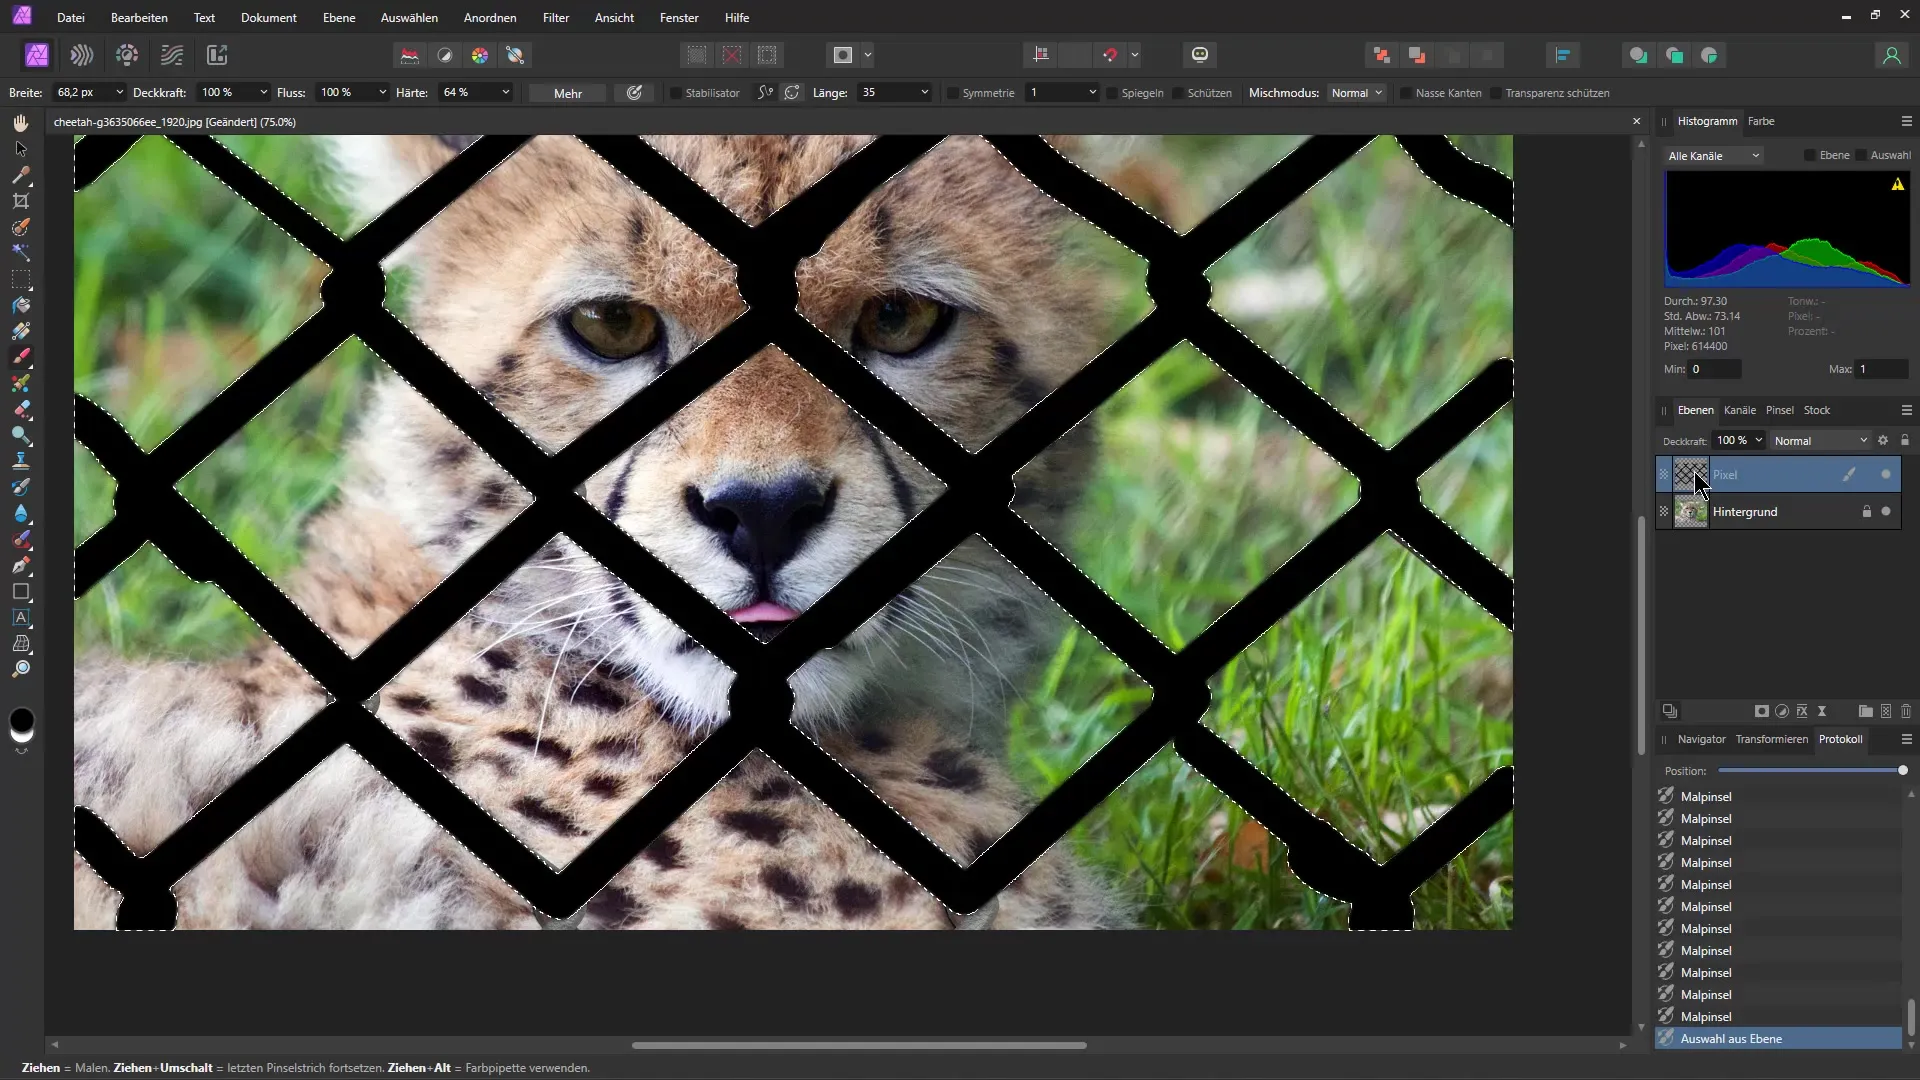
Now, go to "Edit" and select "Fill". In the popup menu that opens, choose the "Inpainting" option. This function uses surrounding pixels to replace the grid.
The "Inpainting" function may take some time to complete, but it will display a great result once finished.
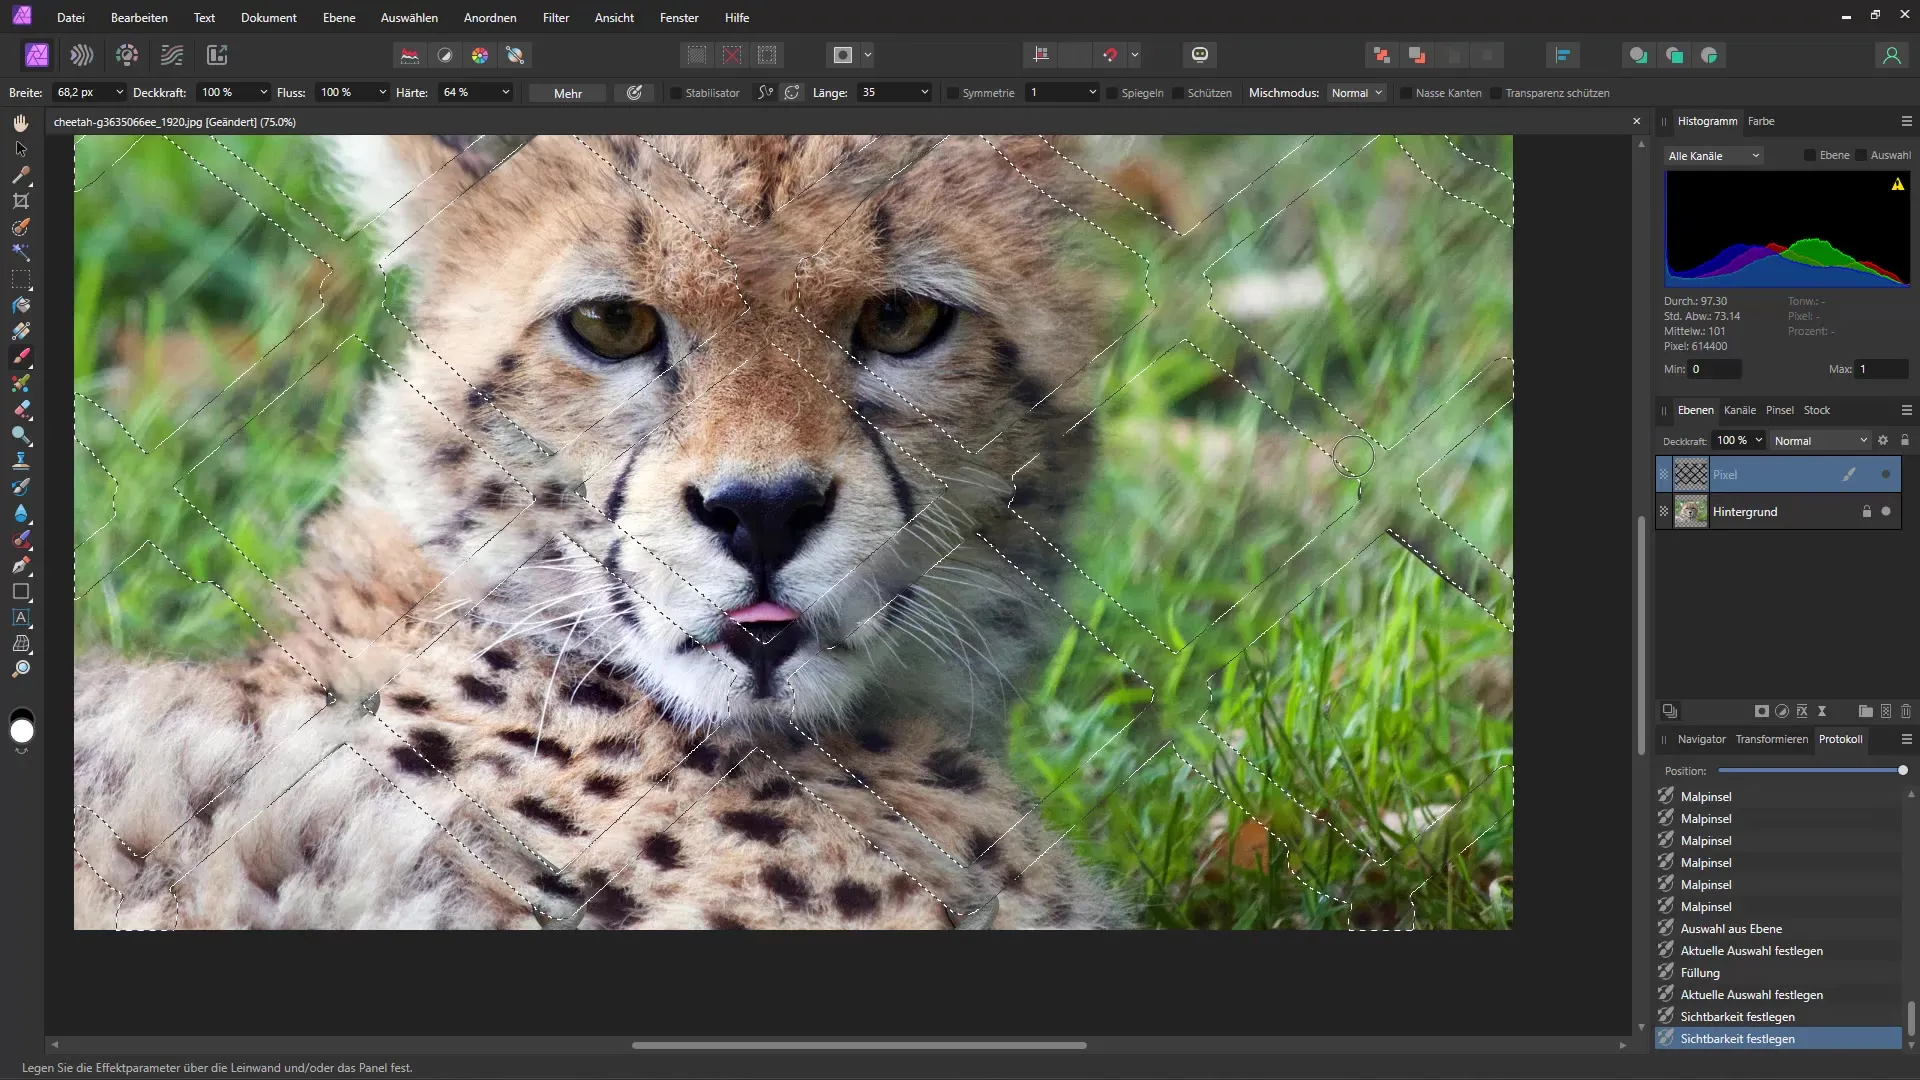
Now you can hide the original paintbrush layer since you no longer need it. Simply press CTRL + D to deselect.
You should now see a much cleaner image, but it may not be perfect yet. At this point, you can use various repair tools to further customize. I will start by selecting the healing brush tool and quickly go over the area where the grid was to blend the pixels beautifully.
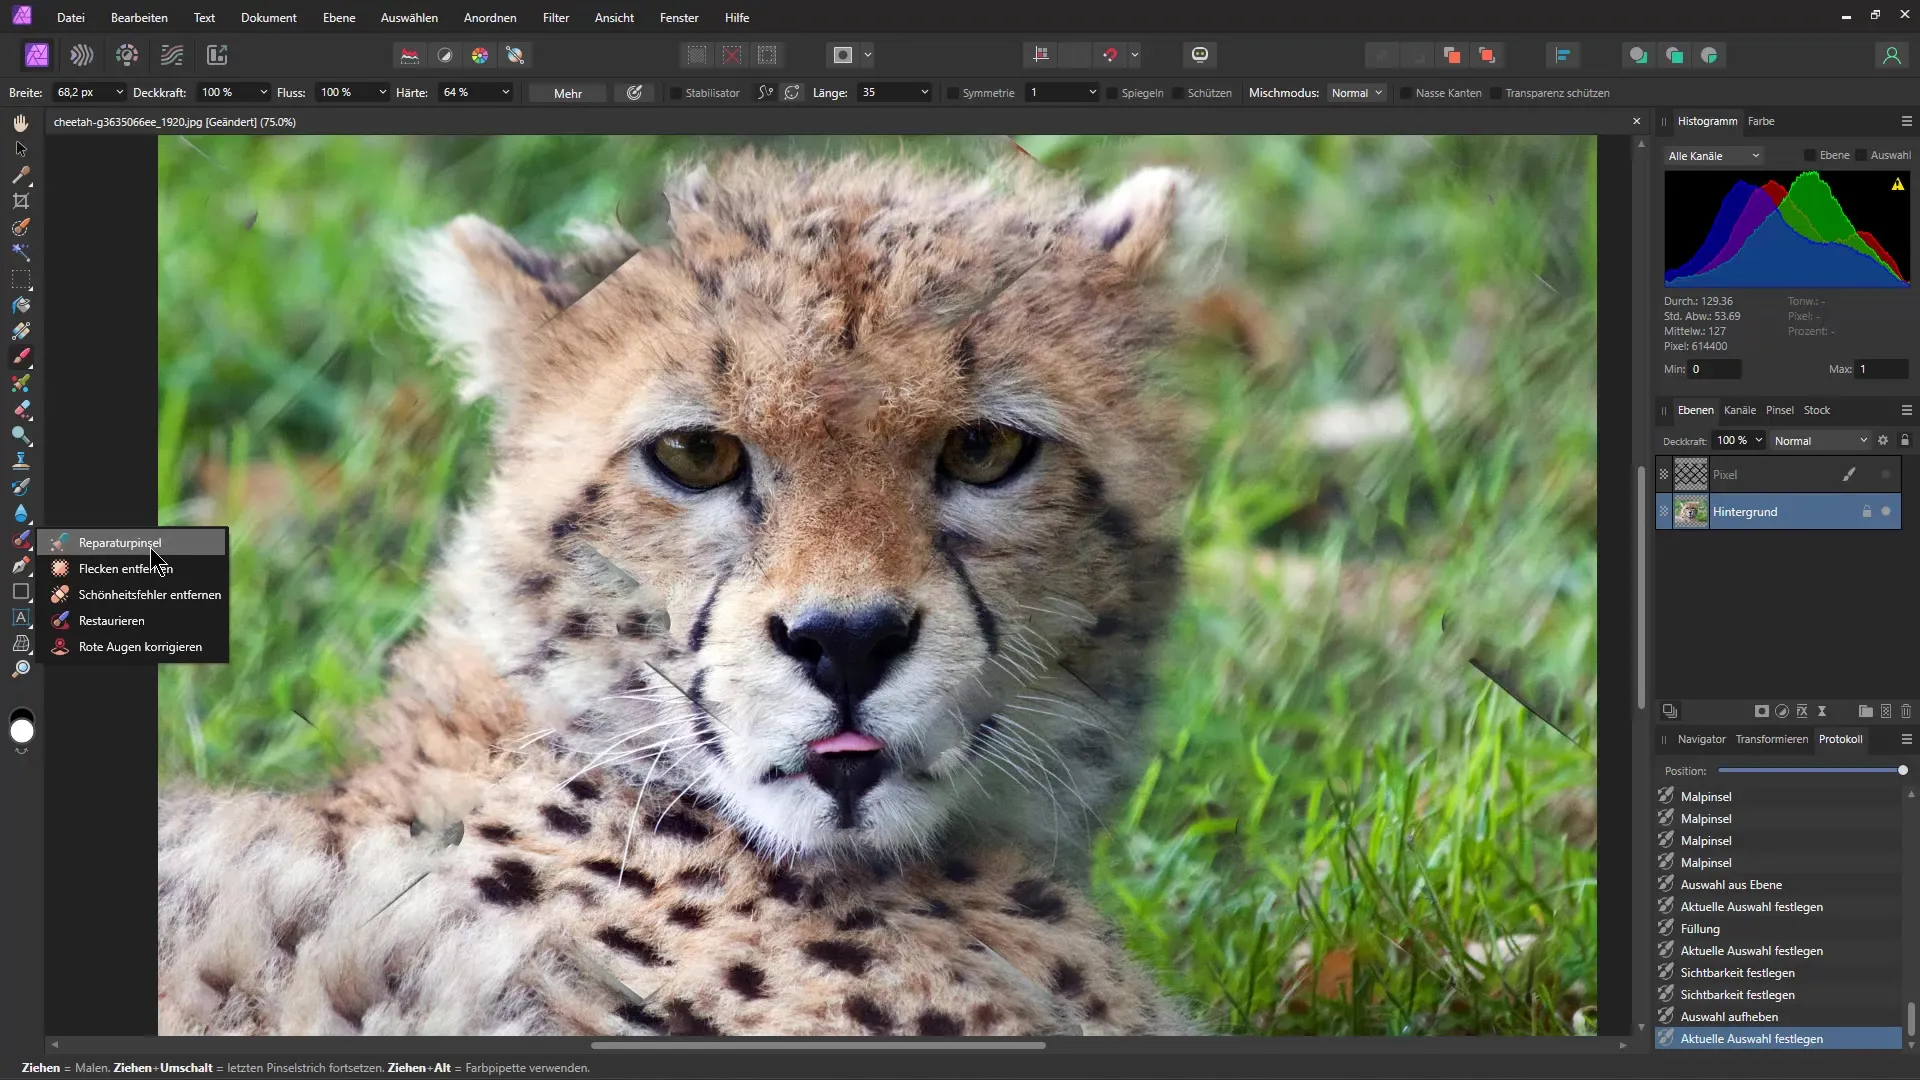
Alternatively, you can also use other tools like the clone stamp tool to achieve the best results. By holding down the ALT key, you can select duplicated pixels or neighboring areas to ensure visual consistency.
Finally, it may be necessary to use the fine brush to make minor adjustments here and there. Some transitions may still look harsh and require additional fine-tuning.
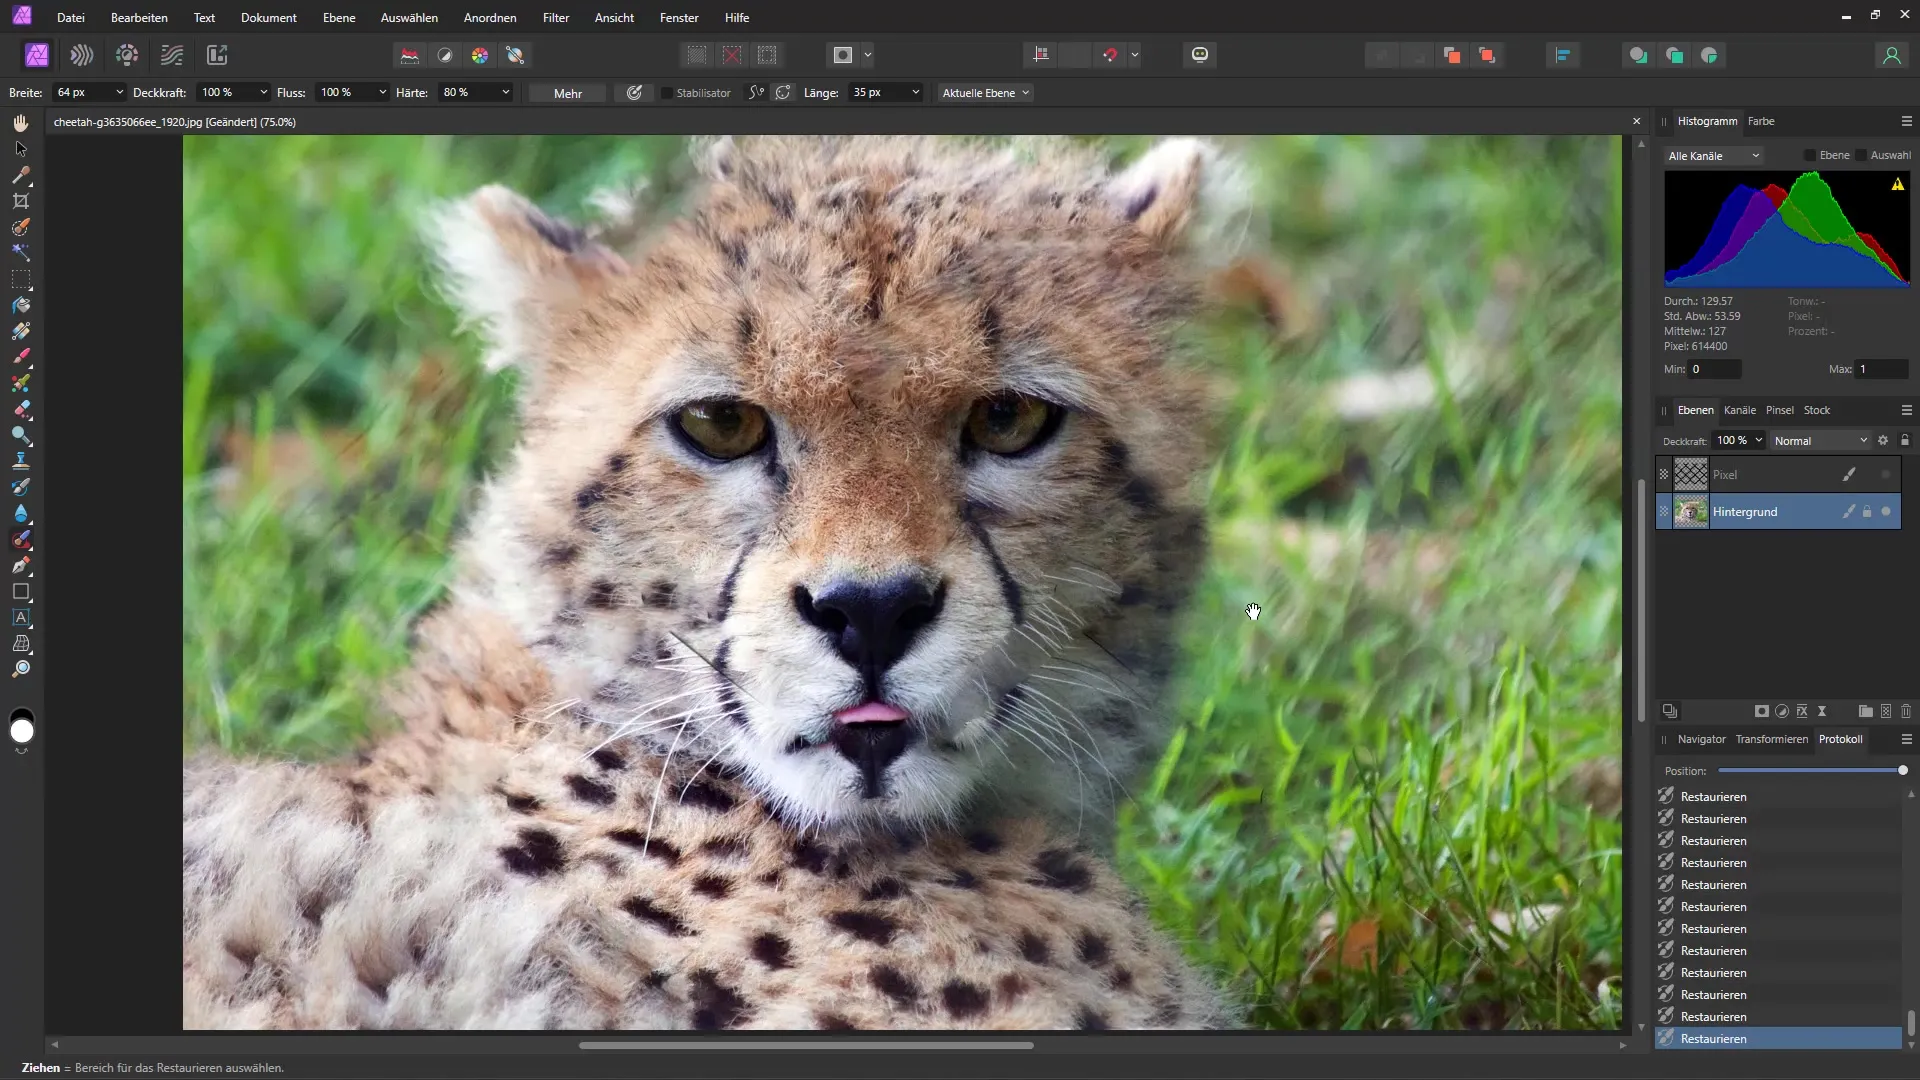
After about two minutes of these adjustments, the image will now look as if the grid was never there! The process is simple, but the results are very impactful.
Finally, you can save your work and proudly look at the freshly edited image. I hope you have gained some useful tips from this tutorial and are excited to apply what you've learned!
Summary
In this tutorial, you have learned how to efficiently remove distracting grids or other objects in Affinity Photo. With tools like the paintbrush and the Inpainting function, you can quickly achieve impressive results.
Frequently Asked Questions
How can I adjust the brush size in Affinity Photo?You can adjust the brush size by holding down the Shift key while dragging the mouse over the image.
What is the "Inpainting" function?Inpainting is a function that allows you to remove unwanted objects from an image by using the surrounding pixels to fill in the gaps.
How can I undo my changes?You can undo changes by using the combination CTRL + Z.


