In today's tutorial, I will show you how to easily turn a photo into a pencil drawing in Affinity Photo. With a few simple steps and a macro, you can not only edit a single image but also transform numerous images into artistic pencil drawings with just one click. Whether you are doing this for your own projects or for showcasing on social media, this technique will help you creatively enhance your images.
Main takeaways:
- You can convert an image into a pencil drawing by using the right filters and adjustments in Affinity Photo.
- Creating a macro allows you to automate this technique for future images.
- By adjusting settings such as saturation and applying special filters, you can achieve the desired result.
Step-by-step guide
First, open Affinity Photo and load the image you want to turn into a pencil drawing.
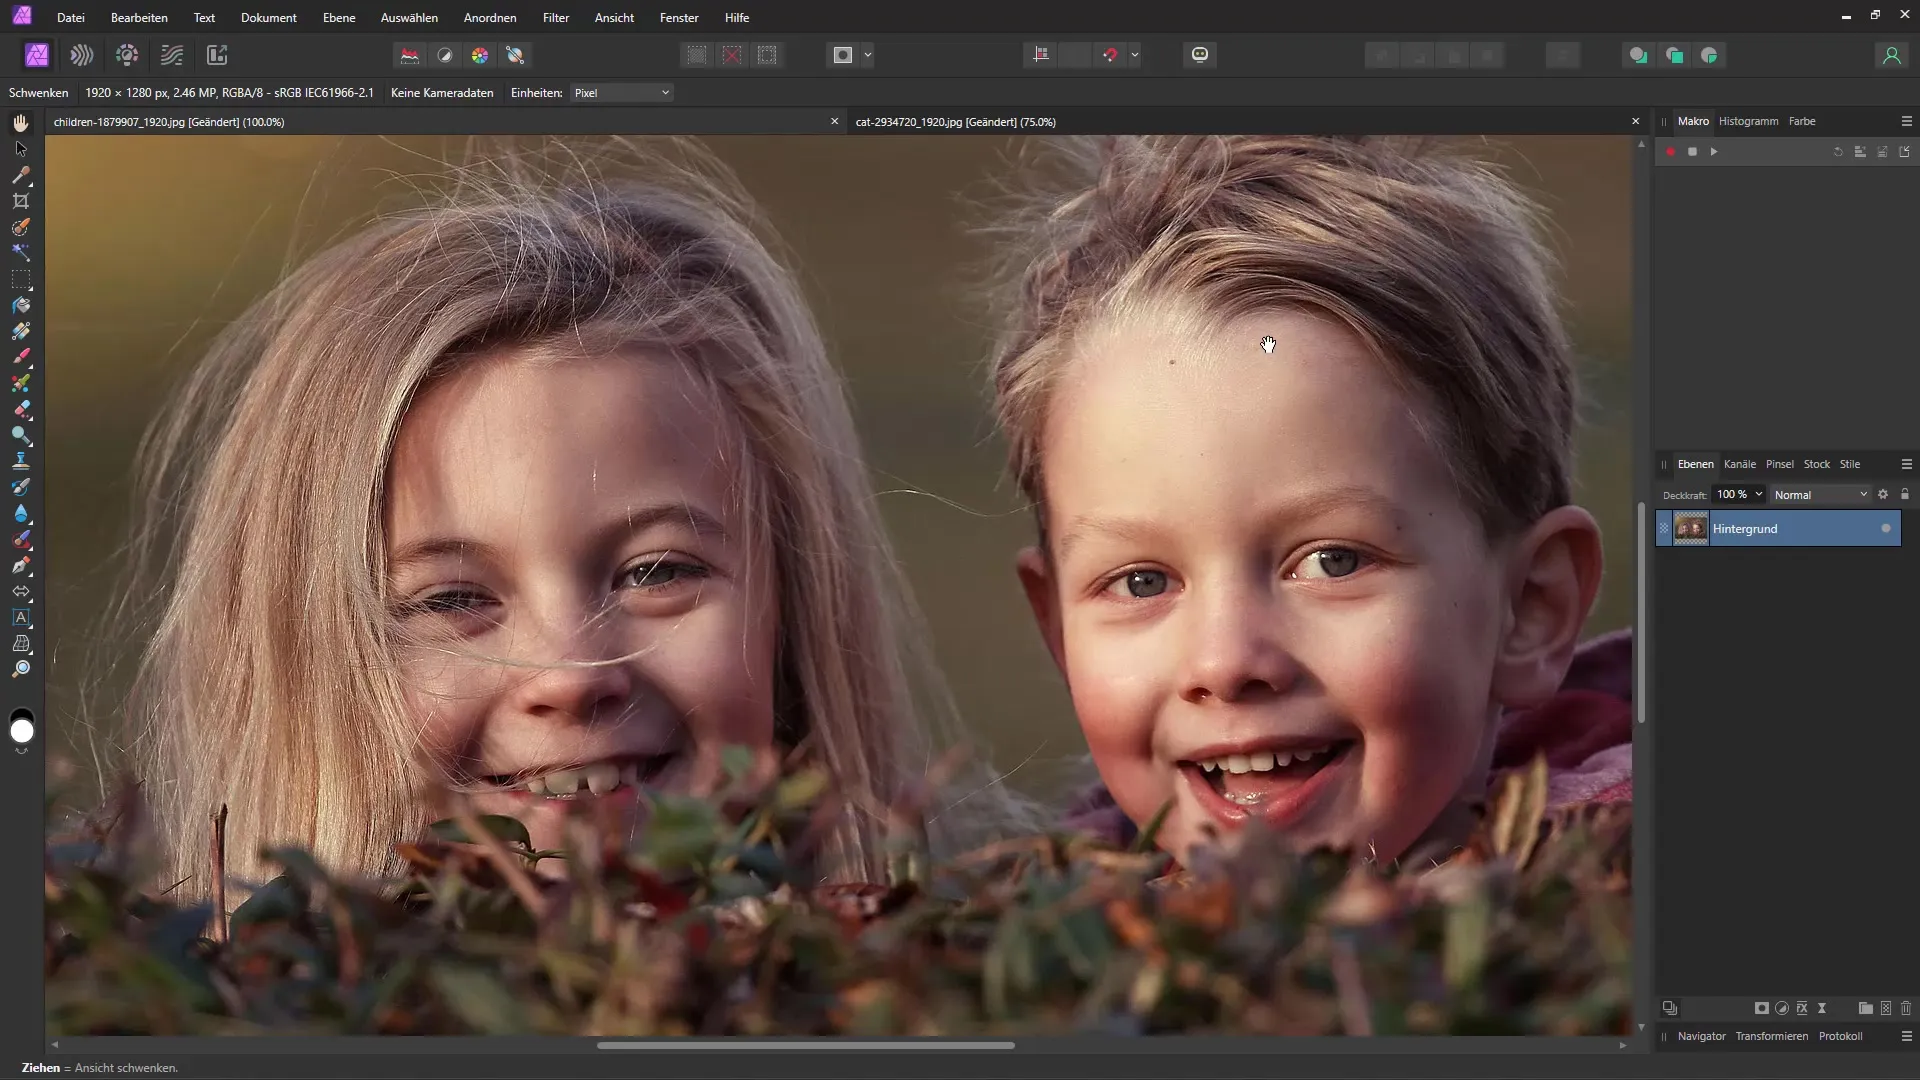
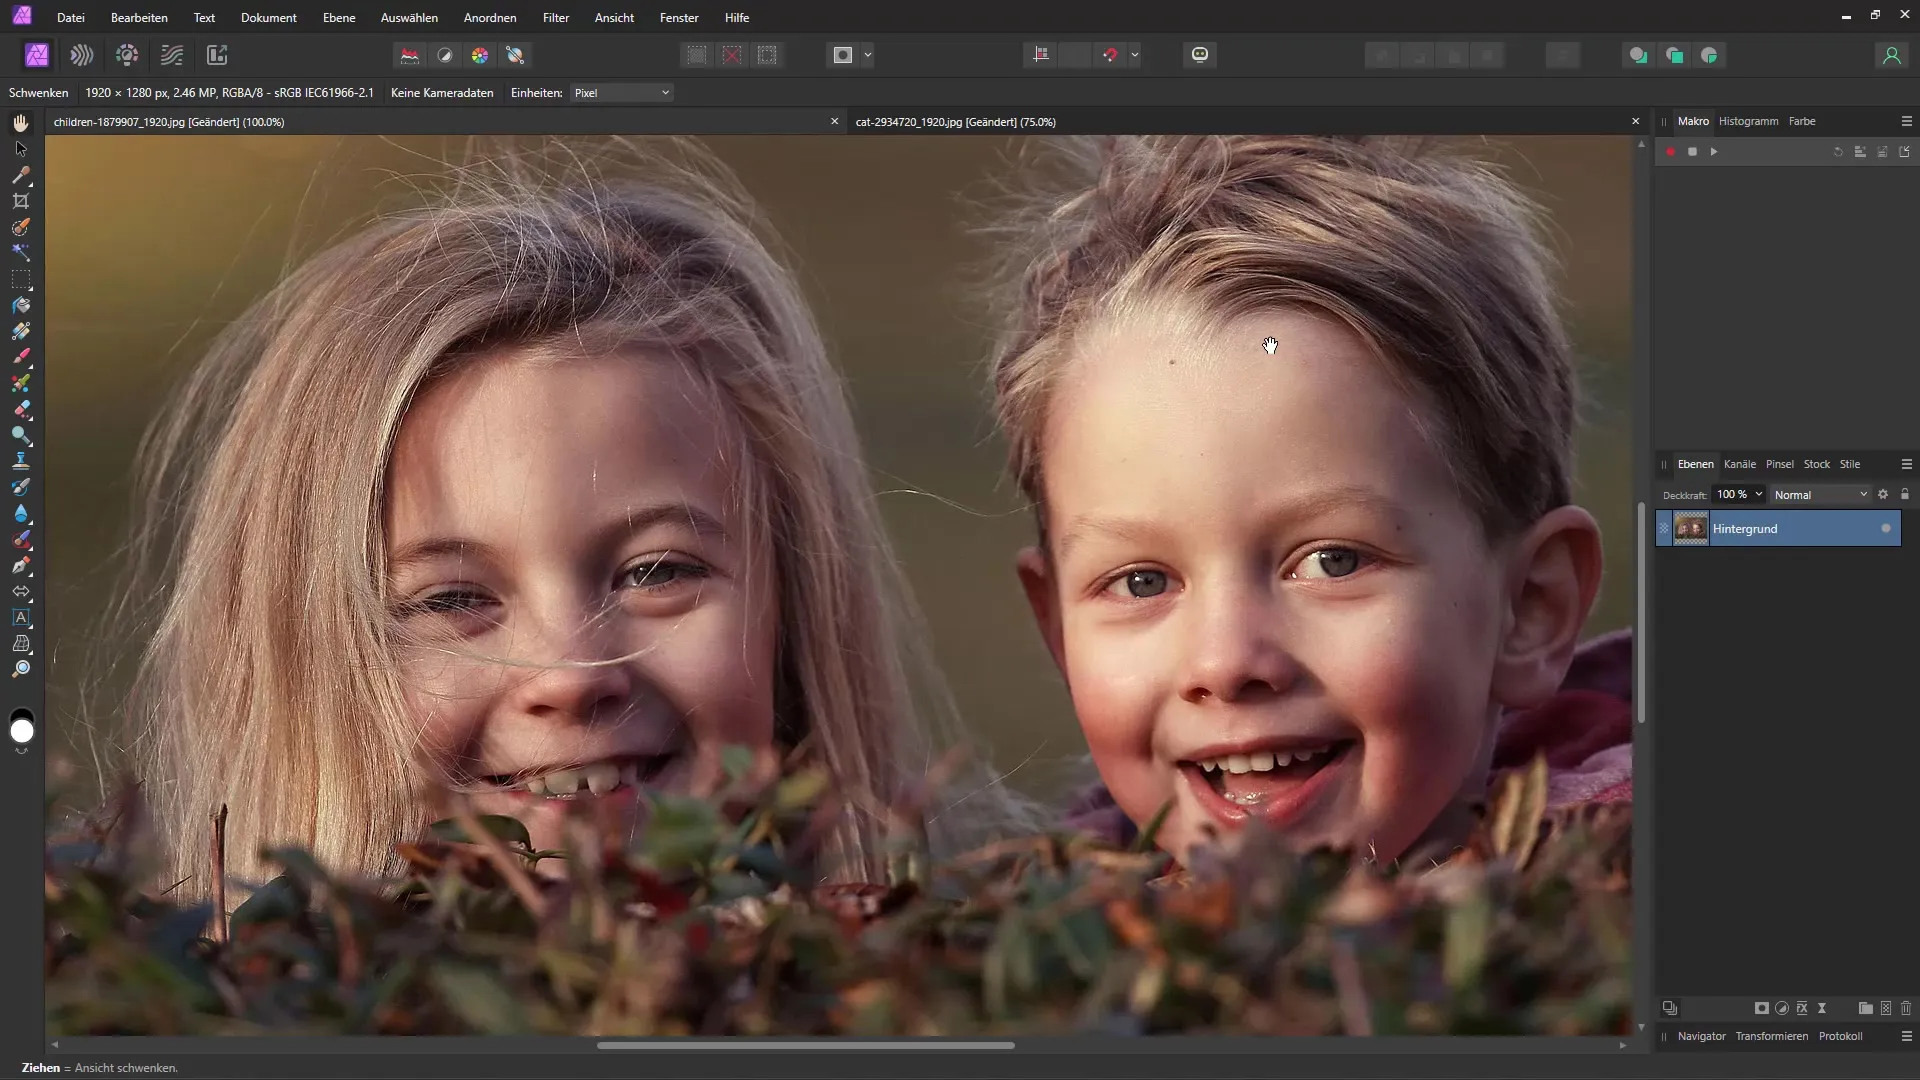
To start recording the macro, click on the red record button. This prepares the software to document every step you take.
The first step is to create a group where your image will be placed. Right-click on the image and select "Create group." This helps you organize the various effects and adjustments neatly.
Now you can duplicate the image by using the keyboard shortcut "Ctrl + J." This ensures you always have a copy of the original image in case you want to adjust your settings.
After duplicating the image, switch to the "Dodge" mode in the Layers palette.
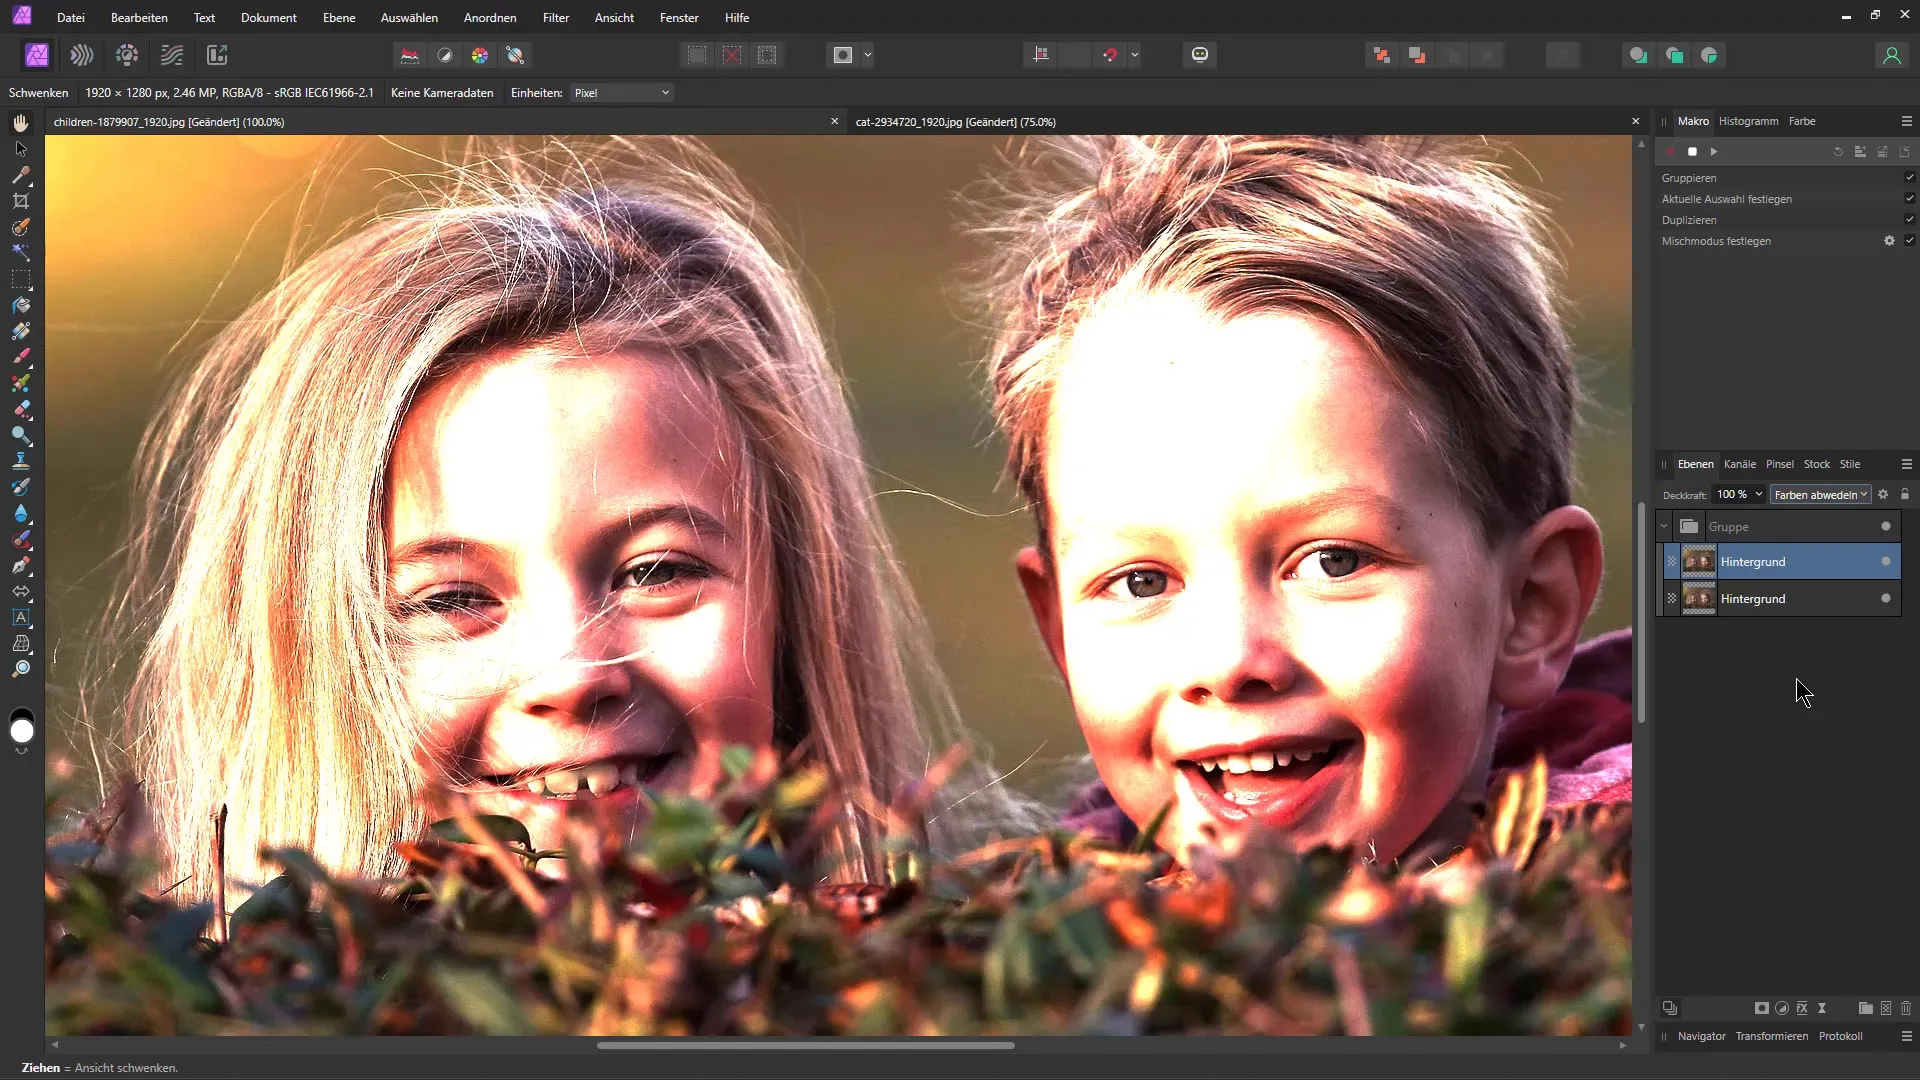
To turn the image into a sketch, you need to invert it. Use the keyboard shortcut "Ctrl + I" for this. This gives your image an interesting base color useful for the pencil drawing.
Select the group again and click on "Adjustments." Then choose "Recolor." Here, you can reduce the saturation to achieve a black and white drawing.
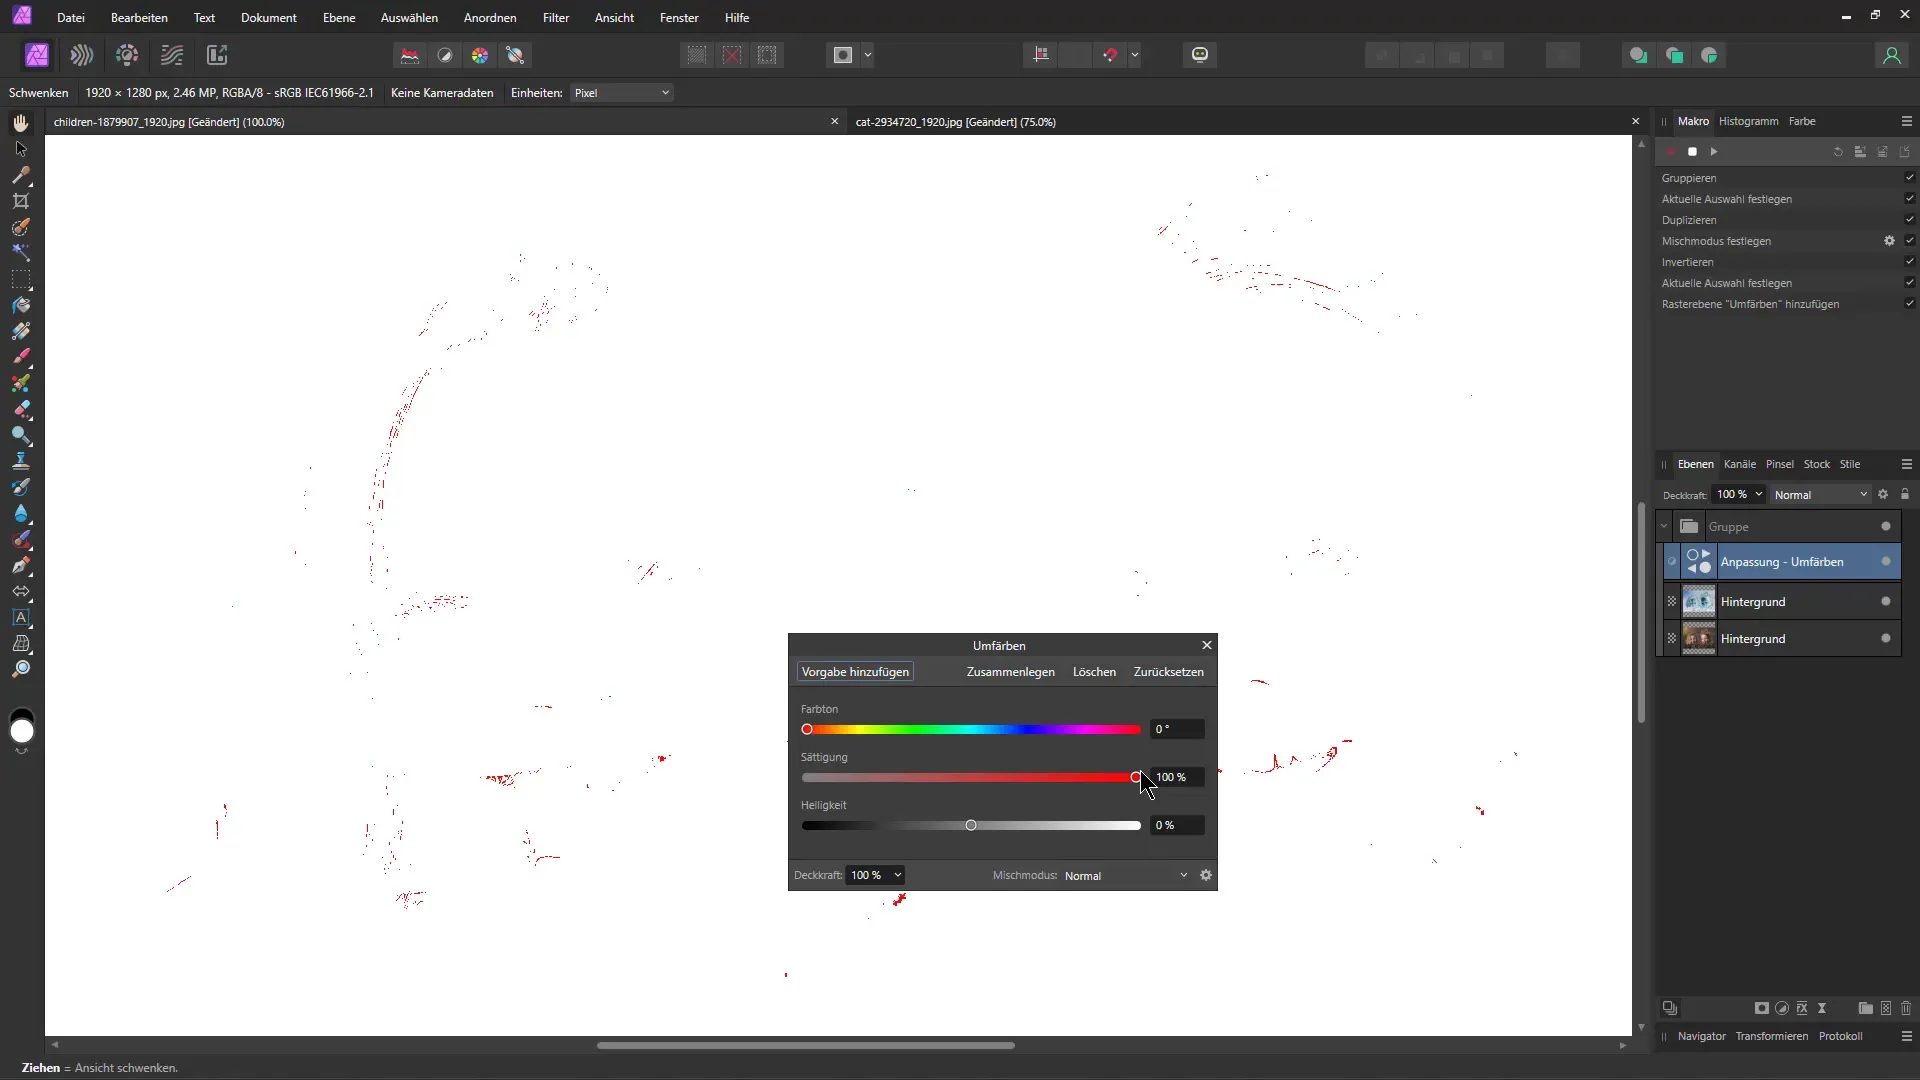
To further enhance the sketch-like quality, add a Live Filter and choose the "Gaussian Blur." This filter helps soften the edges slightly, contributing to the illusion of a drawing.
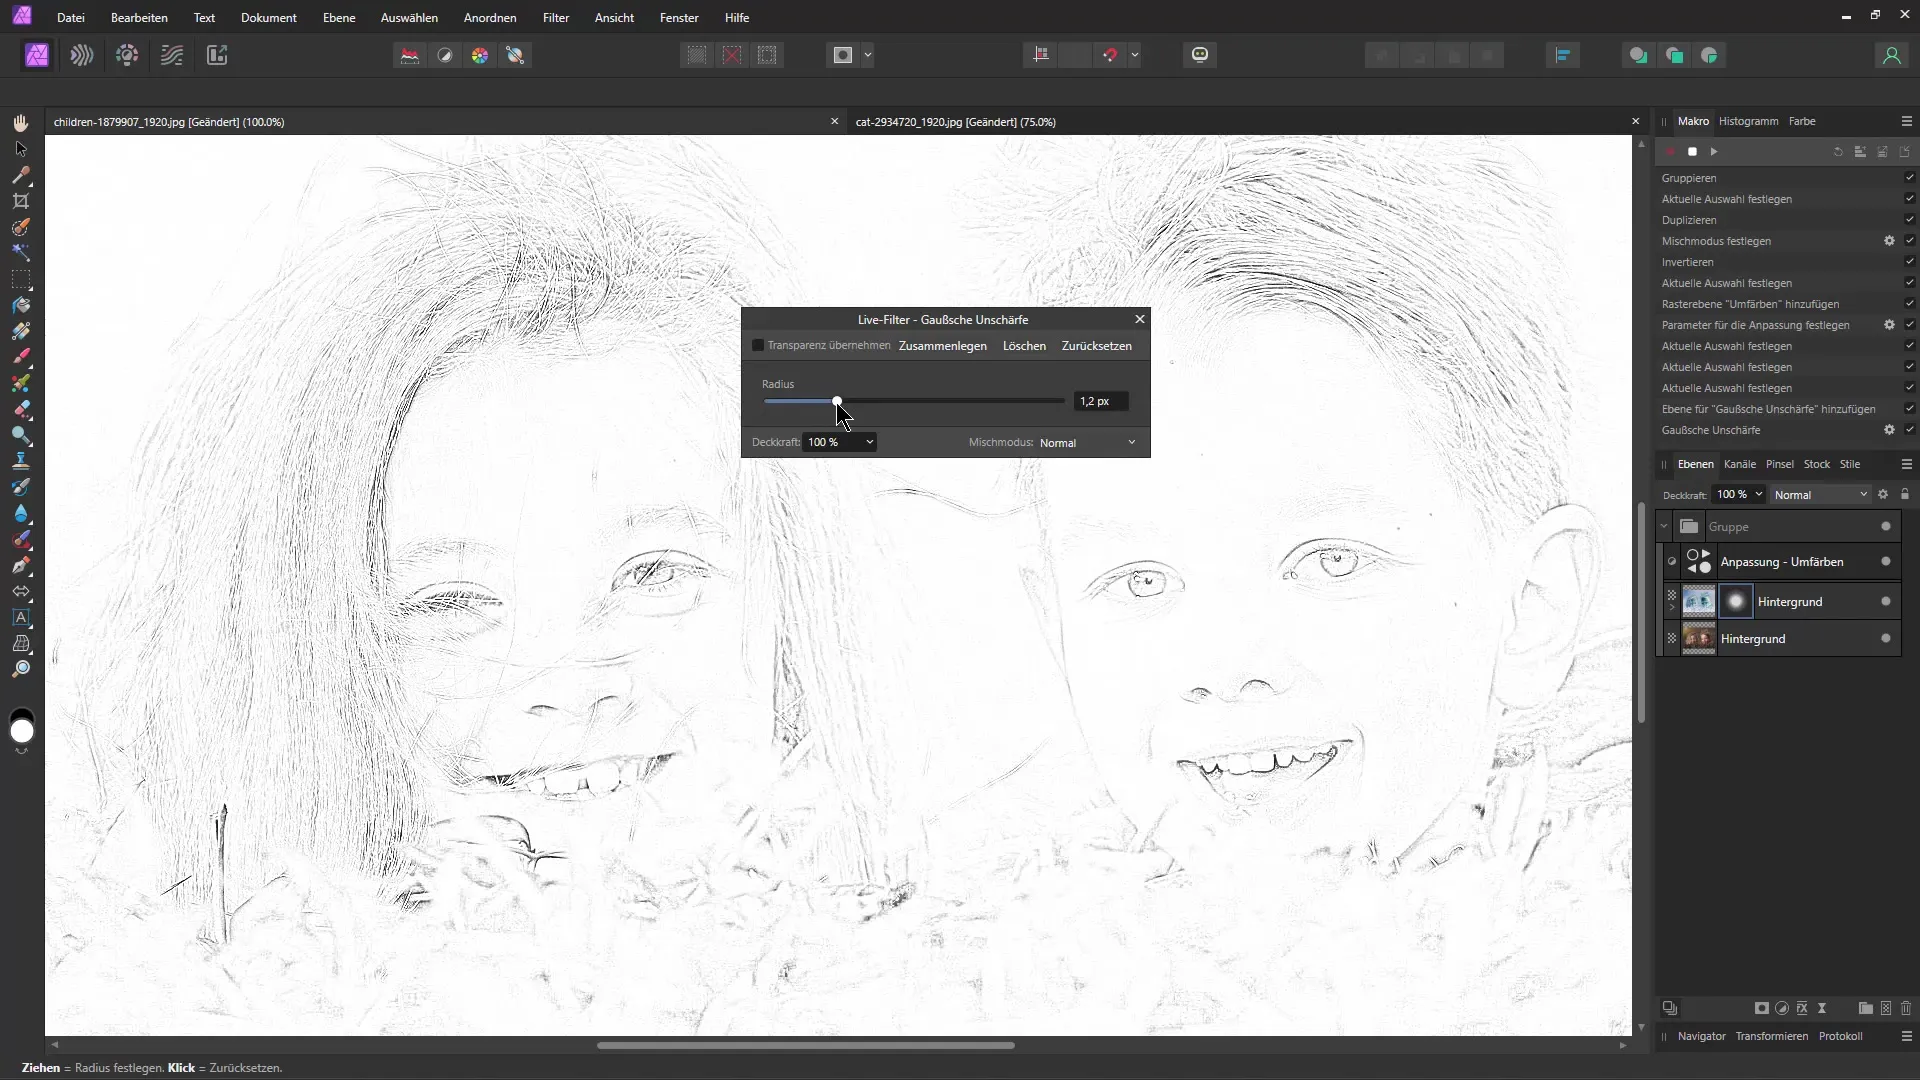
Adjust the blur so the image doesn't become too blurred but just enough to preserve the details. Experiment with the slider on the right until you are satisfied with the result.
Now, add a Levels adjustment. This setting allows you to change the brightness and contrast of the drawing. For example, you can increase the darkness to emphasize the shadows more.
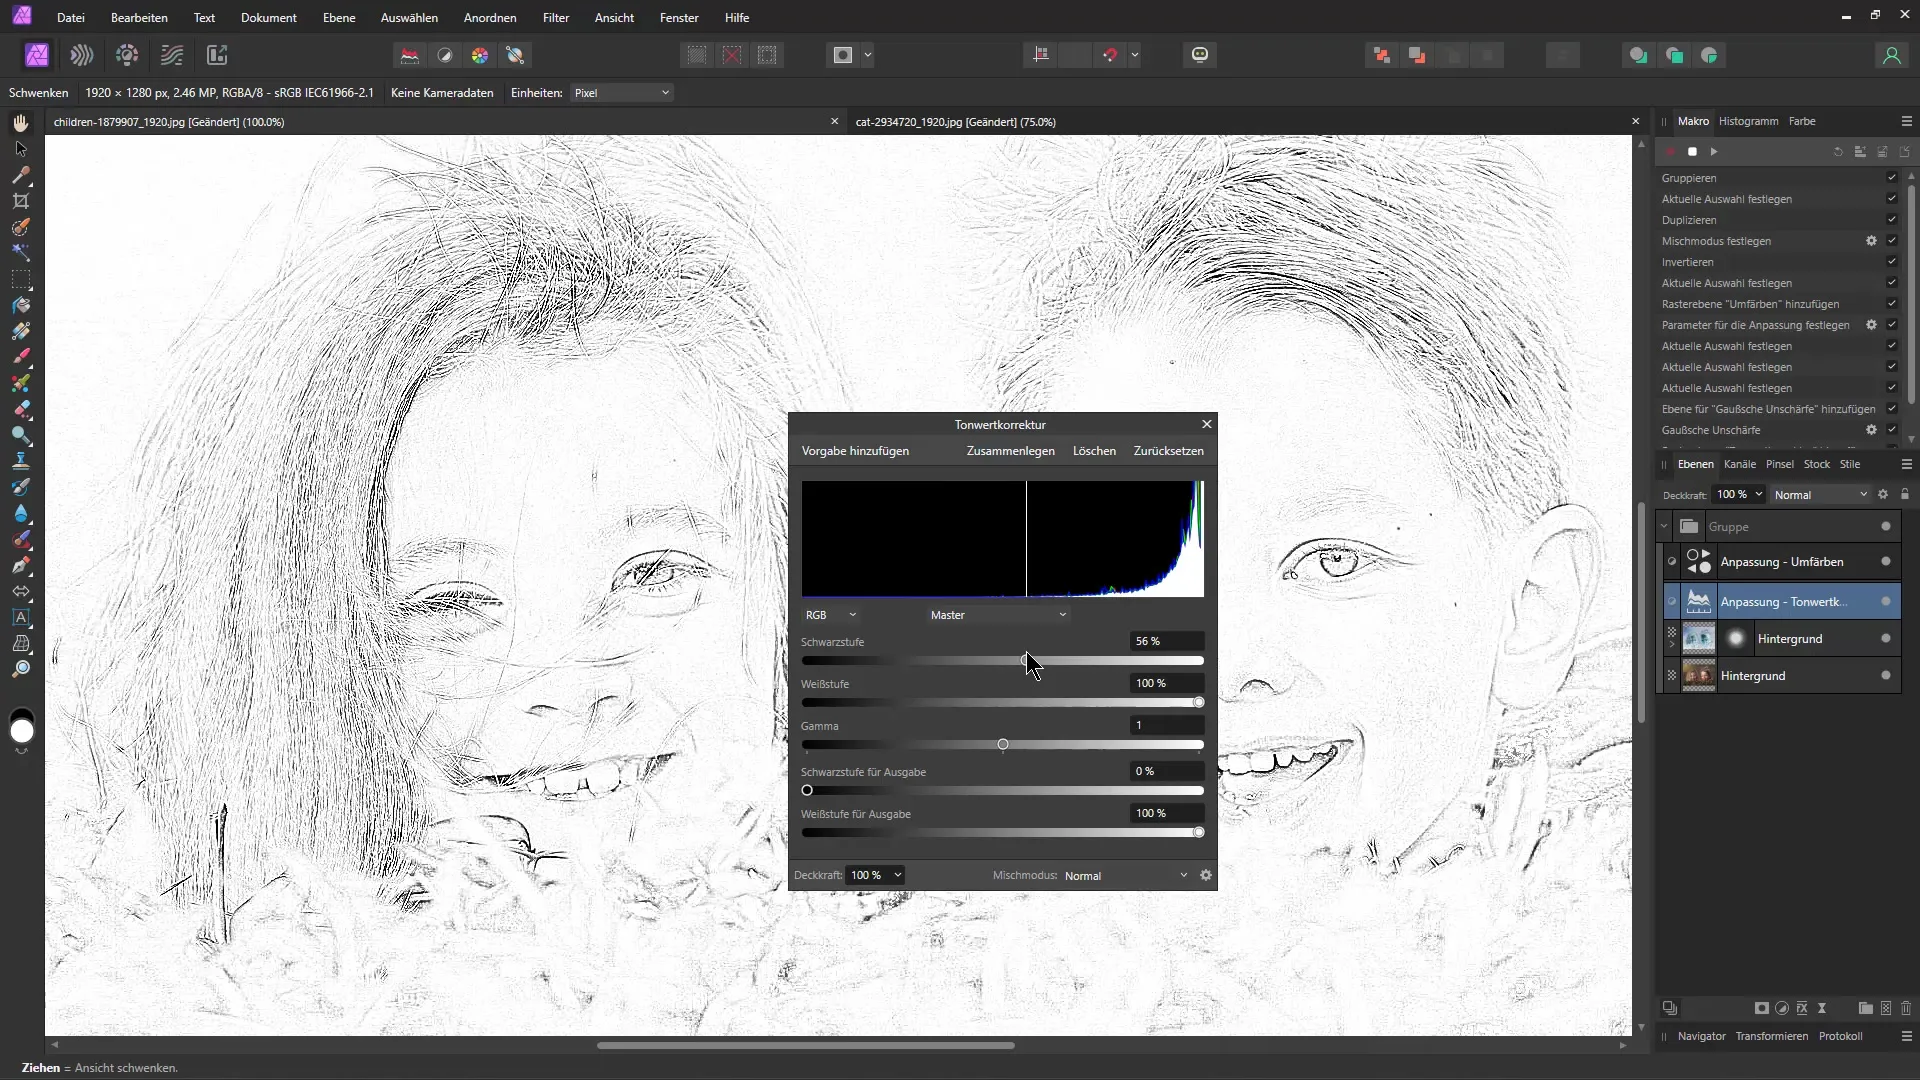
Once you are satisfied with the settings, stop the macro recording. You can now make adjustments at any time without having to go through the entire process again.
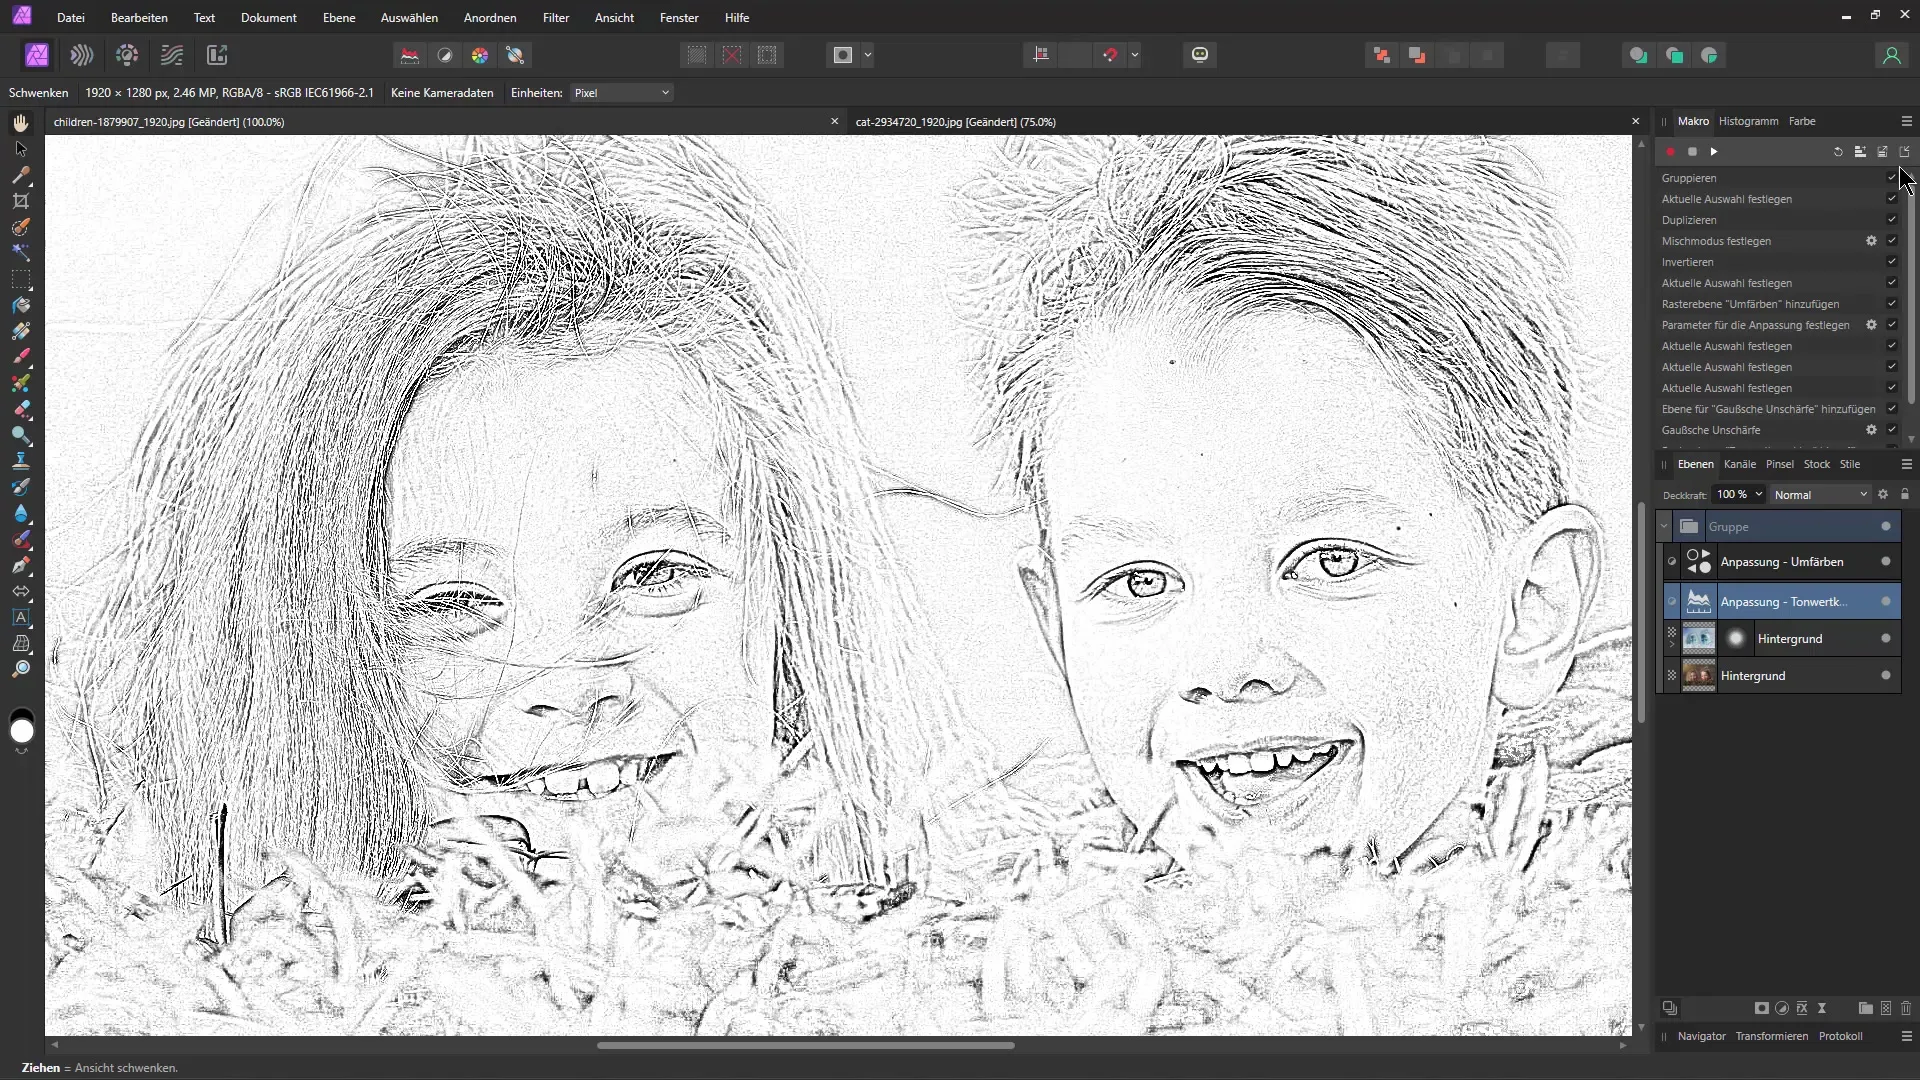
To apply the macro to other images, open a new one and simply add your newly created macro. You can paste it directly into the new image, and with a single click, the image will be transformed into a pencil drawing.
The result is a stylish pencil drawing that you can use for your projects. Experiment with different images and enjoy the versatility of this technique.
Summary
In this tutorial, you learned how to turn a photo into a pencil drawing and create a macro to automate this process. Experiment with different images to discover which effects you prefer, and use adjustments to further refine your images. With these techniques, creating impressive pencil drawings will be a breeze.
Frequently Asked Questions
How do I save the macro?To save the macro, go to the menu and select "Save macro".
Can I use the macro on different images?Yes, the macro can be applied to all images that require the same settings.
Is there a way to change the quality of the pencil drawing?Yes, you can adjust the settings in the Gaussian Blur and Levels Correction.
