In digital design, there are techniques that can give your images a unique look. One of these looks is the halftone raster effect, which makes images nostalgic and interesting. If you want to learn how to create this effect in Affinity Photo with just a few clicks, you are in the right place. In this tutorial, I will show you every step so that you can easily apply this effect to your own images.
Main Learnings
- You can create the halftone raster effect in Affinity Photo using live filter layers.
- Simple adjustments to cell size and angle create a custom look.
- Color adjustments allow you to switch between classic black and white and colored effects.
Step-by-Step Guide
First, you need to create a new layer in Affinity Photo. Go to your document and select the option for a new layer.
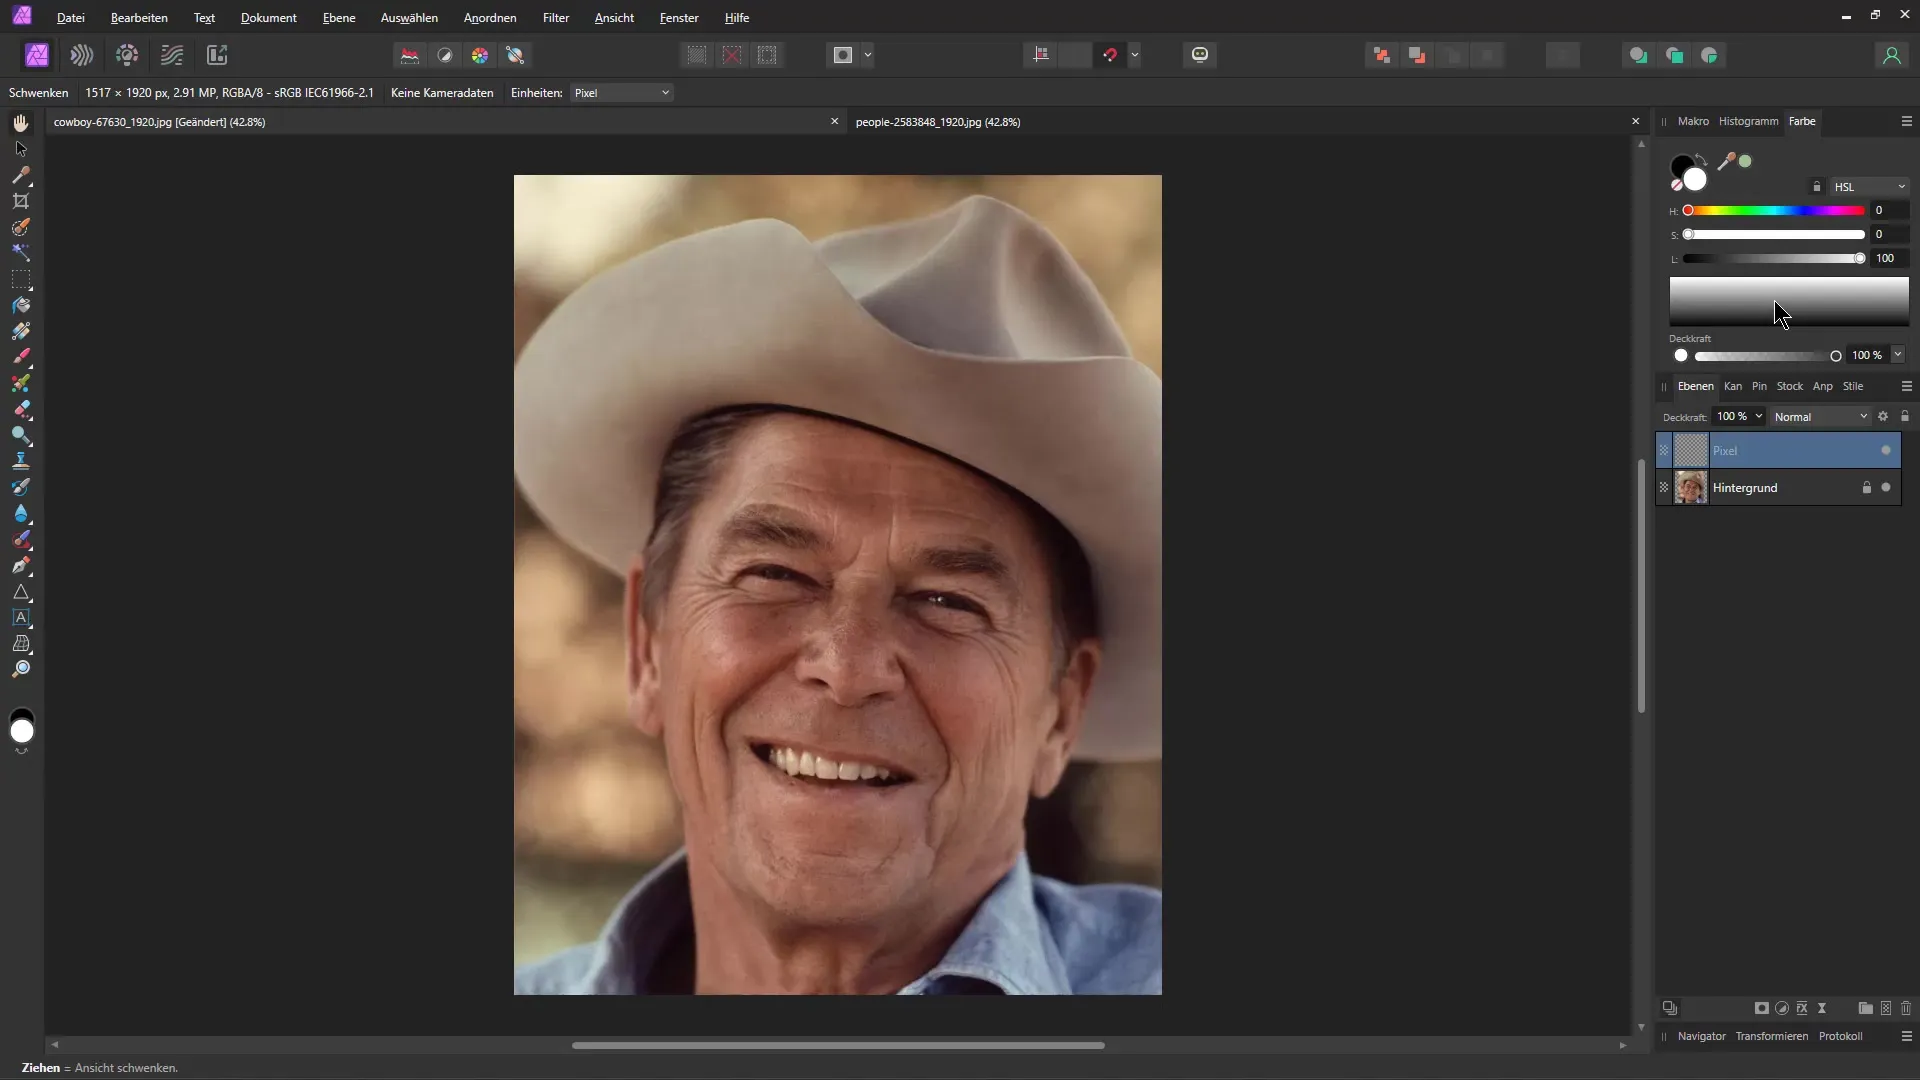
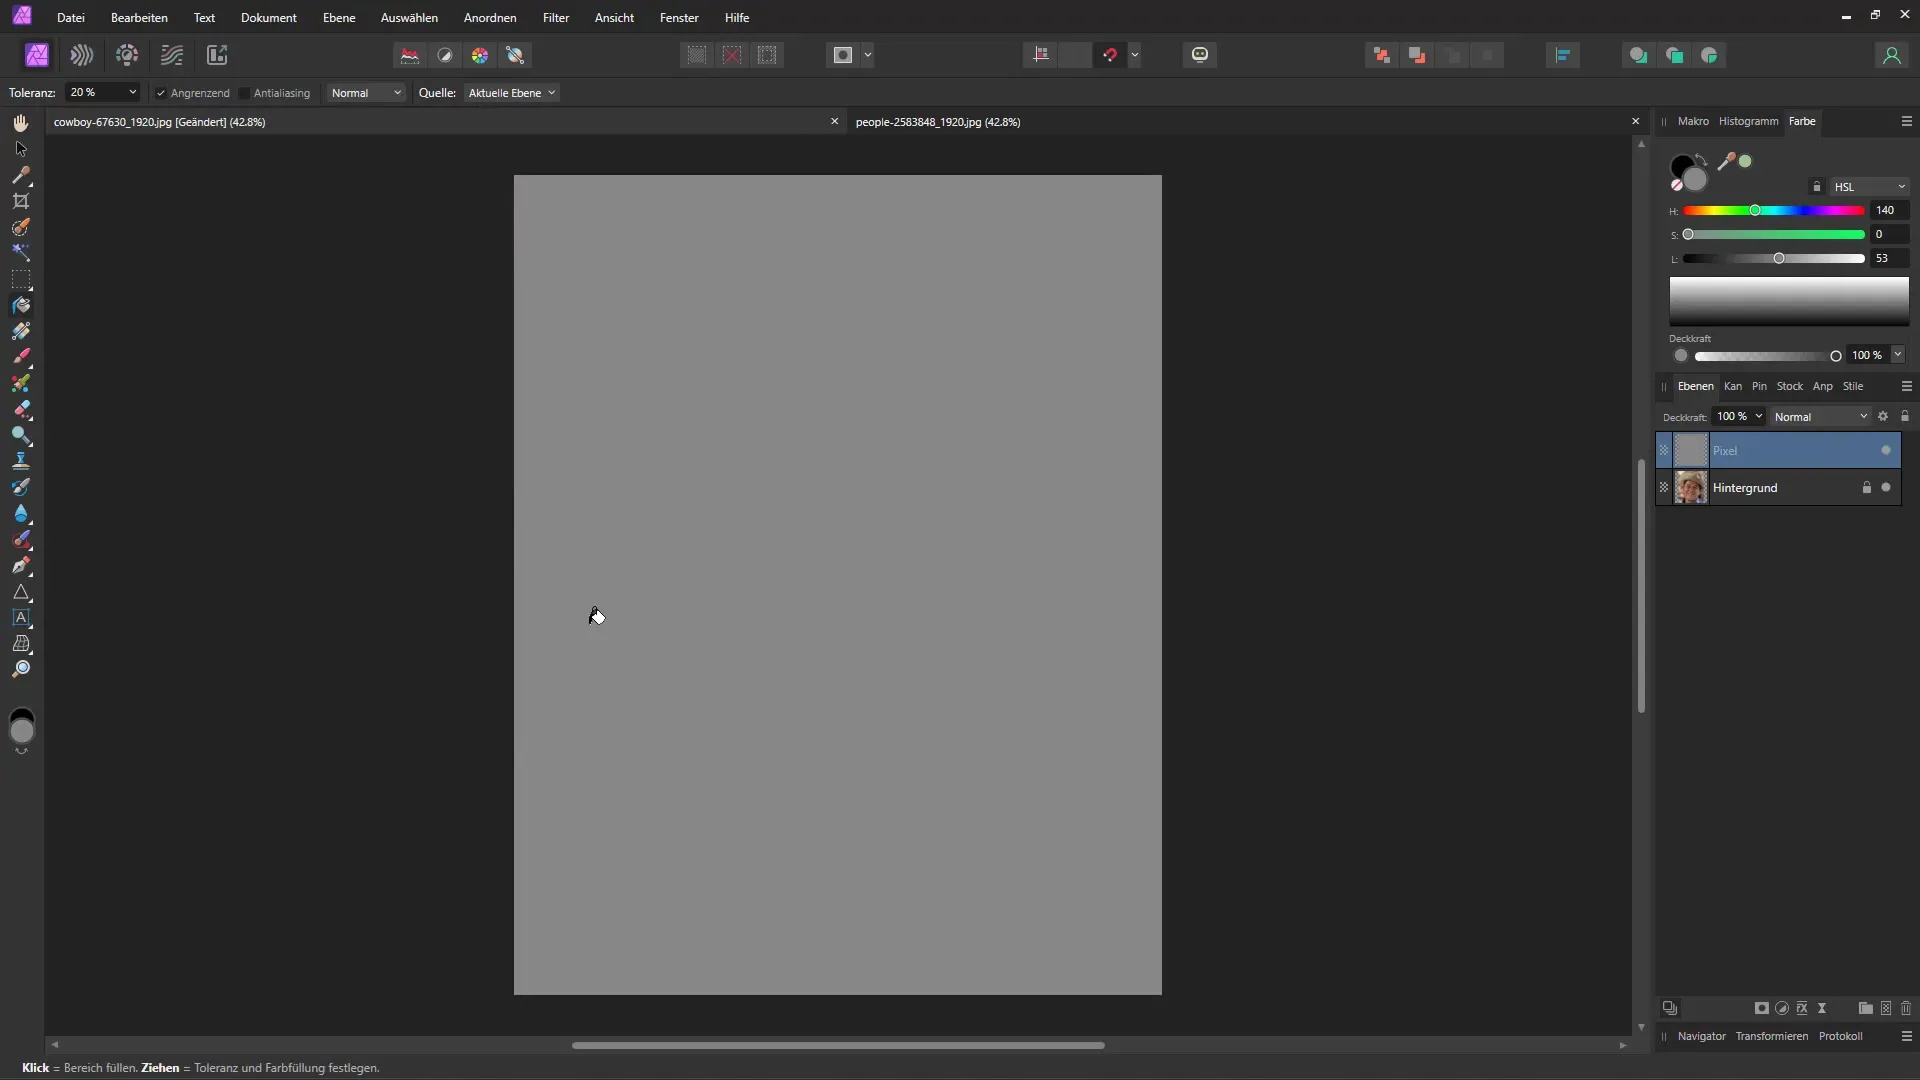
Ensure that this new layer is designed in a grayscale tone. Next, choose a medium shade of gray. Here you can continue to adjust how the result looks, and I recommend selecting this color carefully depending on the image.
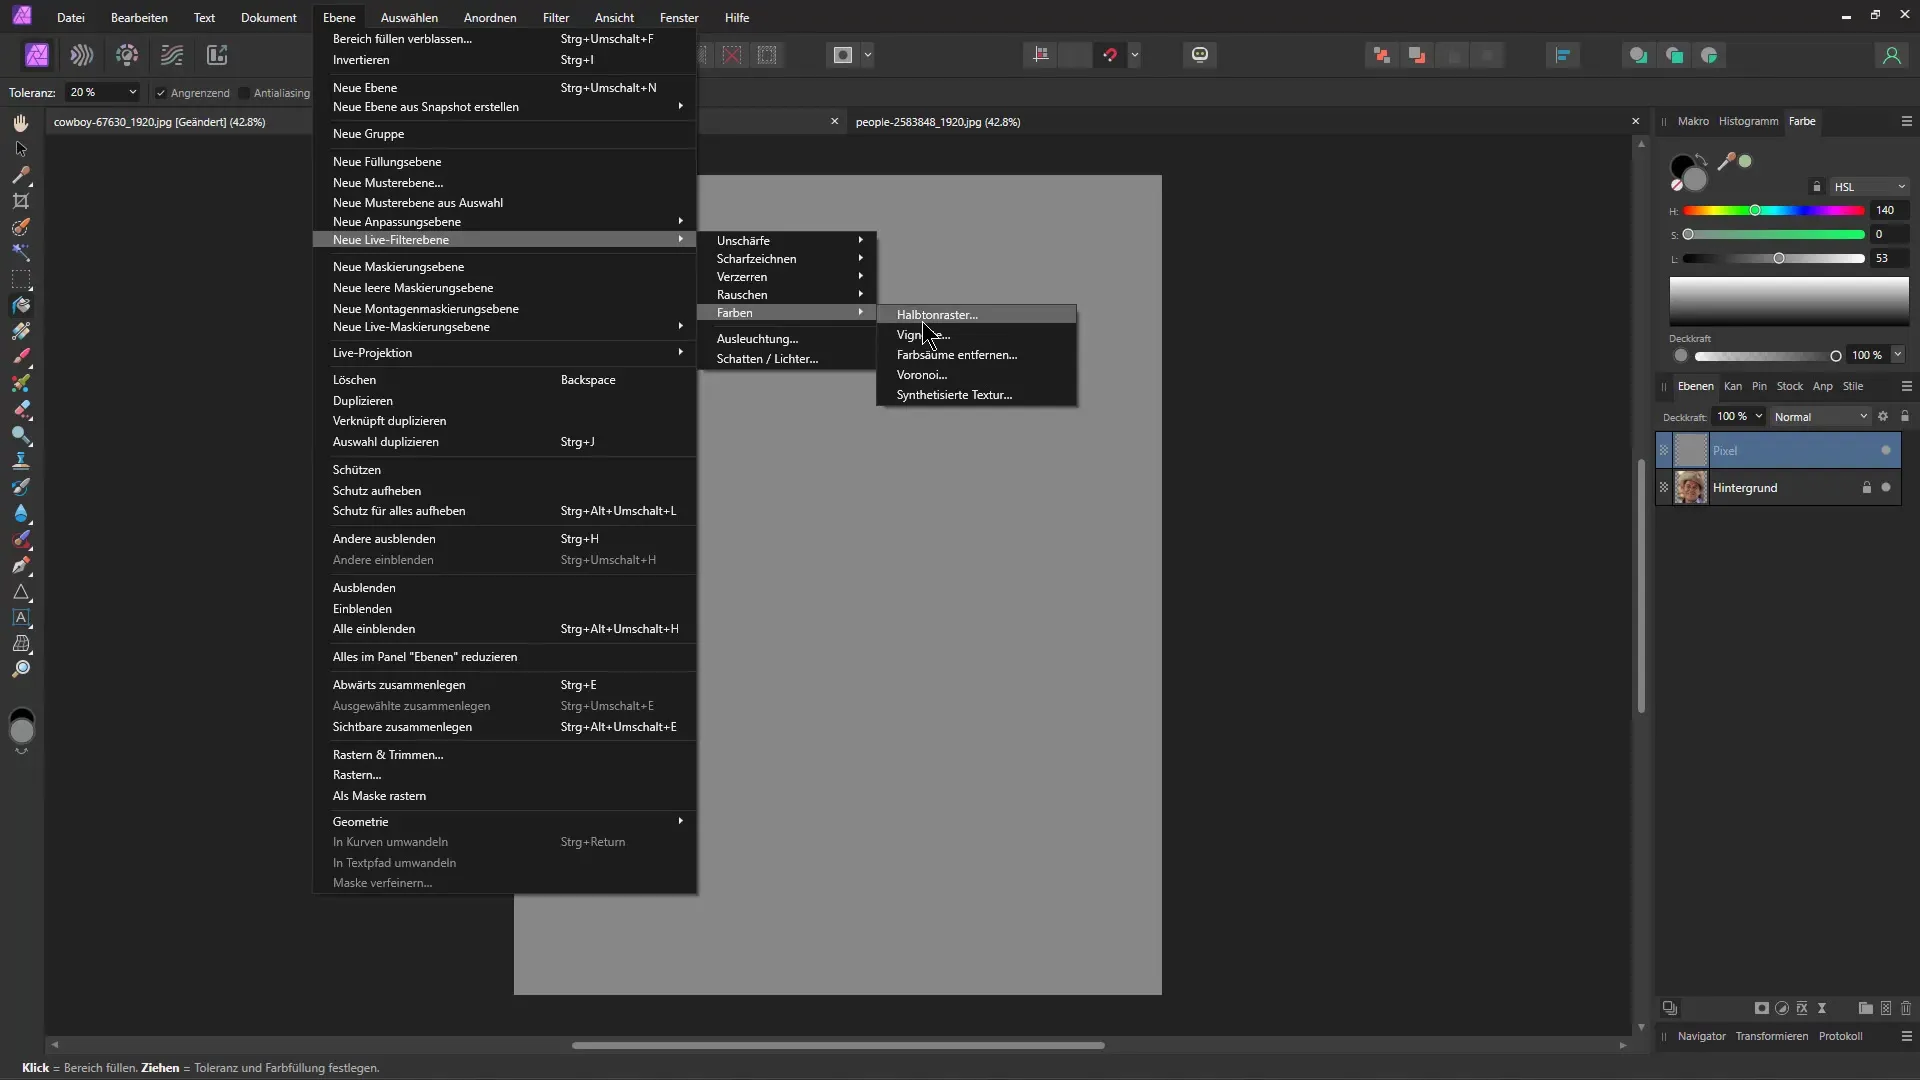
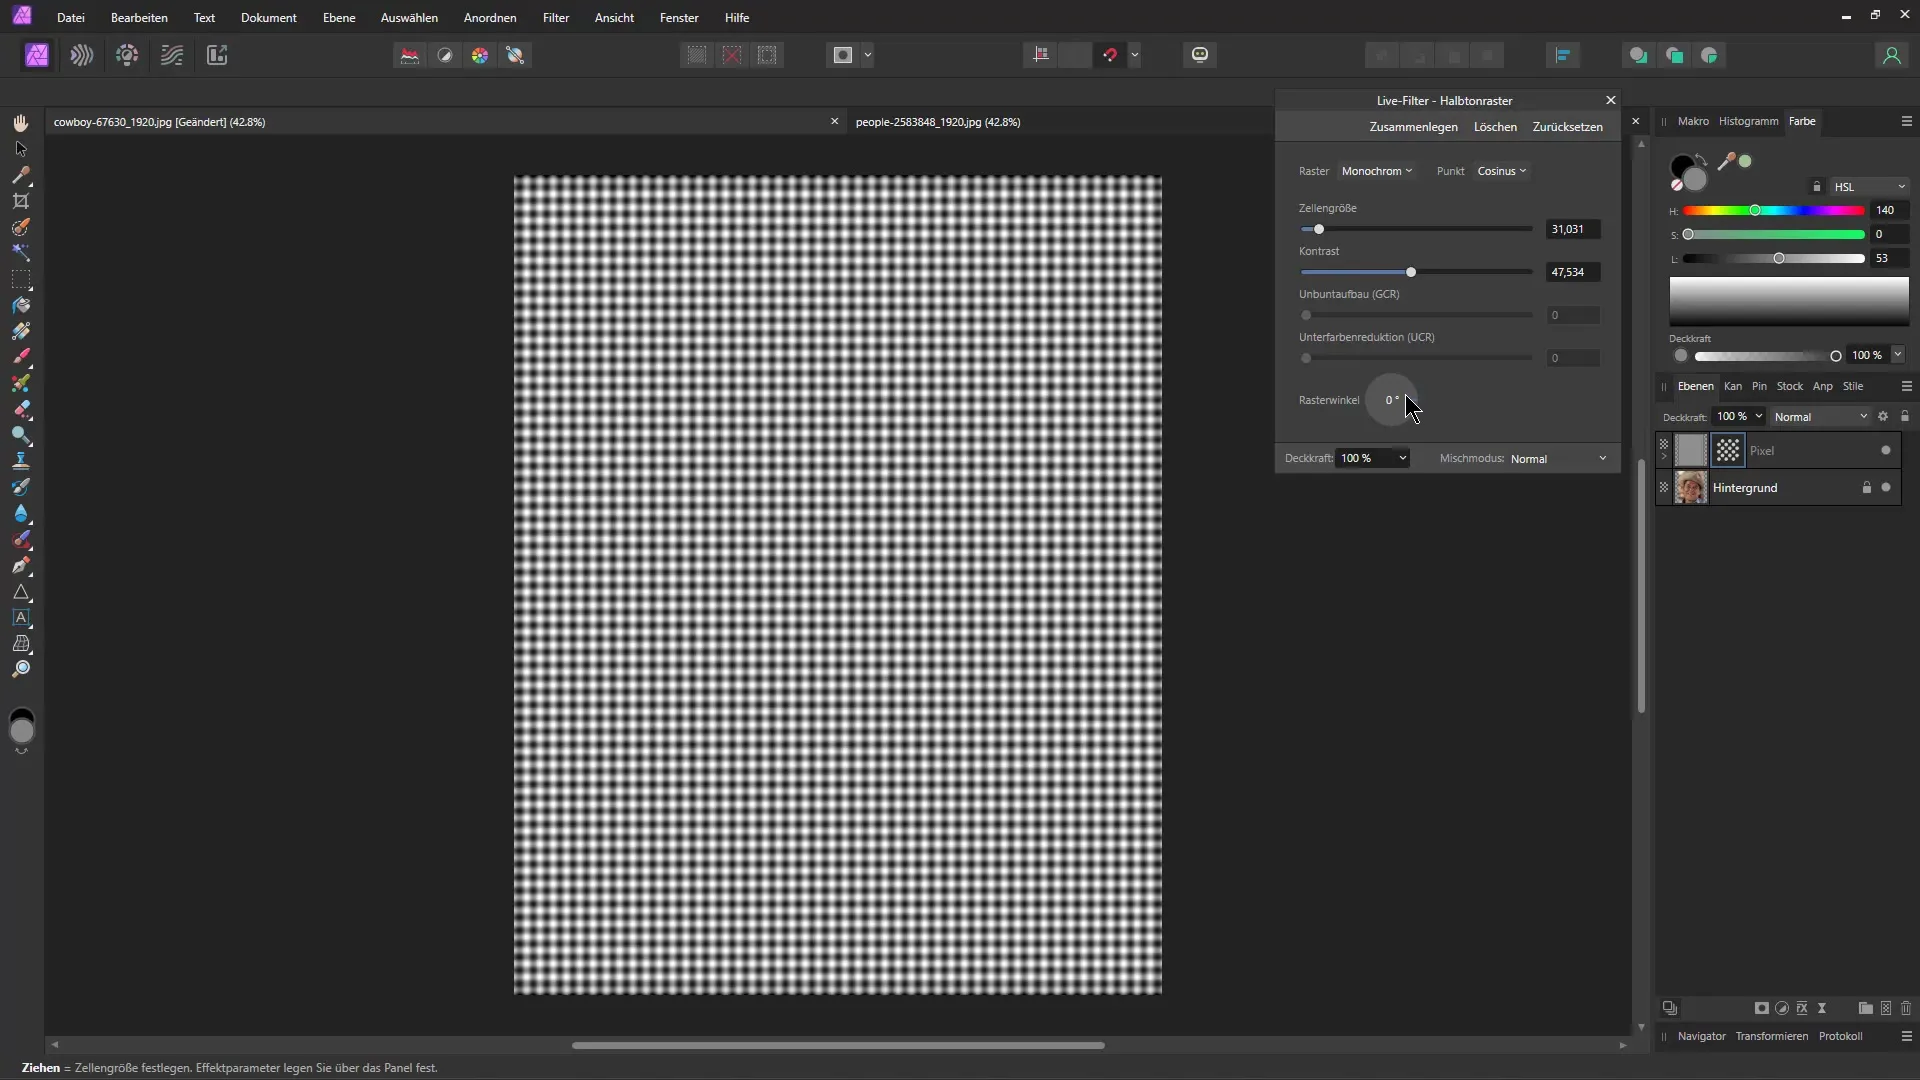
Now comes the exciting part. Go to the menu bar and select the "Layer" option. Then click on "New Live Filter Layer" and choose Colors -> Halftone Screen. This will already create a first visual effect and give your image an interesting texture. Make sure you can adjust the character size for the best results.
In this step, it's important to adjust the layer's blending mode. I recommend setting the blending mode to "Hard Mix." This ensures that the halftone raster effect stands out well. Check this step to make sure you are only hitting the selected pixels without overlaying the entire image.
To enhance creativity, you can add a small HSL adjustment. Go to the HSL adjustment and set the saturation to zero to achieve a black and white effect. It's important to apply this adjustment to the image to enhance the money effect. Also, change the pixel layer to Hard Mix.
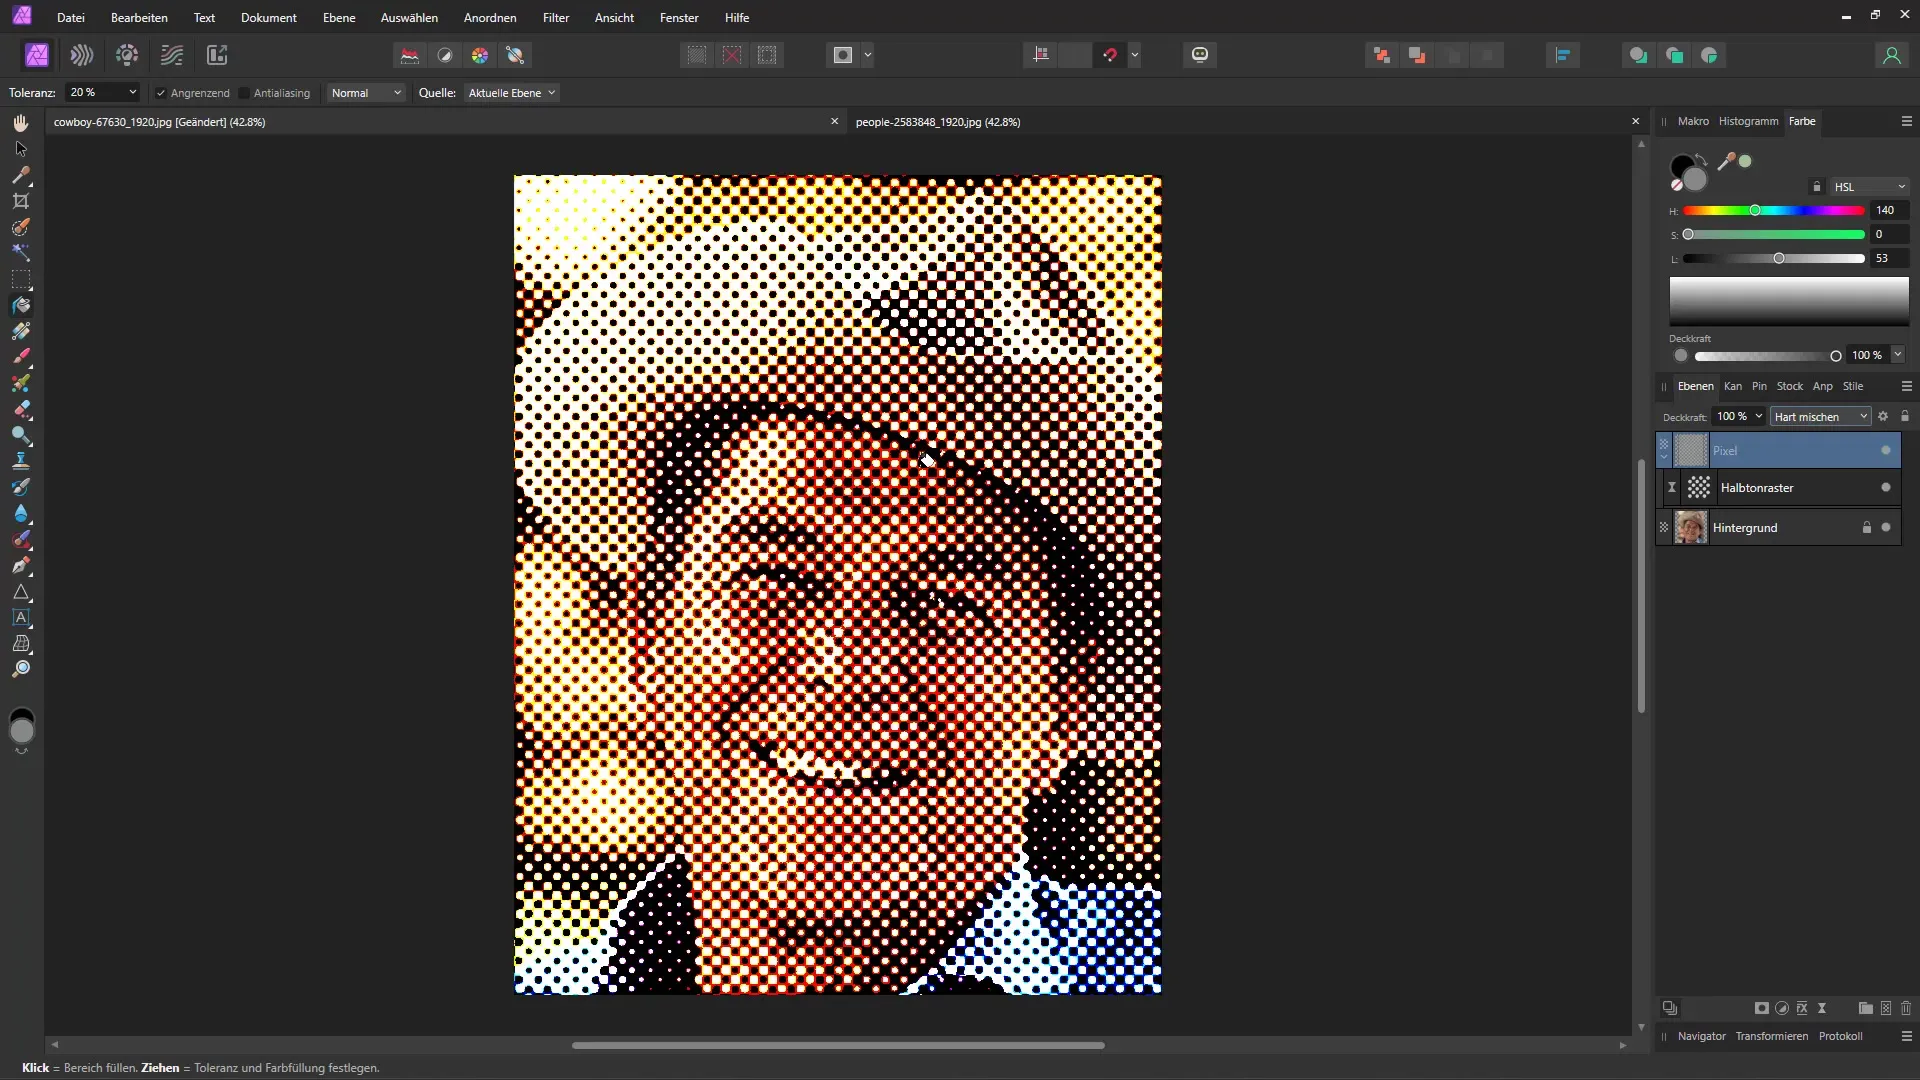
You may find that the grain of the effect is too large. To change this, go back to the halftone raster effect and adjust the cell size. Reduce the size to achieve the desired effect. You can also refine the contrast to perfect the overall image.
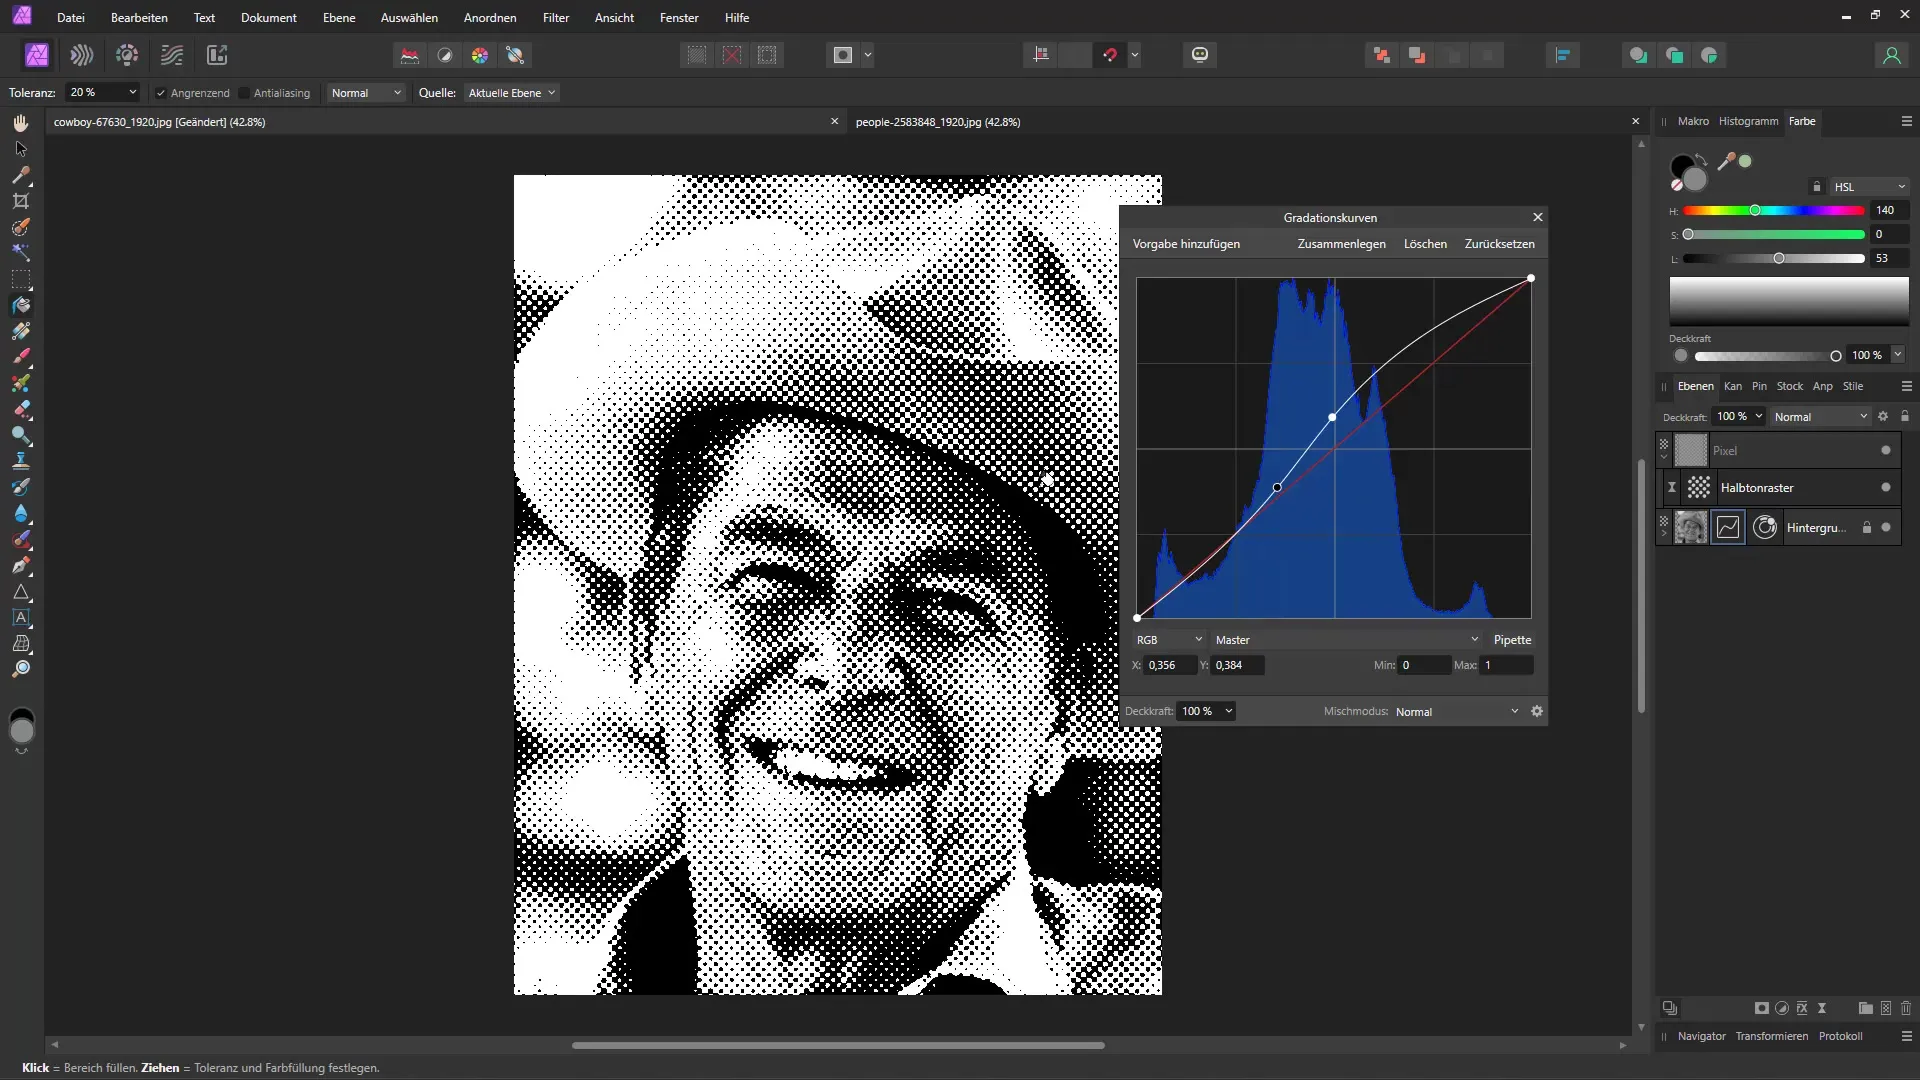
Now you have a great black and white effect, but you can further adjust. Use curves to make more fine-tuning to your image. Check the changes carefully until you are satisfied with the effect.
You can now easily apply the effect to another image. Copy the image and paste it into your document. With the Shift key pressed, you can apply the two effects to the new image. Here, you can readjust the size of the halftone screen to fit well with the new image.
An interesting highlight is that with live filters, you can also choose other types of screens, not just the classic monochrome style. Play around with these options to see which styles you prefer.
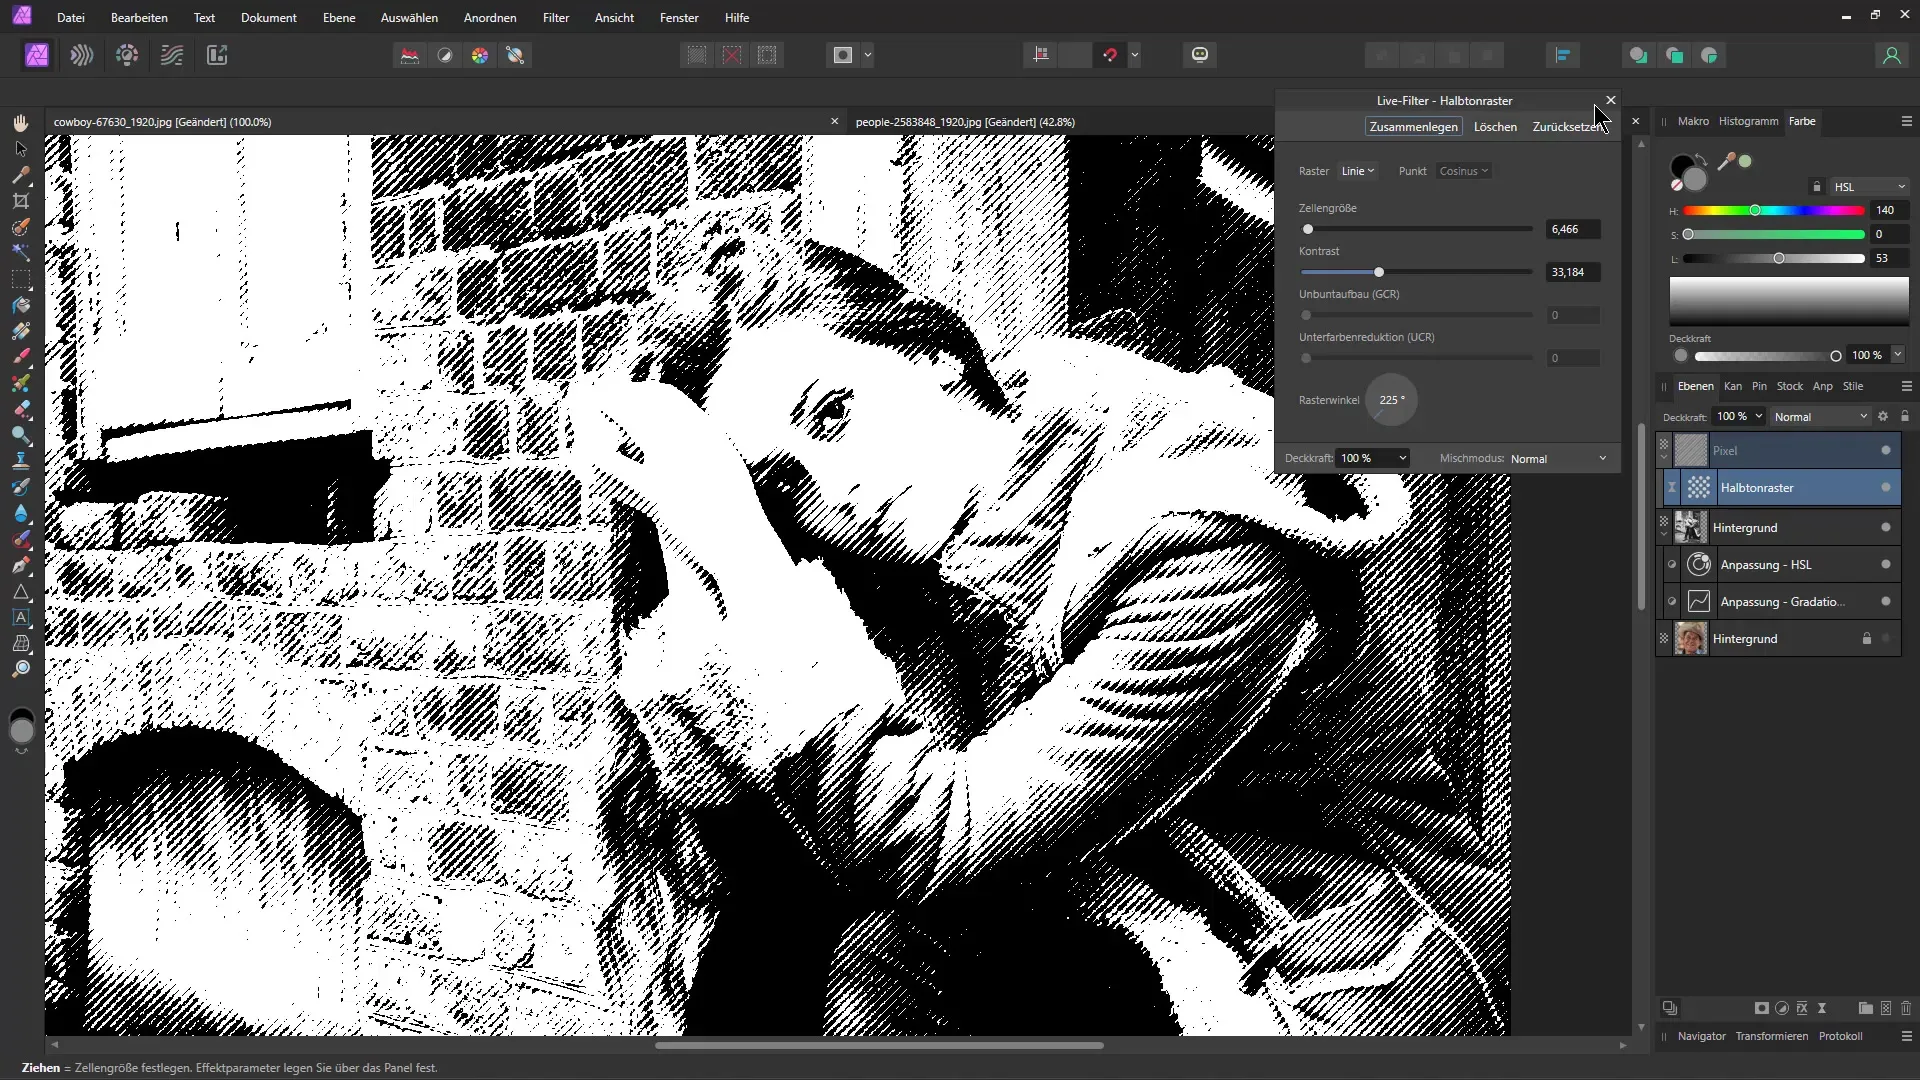
To adjust the colors of the effect, you can decide whether to increase the saturation or change the colors. It's up to you whether the result should remain in black and white or a colorful option is chosen.
The halftone raster effect is an easy-to-create effect that you can easily implement with Affinity Photo. With the various adjustment options and live filters, it's fun to experiment with textures and effects.
I hope that this step-by-step guide has shown you how to apply this unique effect to your images. Have fun and see you in the next tutorial!
Summary
In this guide, I have presented to you the steps to create an impressive halftone effect in Affinity Photo. You are now ready to apply this cool effect to your images and unleash your creativity. Good luck!
