In this tutorial, I will show you how you can transform a photo into an impressive painting-like look with Affinity Photo in just a few steps. Once you know the techniques and tricks, it's easy and quick to give your image the desired artistic appearance. Let's get started!
Key Insights
You will learn how to convert your photo into a painted image using filters and adjustments in Affinity Photo. We will add noise, then edit it, and finally adjust the colors and contrast to achieve the best effect.
Step-by-Step Guide
First, open your image in Affinity Photo.
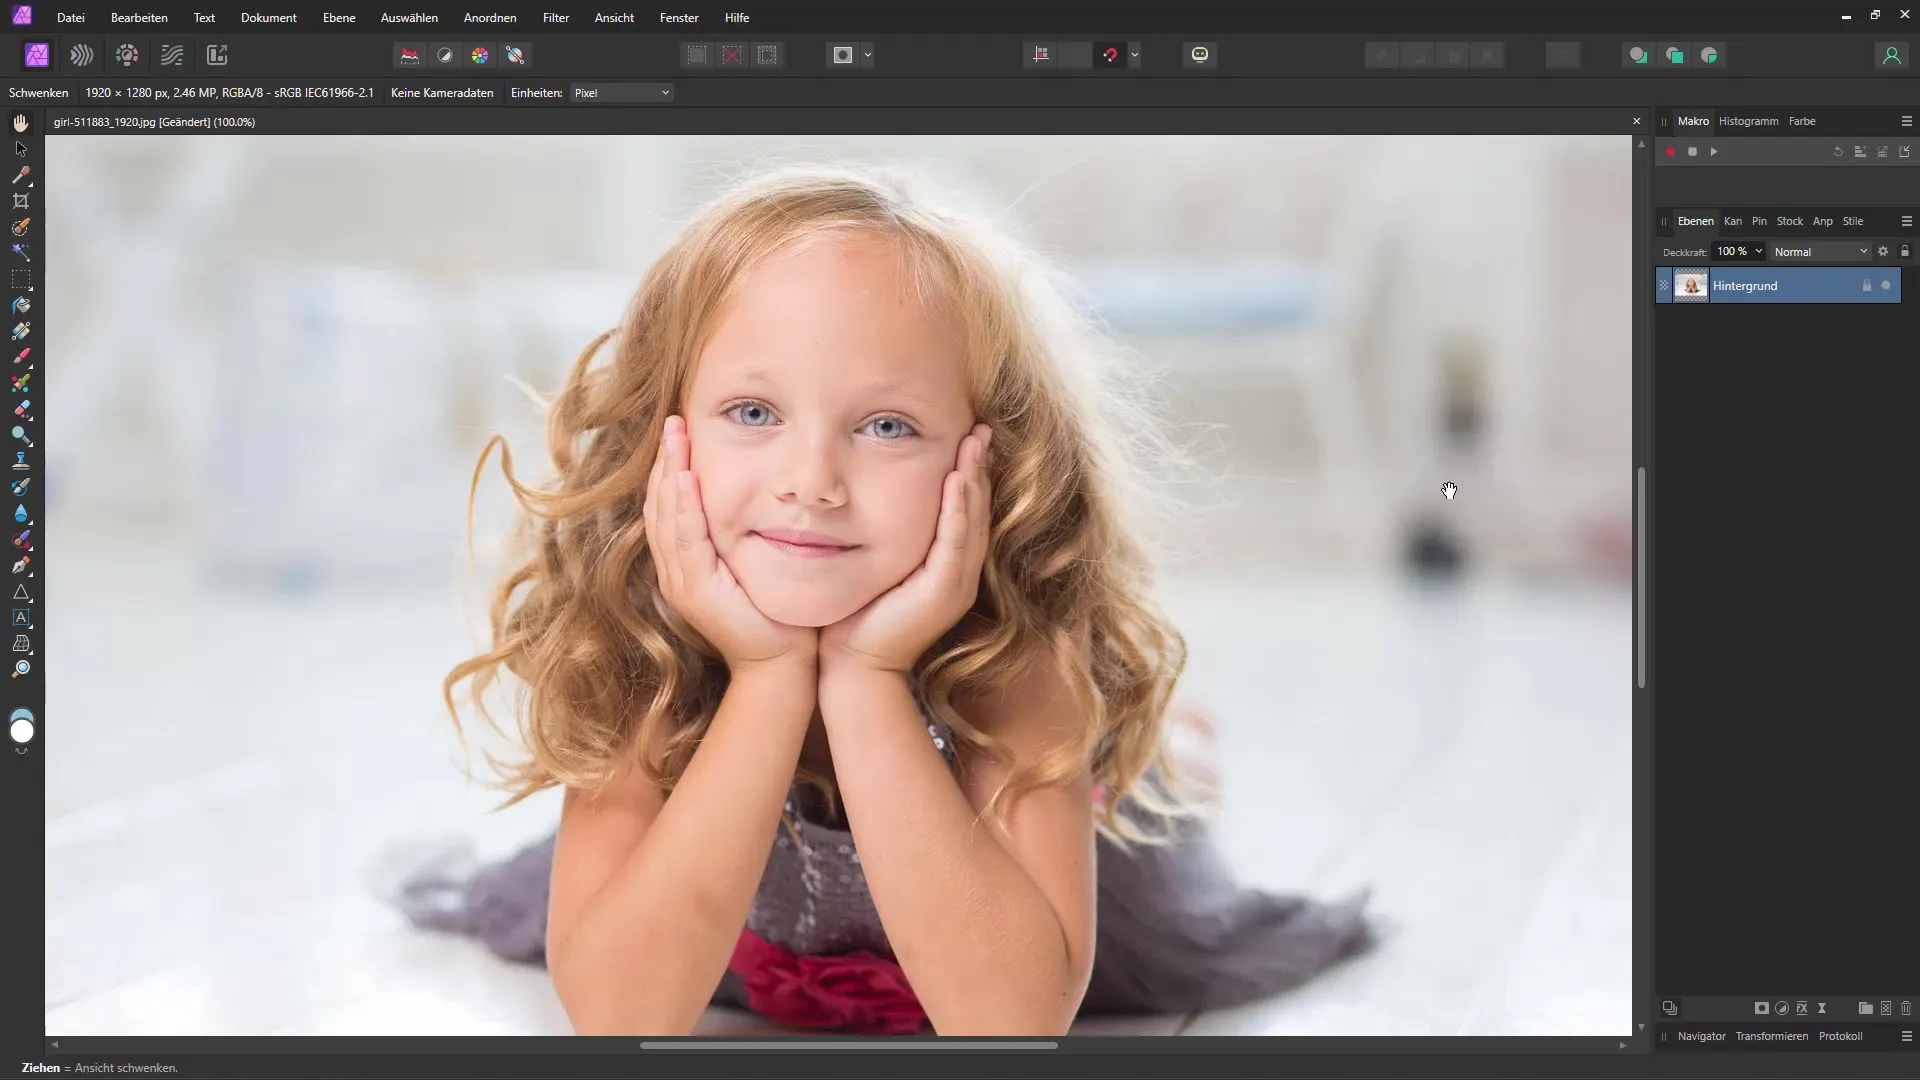
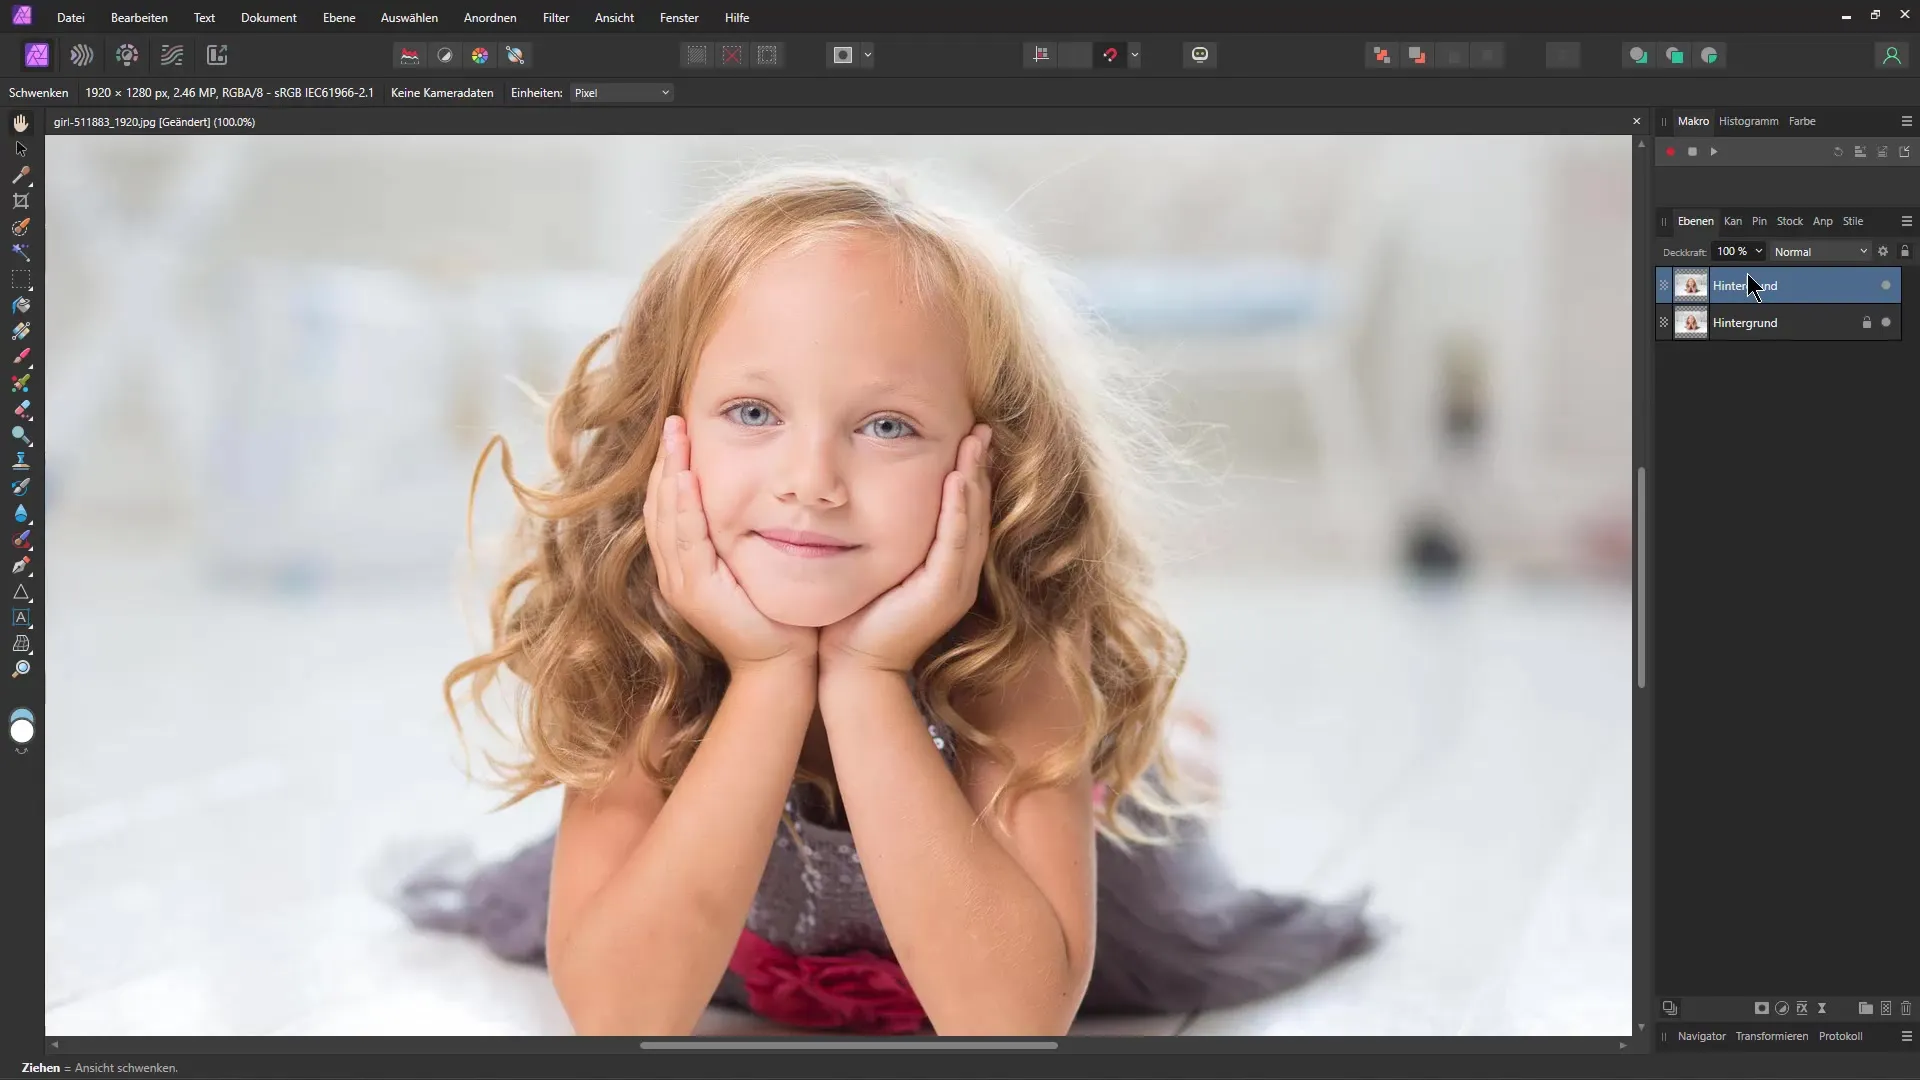
To avoid altering the original layer, you should duplicate it. To do this, press Ctrl + J. This will give you a copy of the layer in the Layers panel that you can work on.
After duplicating the layer, go to the Filter menu and choose Add Noise. Make sure not to set the noise level too intense to avoid overly large pixels. Adjust the intensity to have a fine noise level - a good starting point is around 10%.
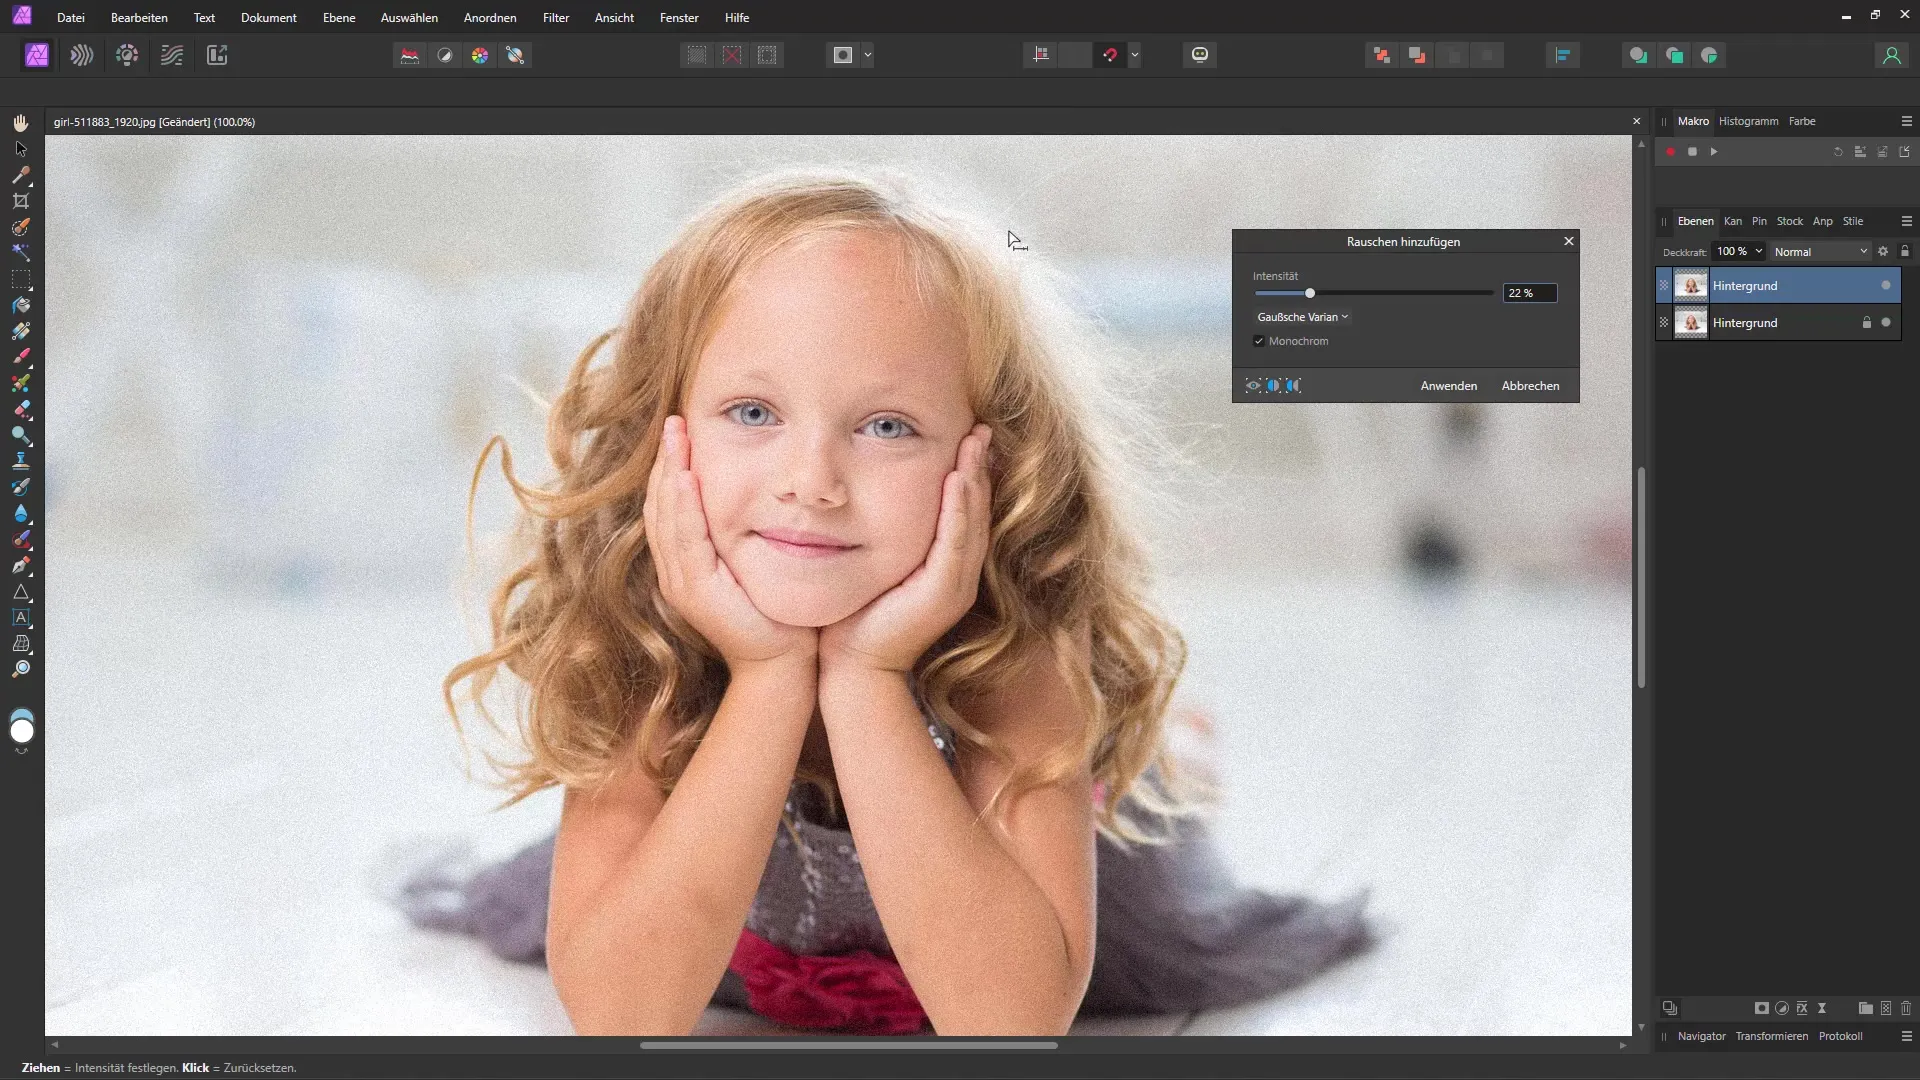
When setting the noise, it is recommended to try monochrome options. You can play around with the settings until you feel the noise level is perfect. Once you are done, click Apply.
In the next step, select the Tone Mapping Persona. Here, you can slightly decrease the brightness value and increase the contrast. This creates a dramatic effect that already gives your image a painted look, even if it may initially seem a bit intense.
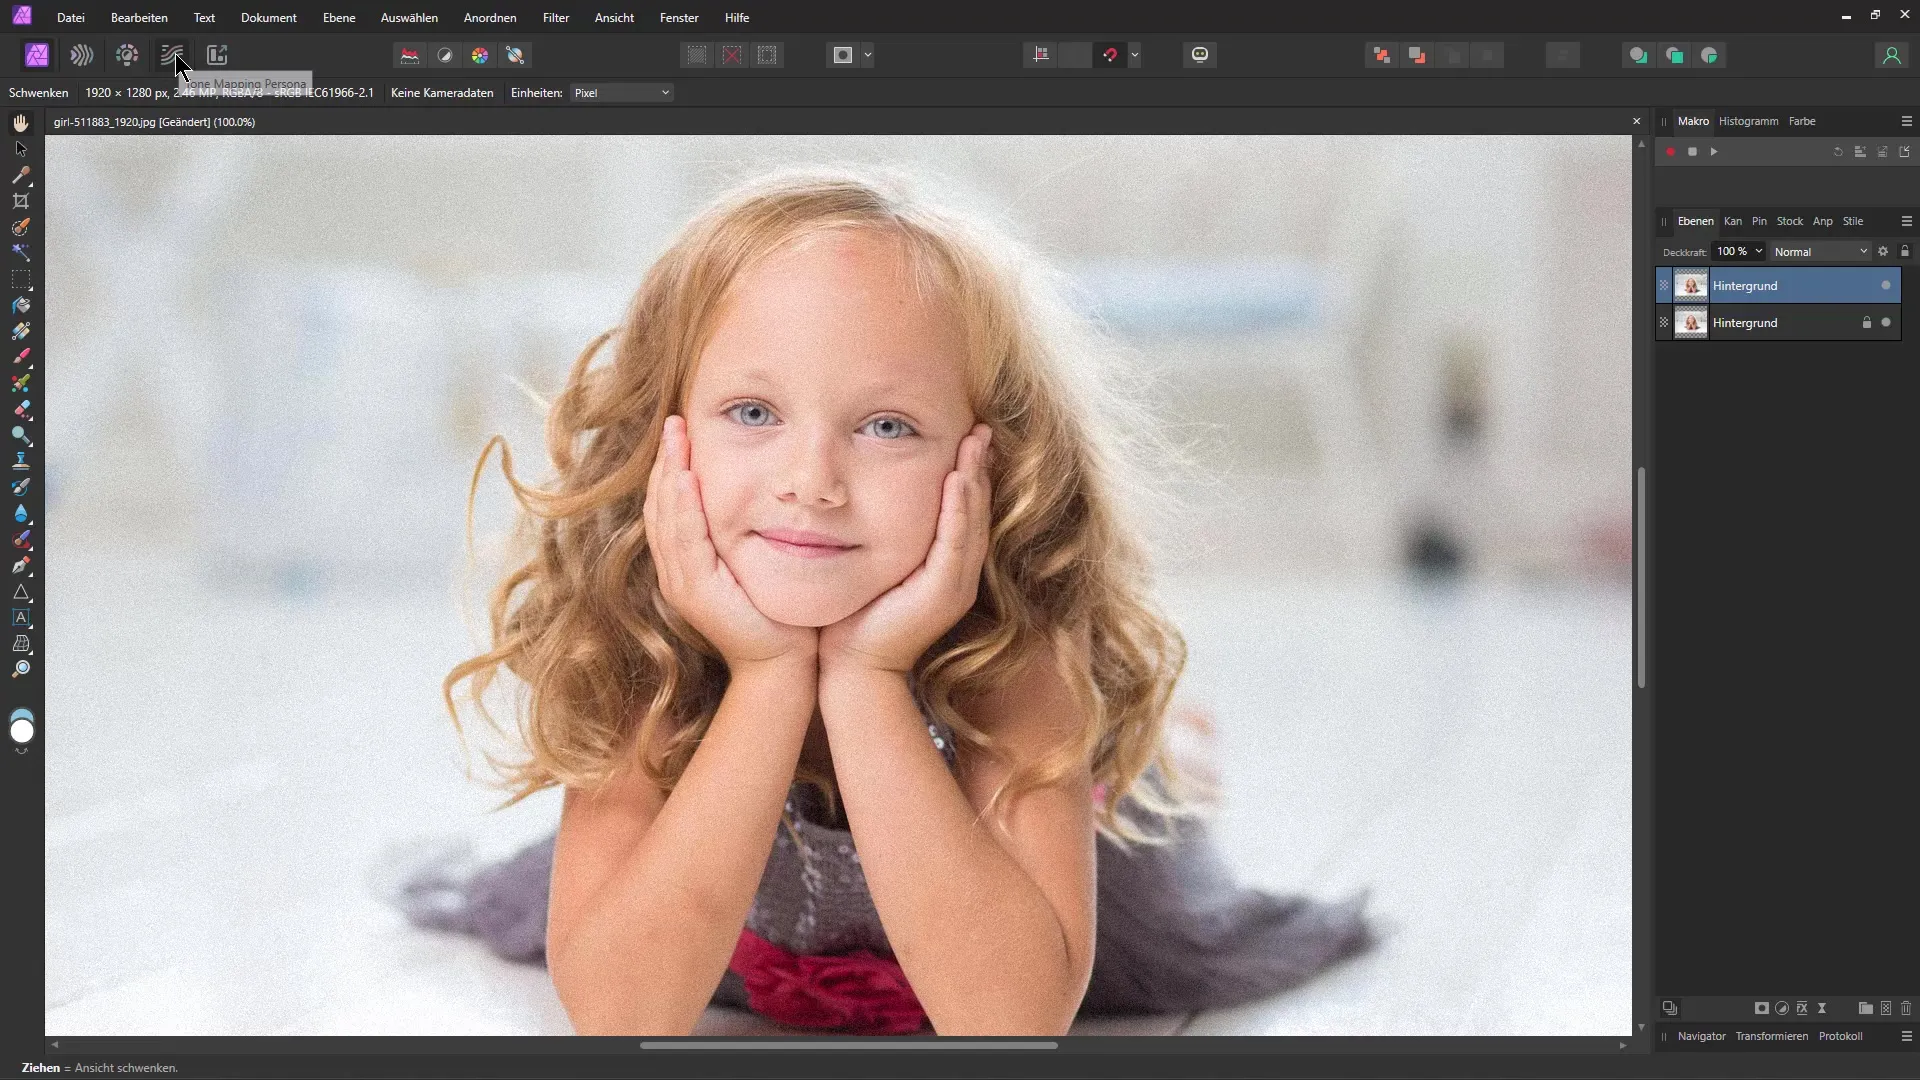
Now it's time to remove noise. Go back to Filter, choose Noise, and then Remove Noise. You will notice the image gaining clarity and details becoming more prominent.
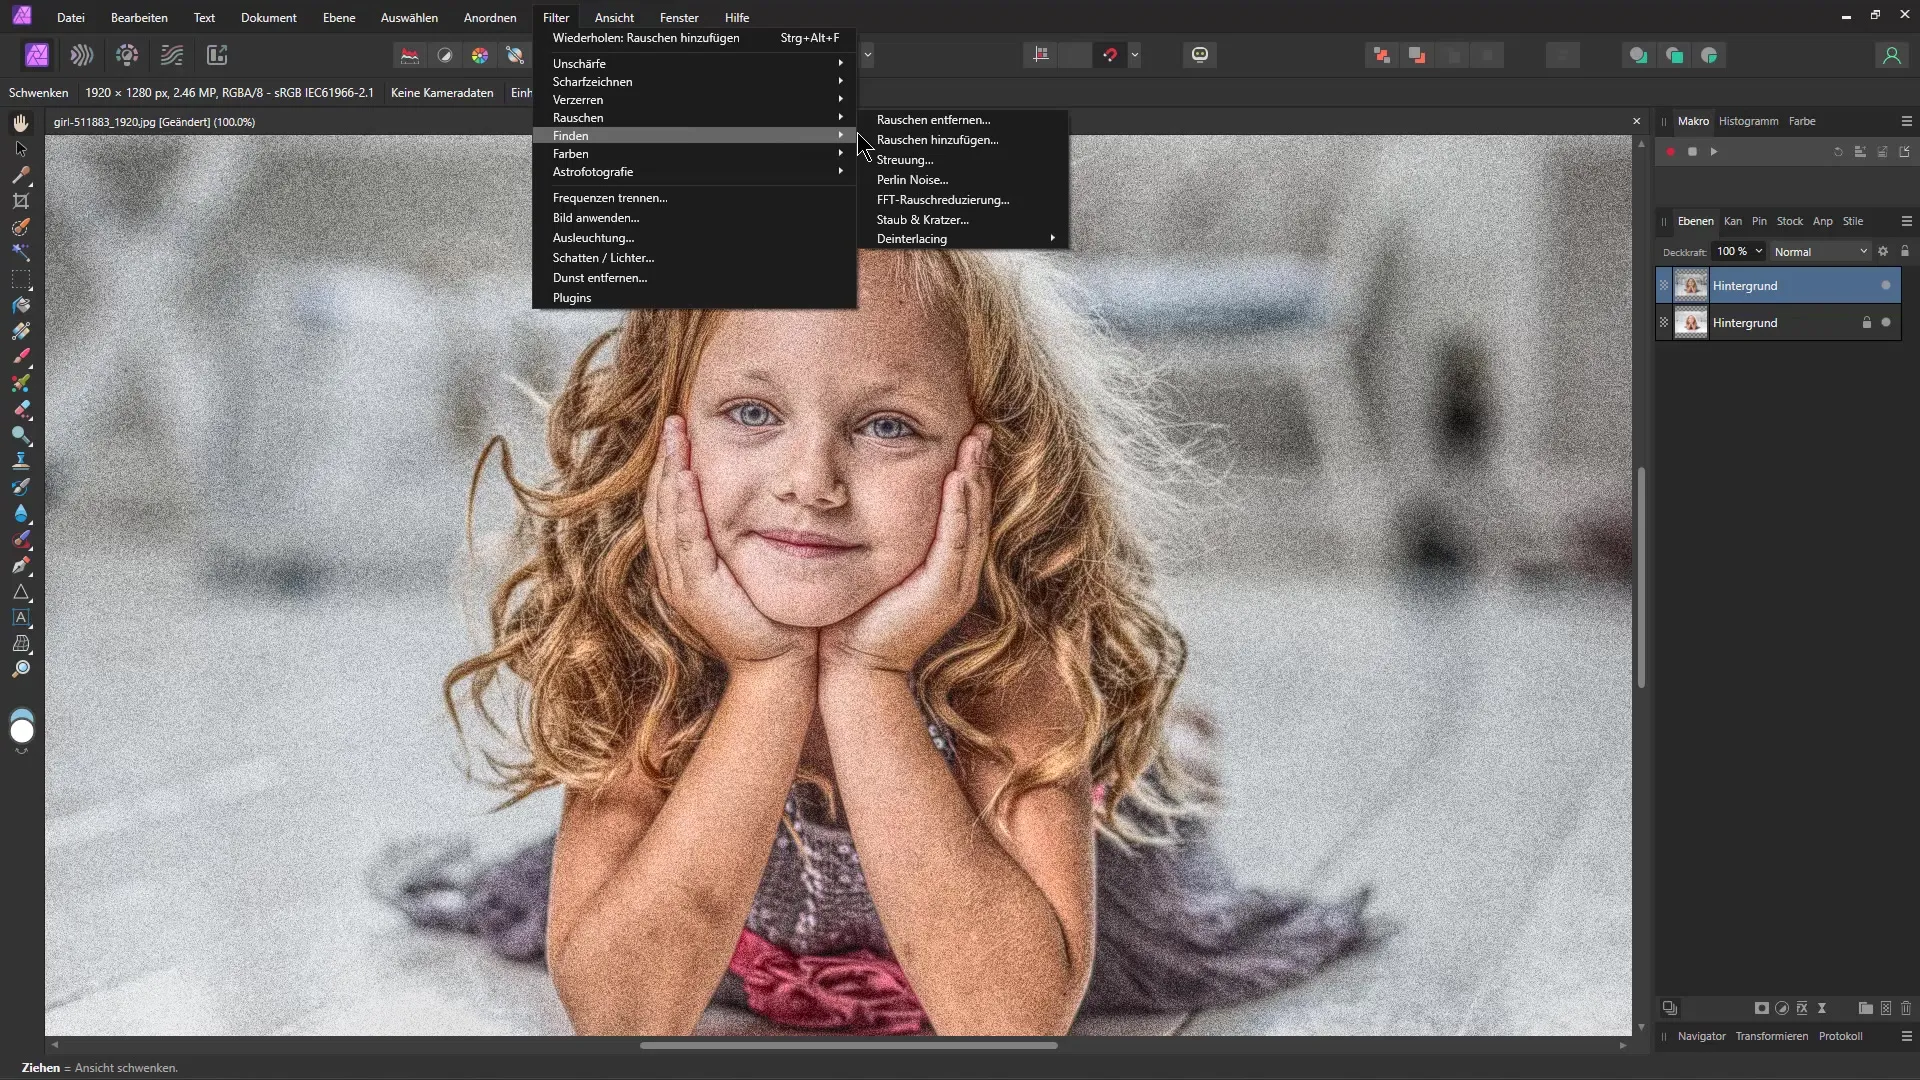
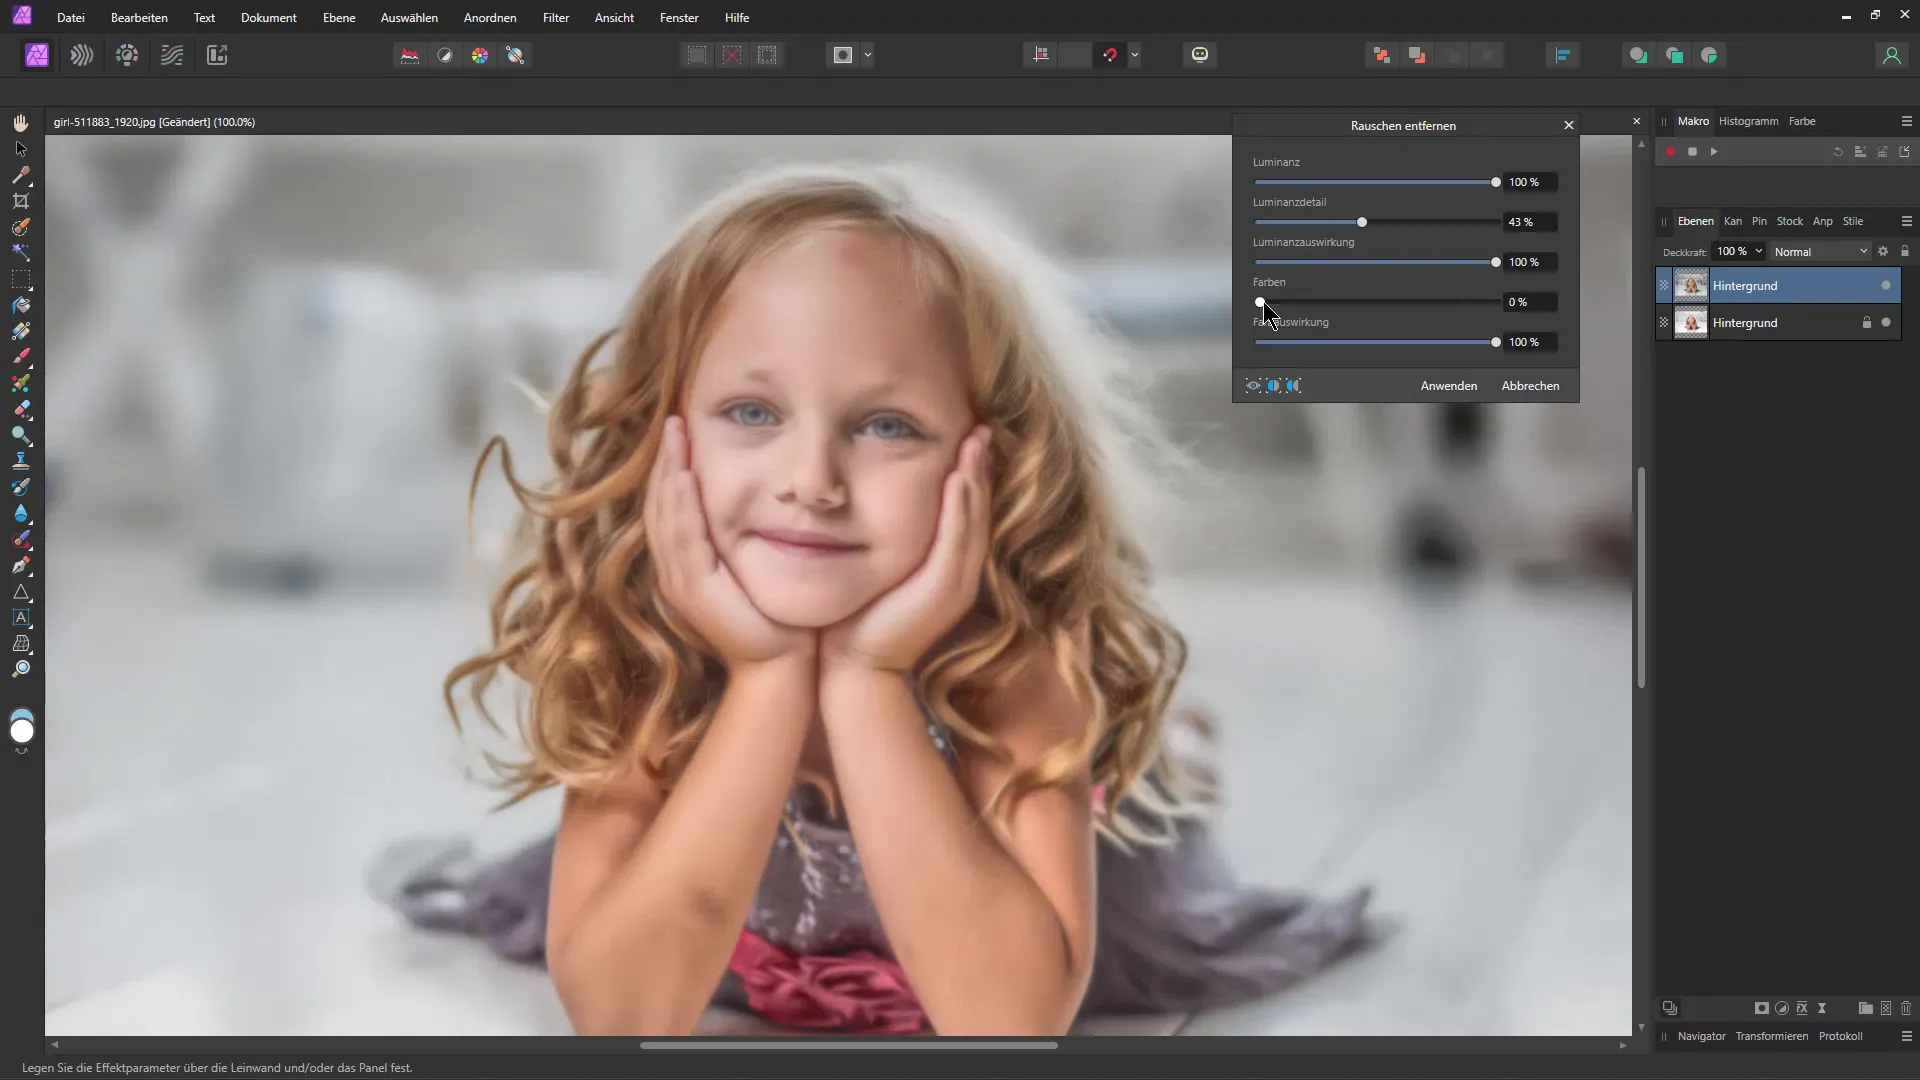
Next, you can experiment with colors. One of the simplest ways to enhance the painted look is by removing or adjusting colors. Set the color value to 100% and observe how colors fade away while details remain visible. Confirm your changes by clicking Apply.
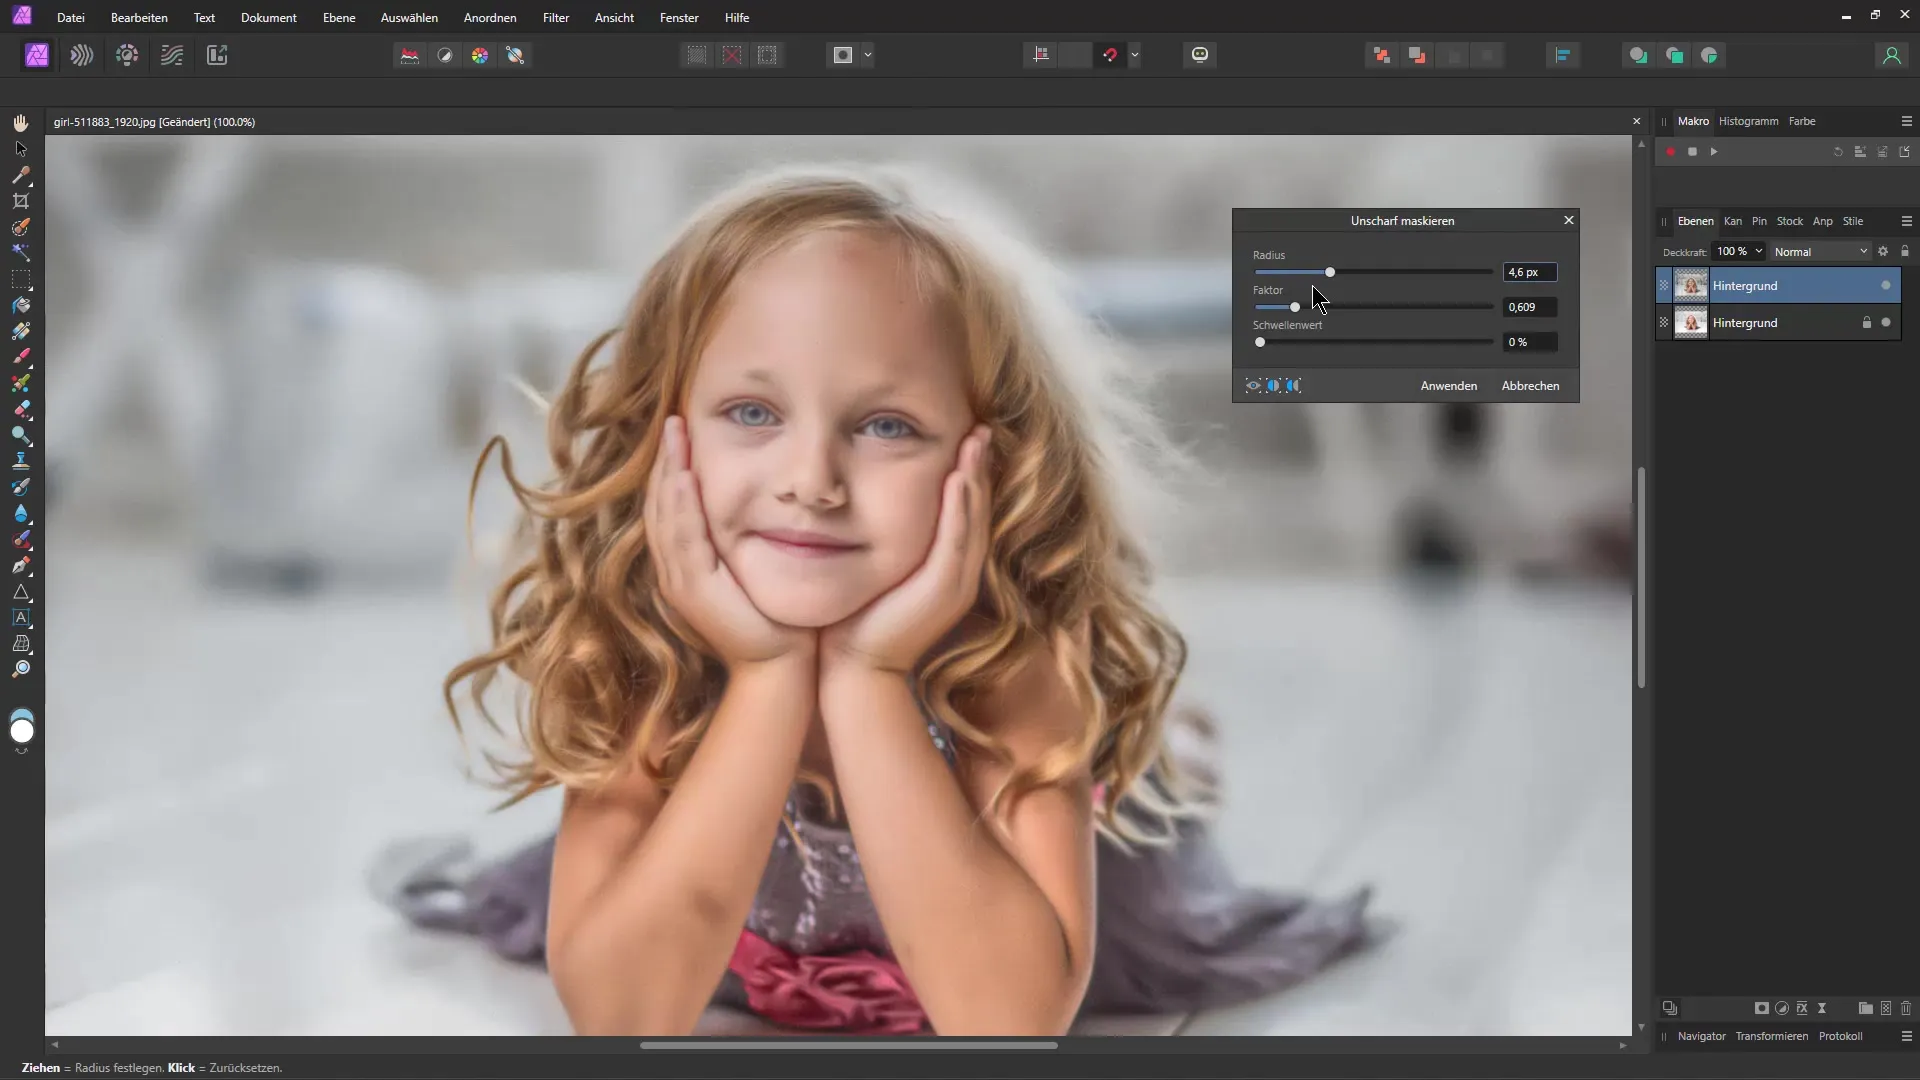
Now, it's time to further sharpen the image. Go to Filter, choose Sharpen, and then Unsharp Mask. You can set the values to around 150% for a clear effect.
Repeat the process as needed until you are satisfied with the result. Go back to Remove Noise to maintain the clarity in the image.
When checking the effect of your transformation, compare the original image with the edited one side by side. You will see that your photo now has the look as if it were painted with oil colors.
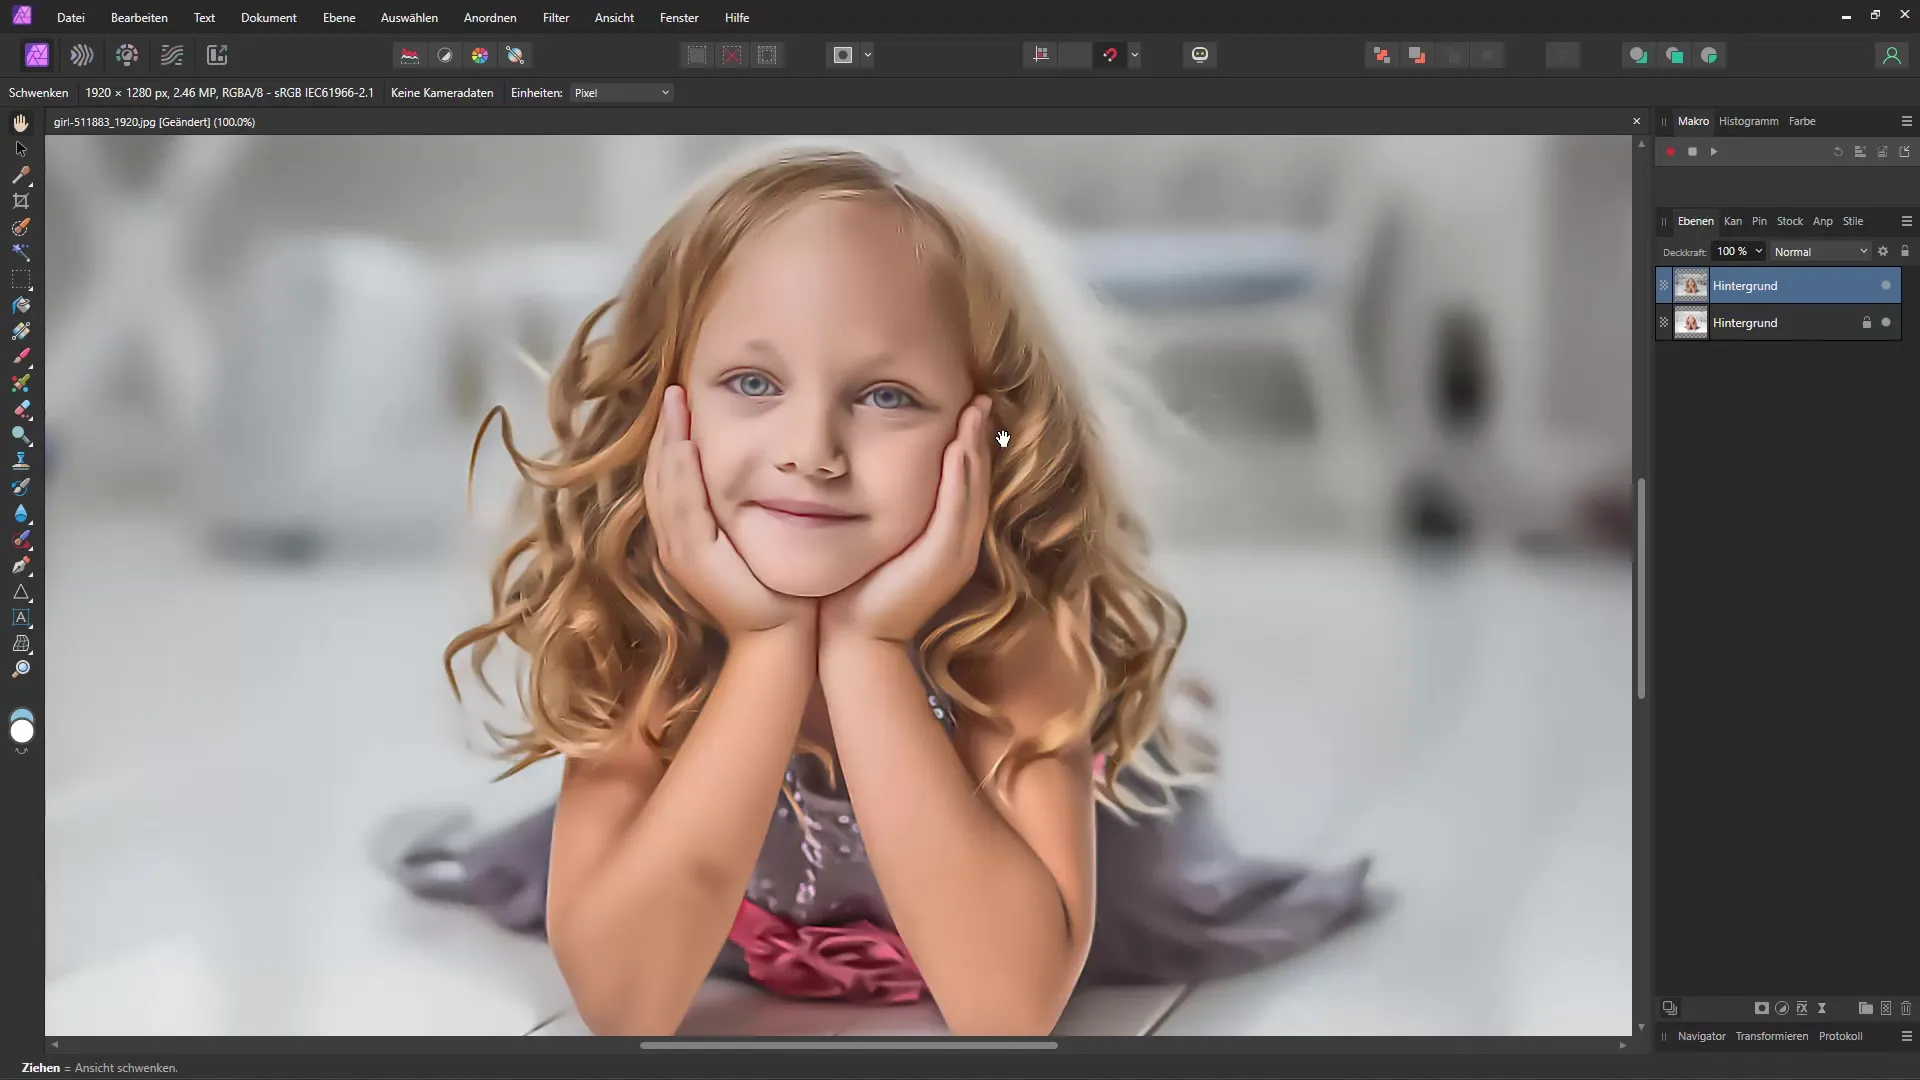
If you are not satisfied with a detail, feel free to make adjustments. For example, you can change the noise intensity or monochrome settings to further enhance the image and achieve an even more impressive painted look.
To add additional contrast, use the Brightness/Contrast adjustment. Slide the contrast control slightly up to amplify the effect. You will notice that the final image looks even more striking.
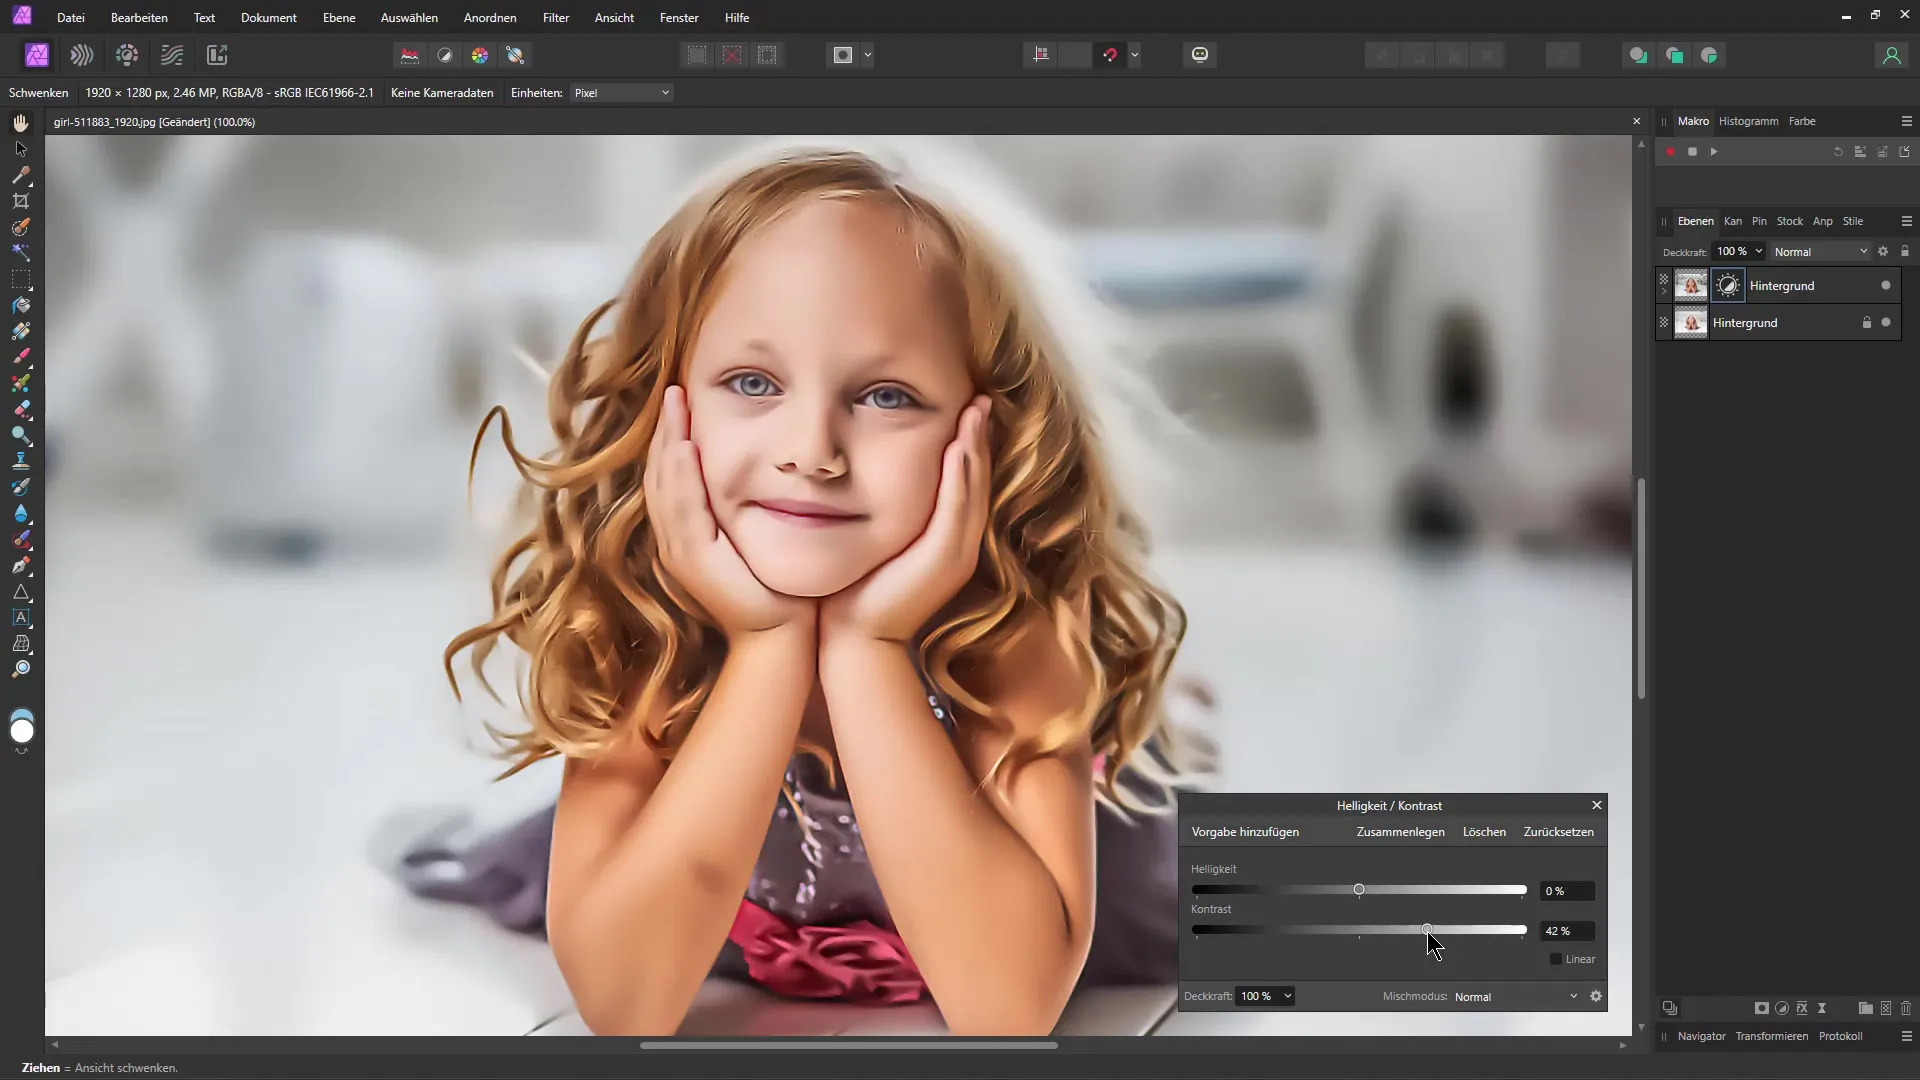
That's it! With these simple steps, you can transform your pictures into impressive paintings. I hope you enjoyed experimenting with Affinity Photo and are now able to effortlessly create stylish artworks.
Summary
In this tutorial, you learned how to turn photos into a fantastic painting look with Affinity Photo. By using noise, tone mapping, and other adjustments, you can achieve impressive effects.
Frequently Asked Questions
How can I add noise?You can add noise by clicking on Filter in the menu and then selecting Noise and Add Noise.
Can I adjust the colors?Yes, you can adjust the colors by changing the color intensity in the noise settings.
How often should I use the sharpening filters?Use the sharpening filters as needed to bring out the desired details in the image.
Does this work with other images?Absolutely! The effect can be applied to different images to achieve different styles.
What should I do if I don't like the result?Experiment with different values in the filter and adjustment settings until you achieve the desired result.


