In photo editing, it can often happen that you have taken multiple pictures in different lighting conditions. To achieve a consistent color look, you can transfer the color look of one image to another in Affinity Photo. In this guide, I will show you step by step how you can implement this. Whether you want to create a sunset or another color mood, with the right tools and a little practice, this will become a breeze.
Main Insights
With Affinity Photo, you can transfer the color look of one image to another by creating color palettes and adjusting the blend mode. Use the color fields function for this and optimize your images for a consistent and appealing style.
Step-by-Step Guide
First, open the image to which you want to transfer the new color look. In this example, we are using an image of the Brandenburg Gate taken at dusk and want to apply this look to an image of the TV Tower that may have been taken in daylight.
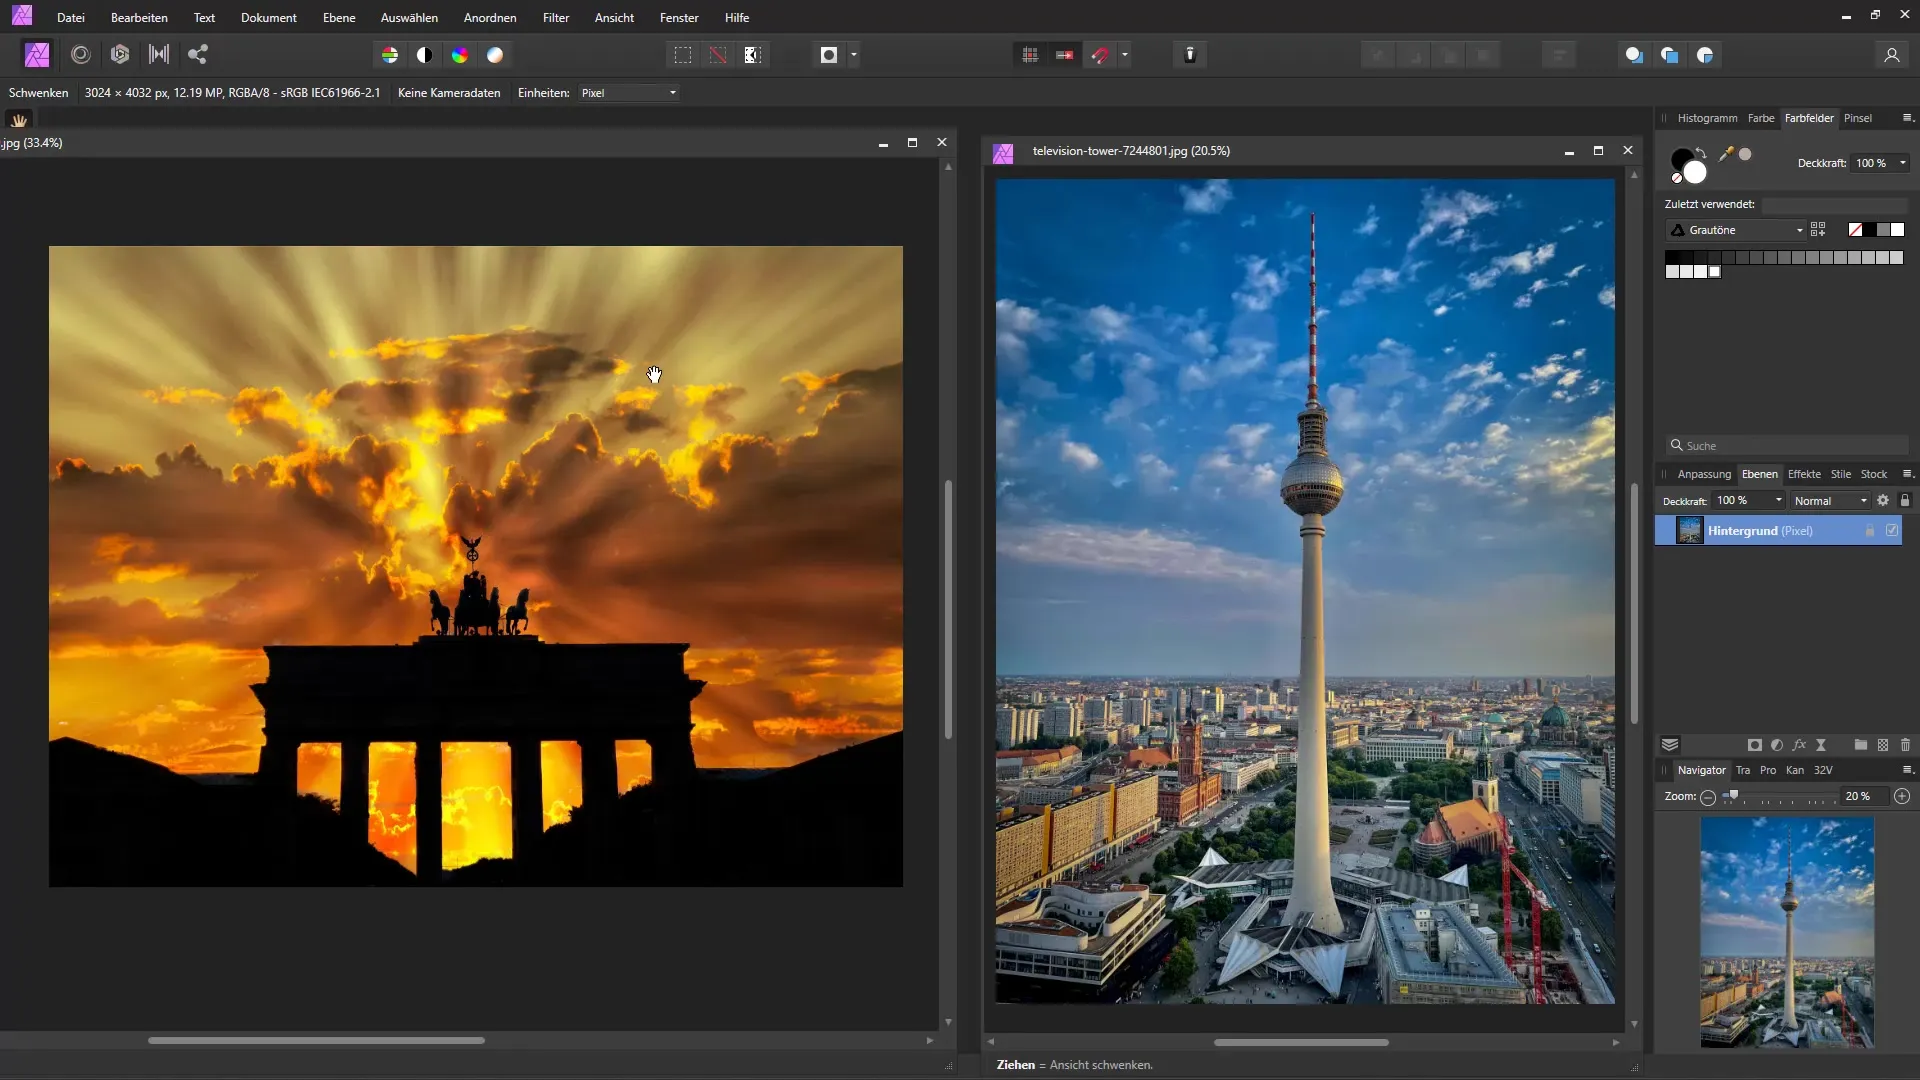
Now go to the "Swatches" menu. If this is not visible, navigate to "Window" and select "Swatches" to display the window.
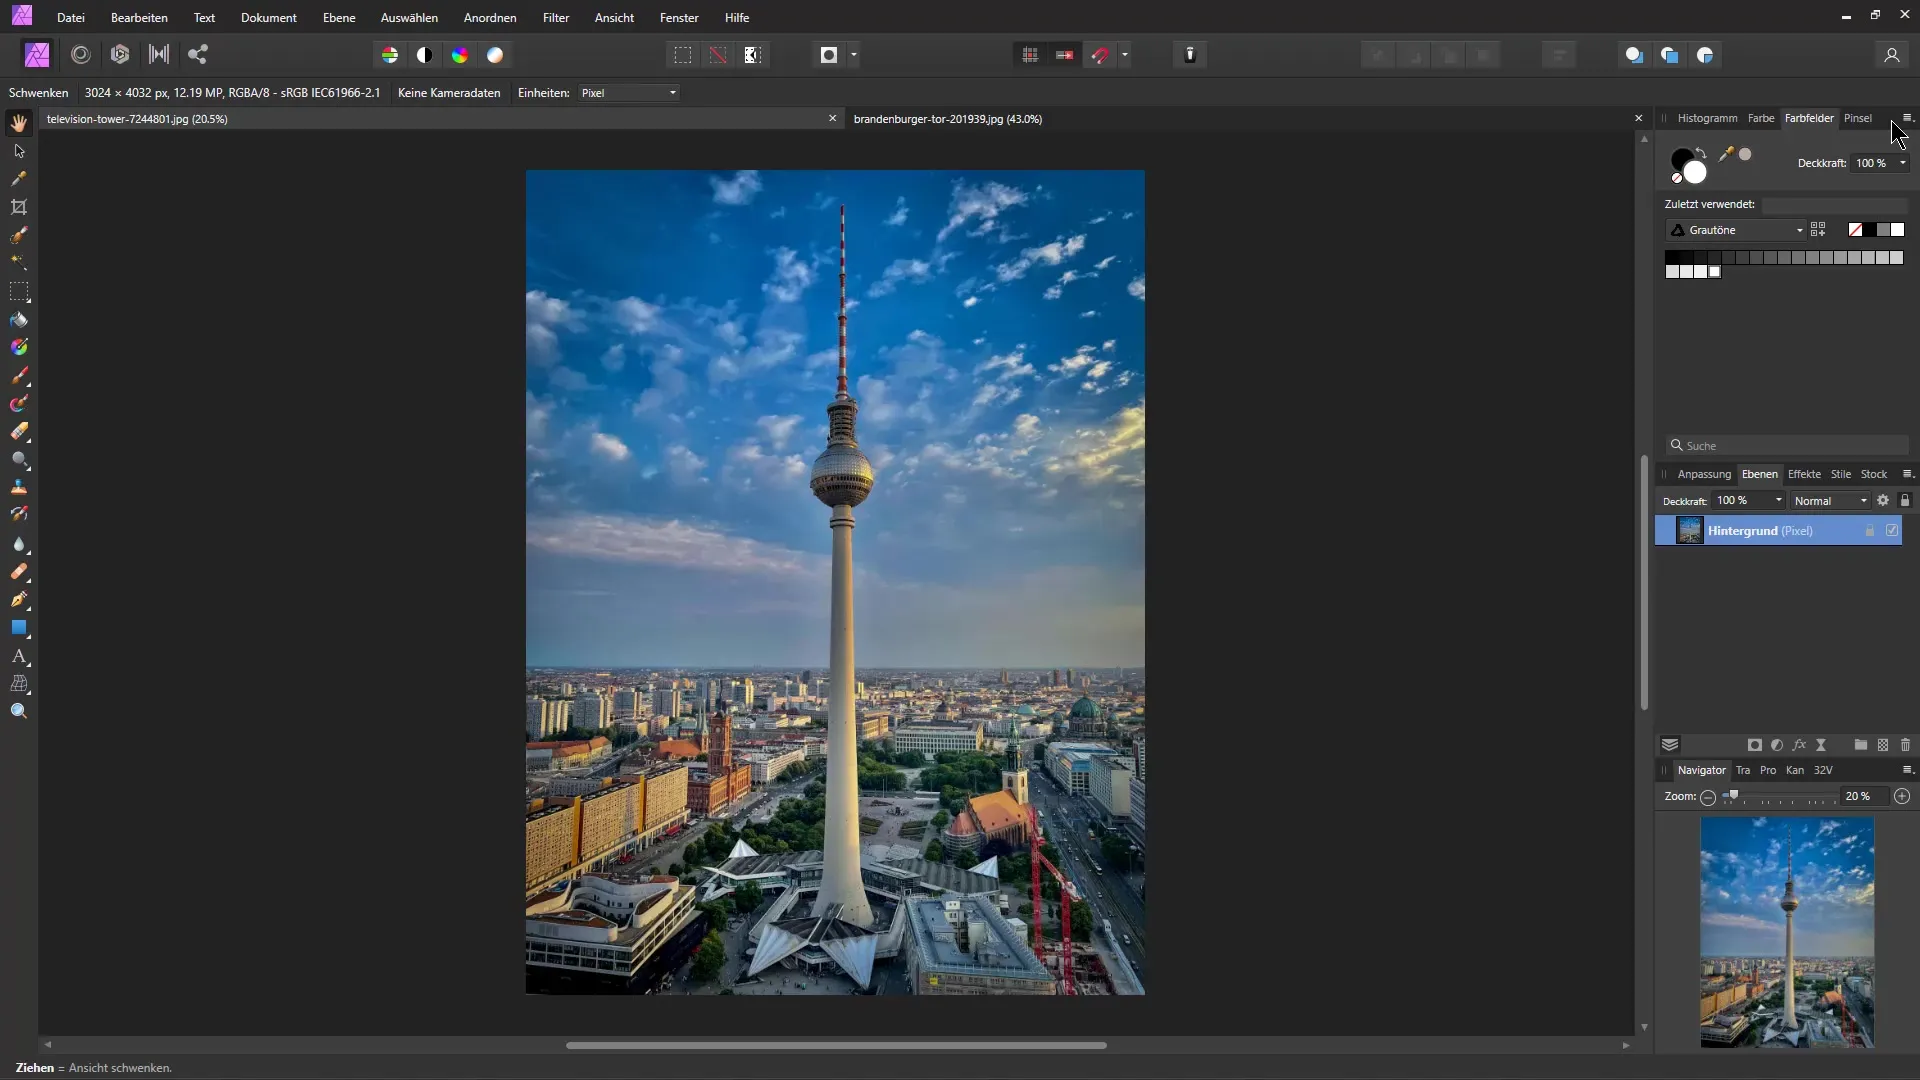
Now you can create a palette from the Brandenburg Gate image.
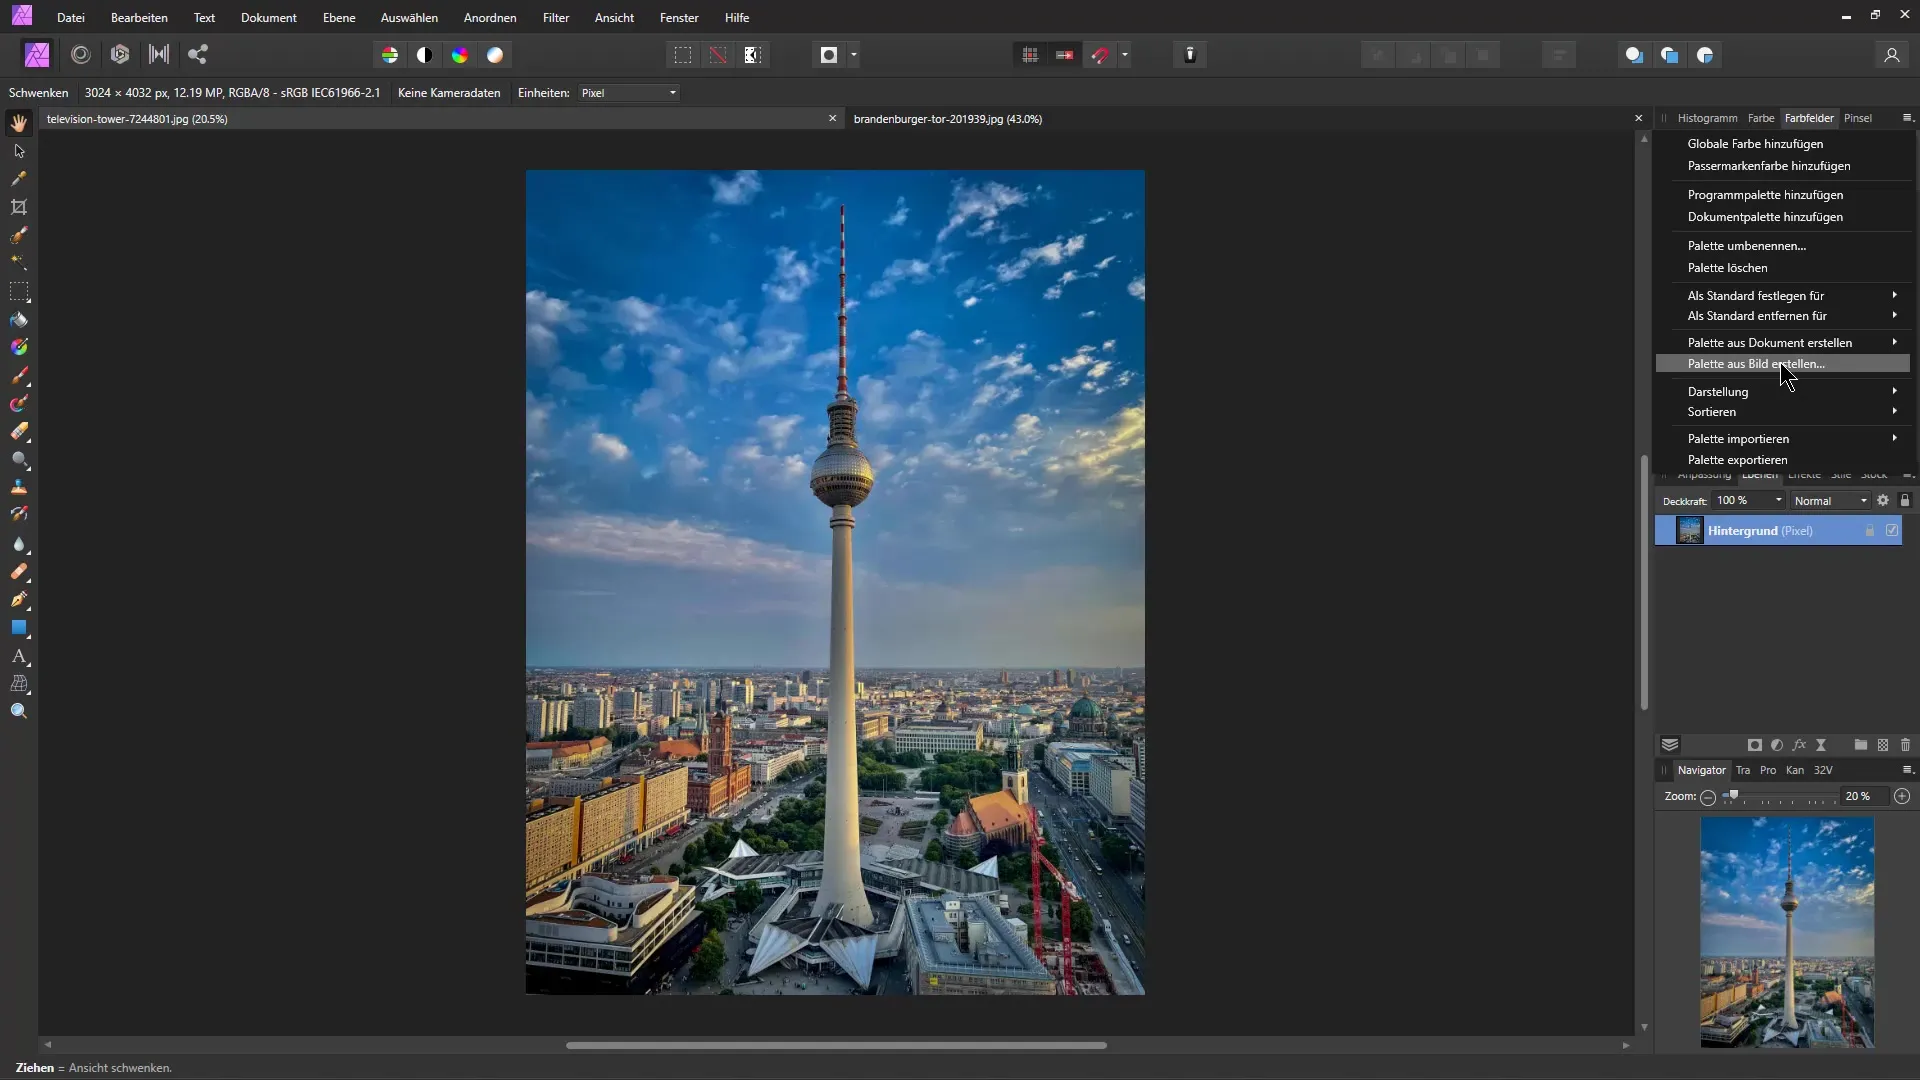
To do this, select the image and click on "Create Palette from Image". Here you can choose how many colors you want to use. Often three colors are sufficient for a smooth transition.
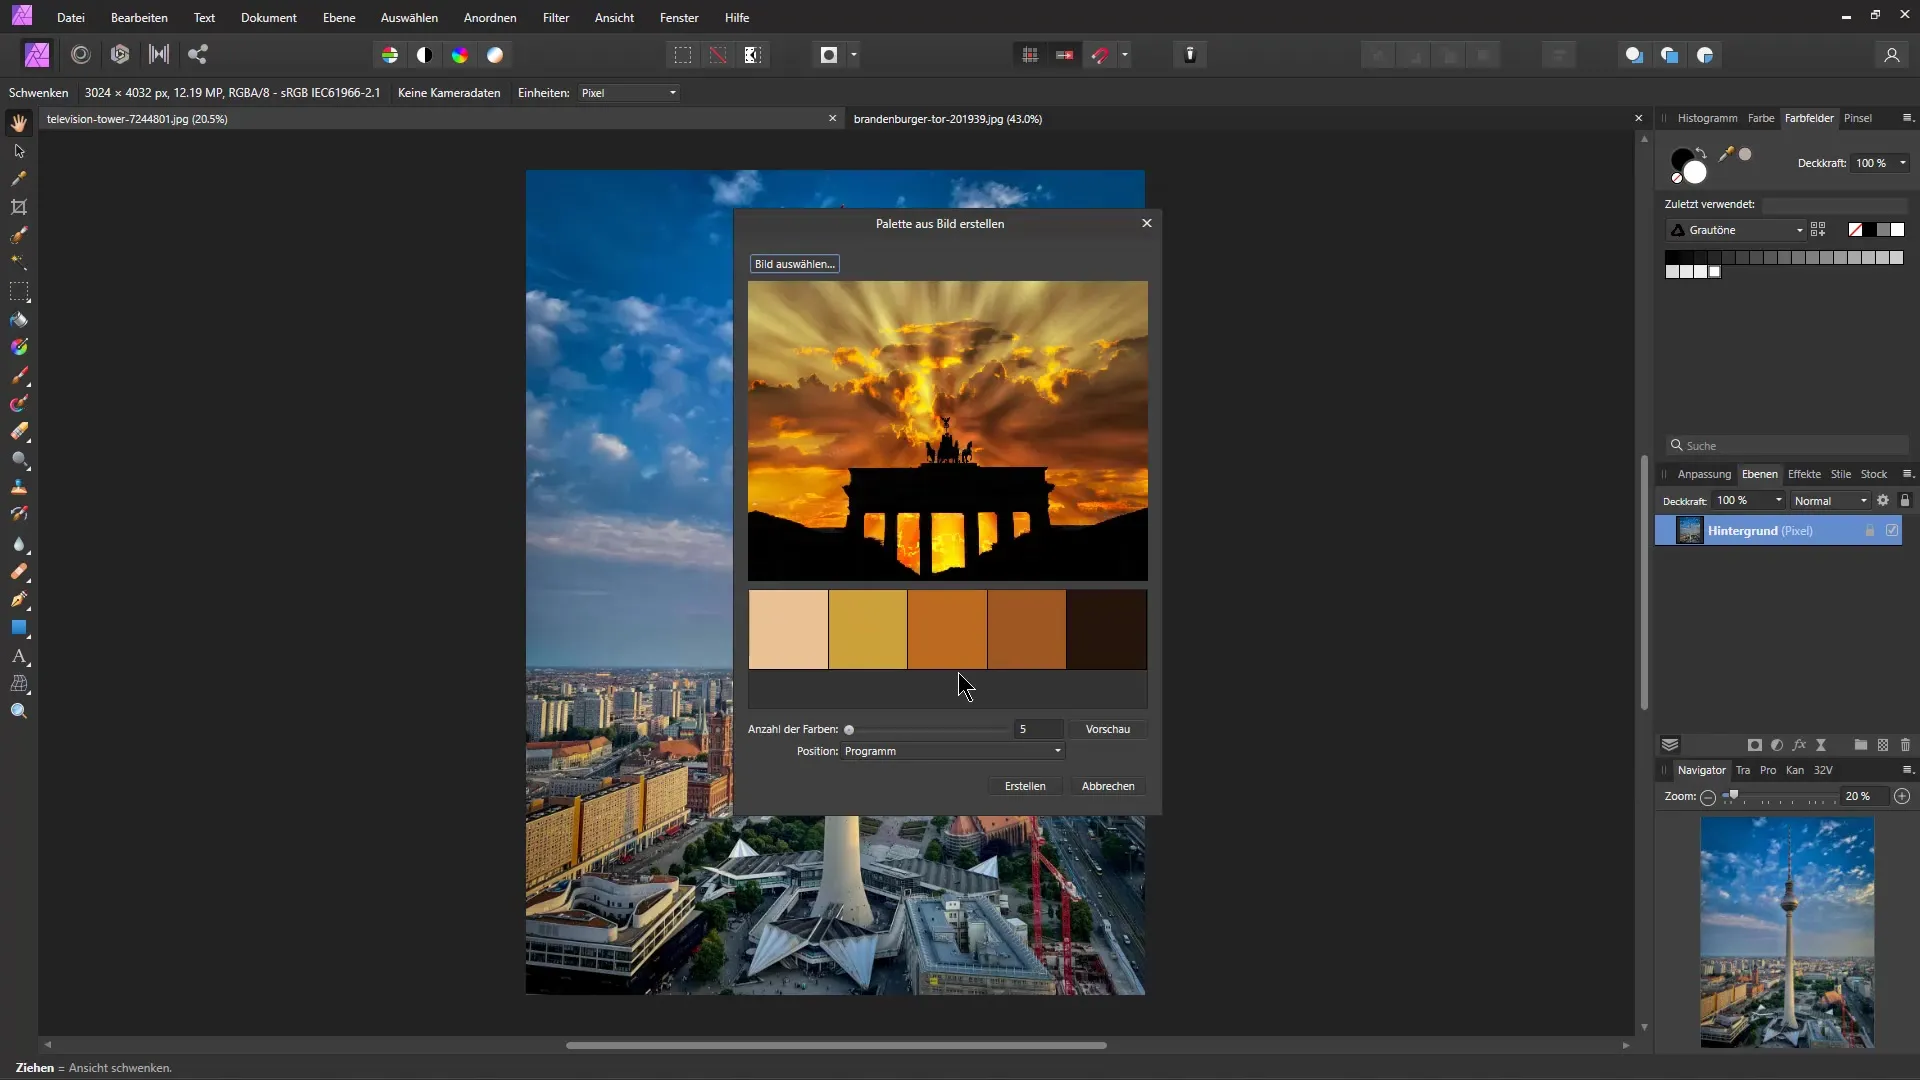
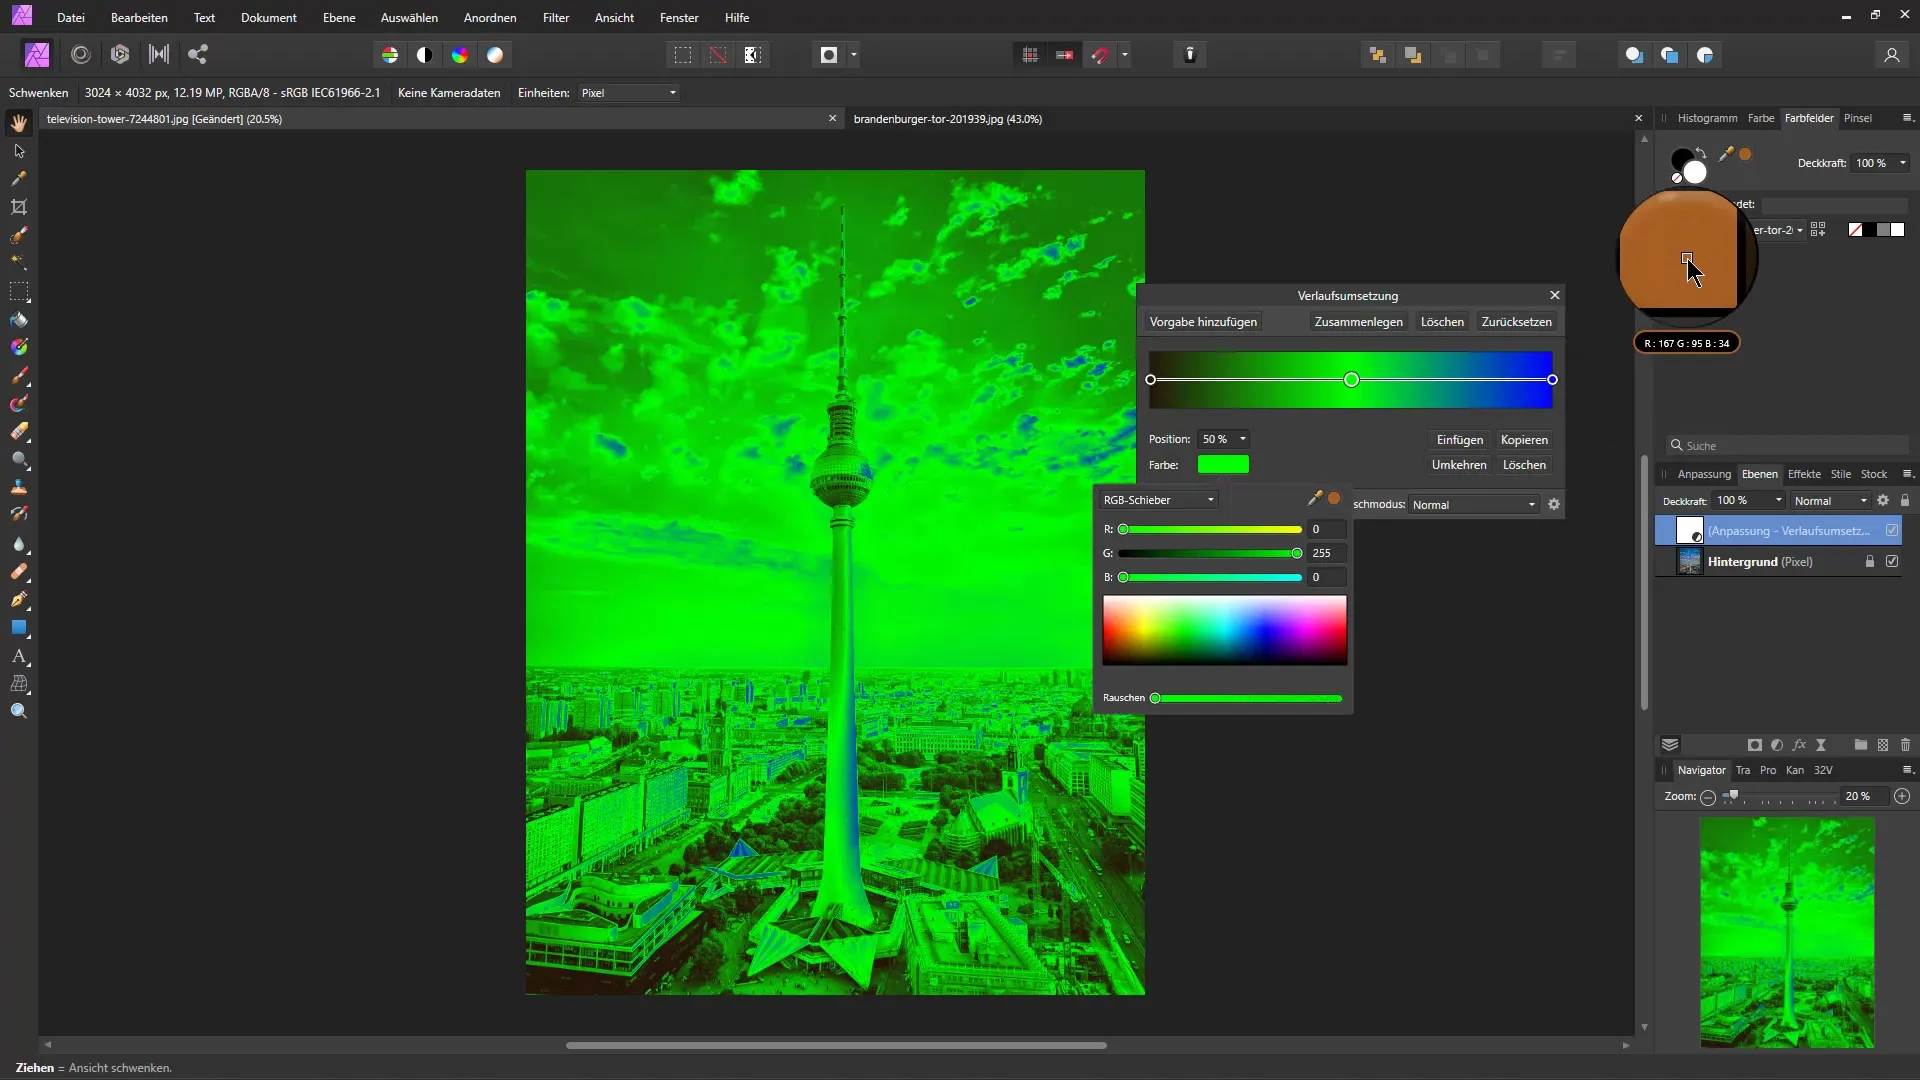
You can now see the colors extracted from the image. You now want to transfer these colors to the other image. Now select the gradient conversion. Start with the darker shade by clicking on it in your color palette and then dragging the color gradient onto your other image while holding down the left mouse button.
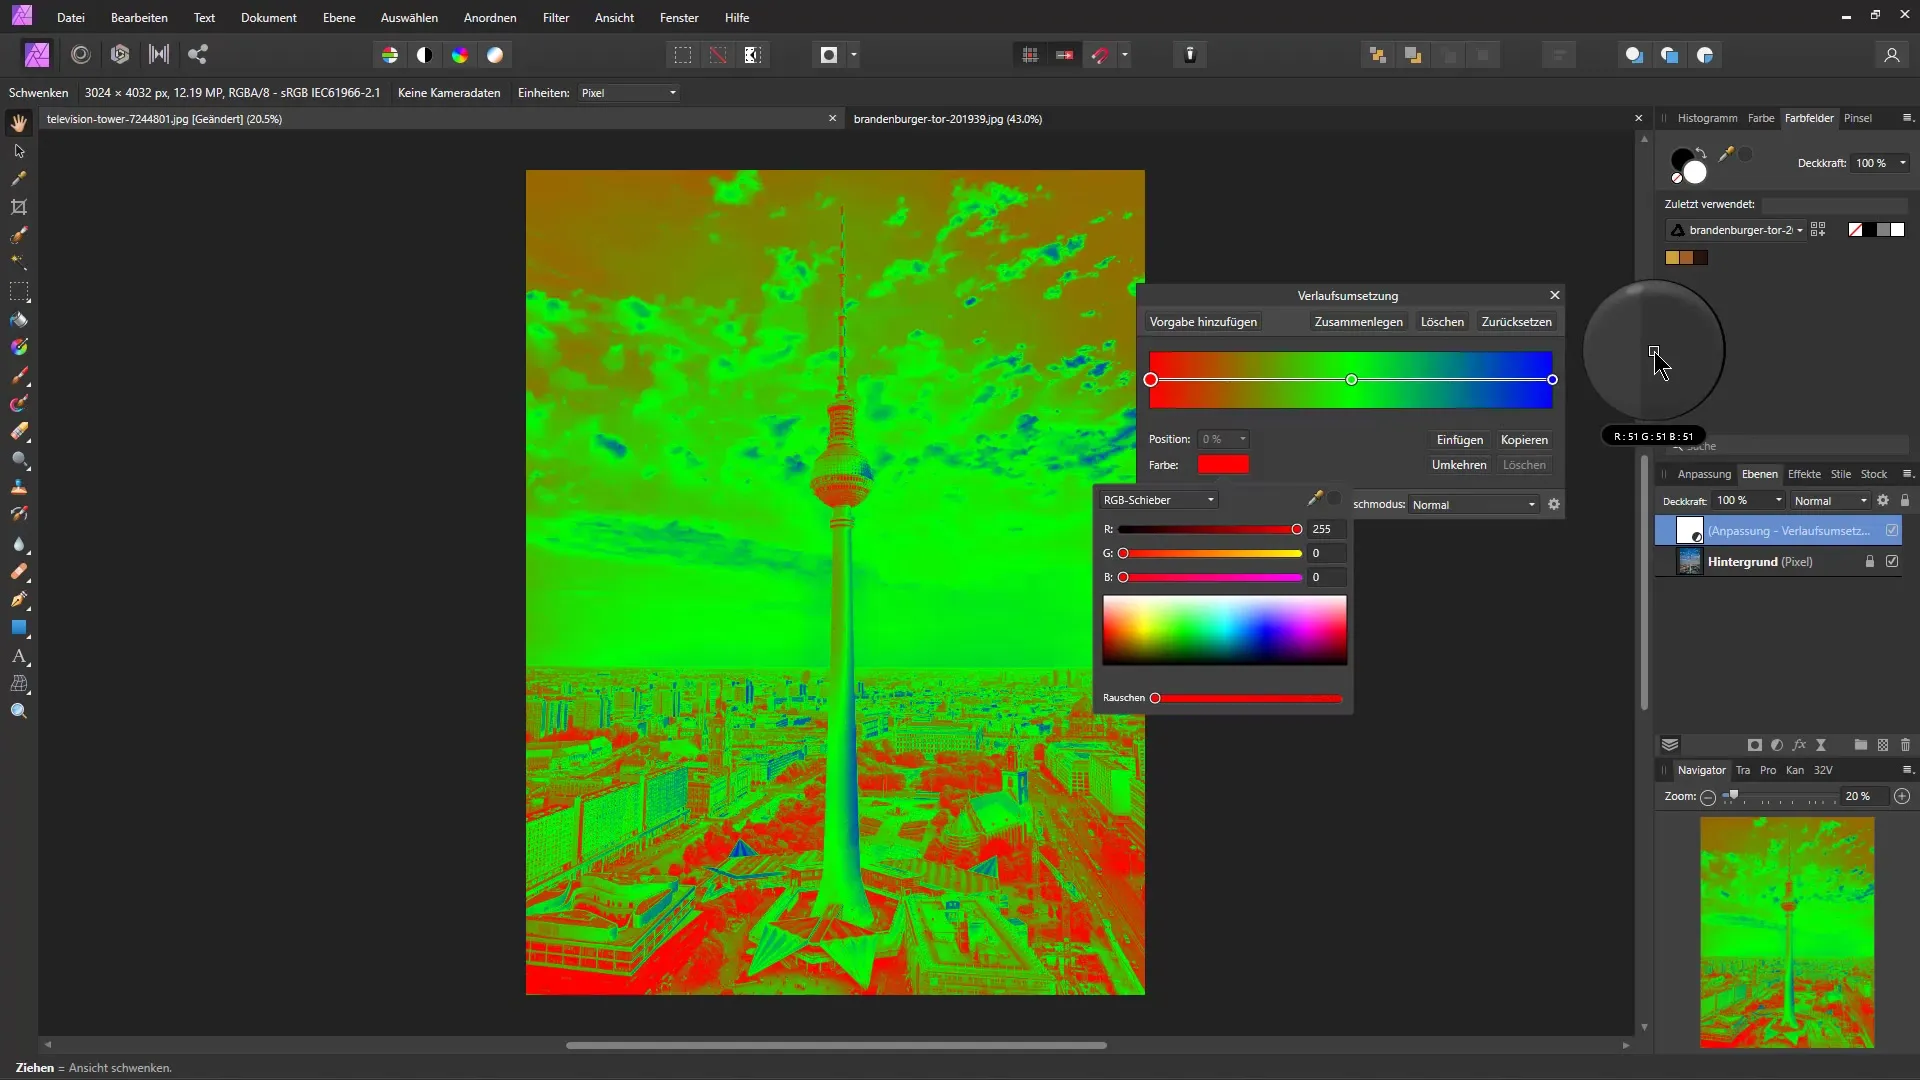
After transferring the darker colors, repeat the process for the mid-tones and lighter shades. You can make these adjustments to perfect the color effects of the image.
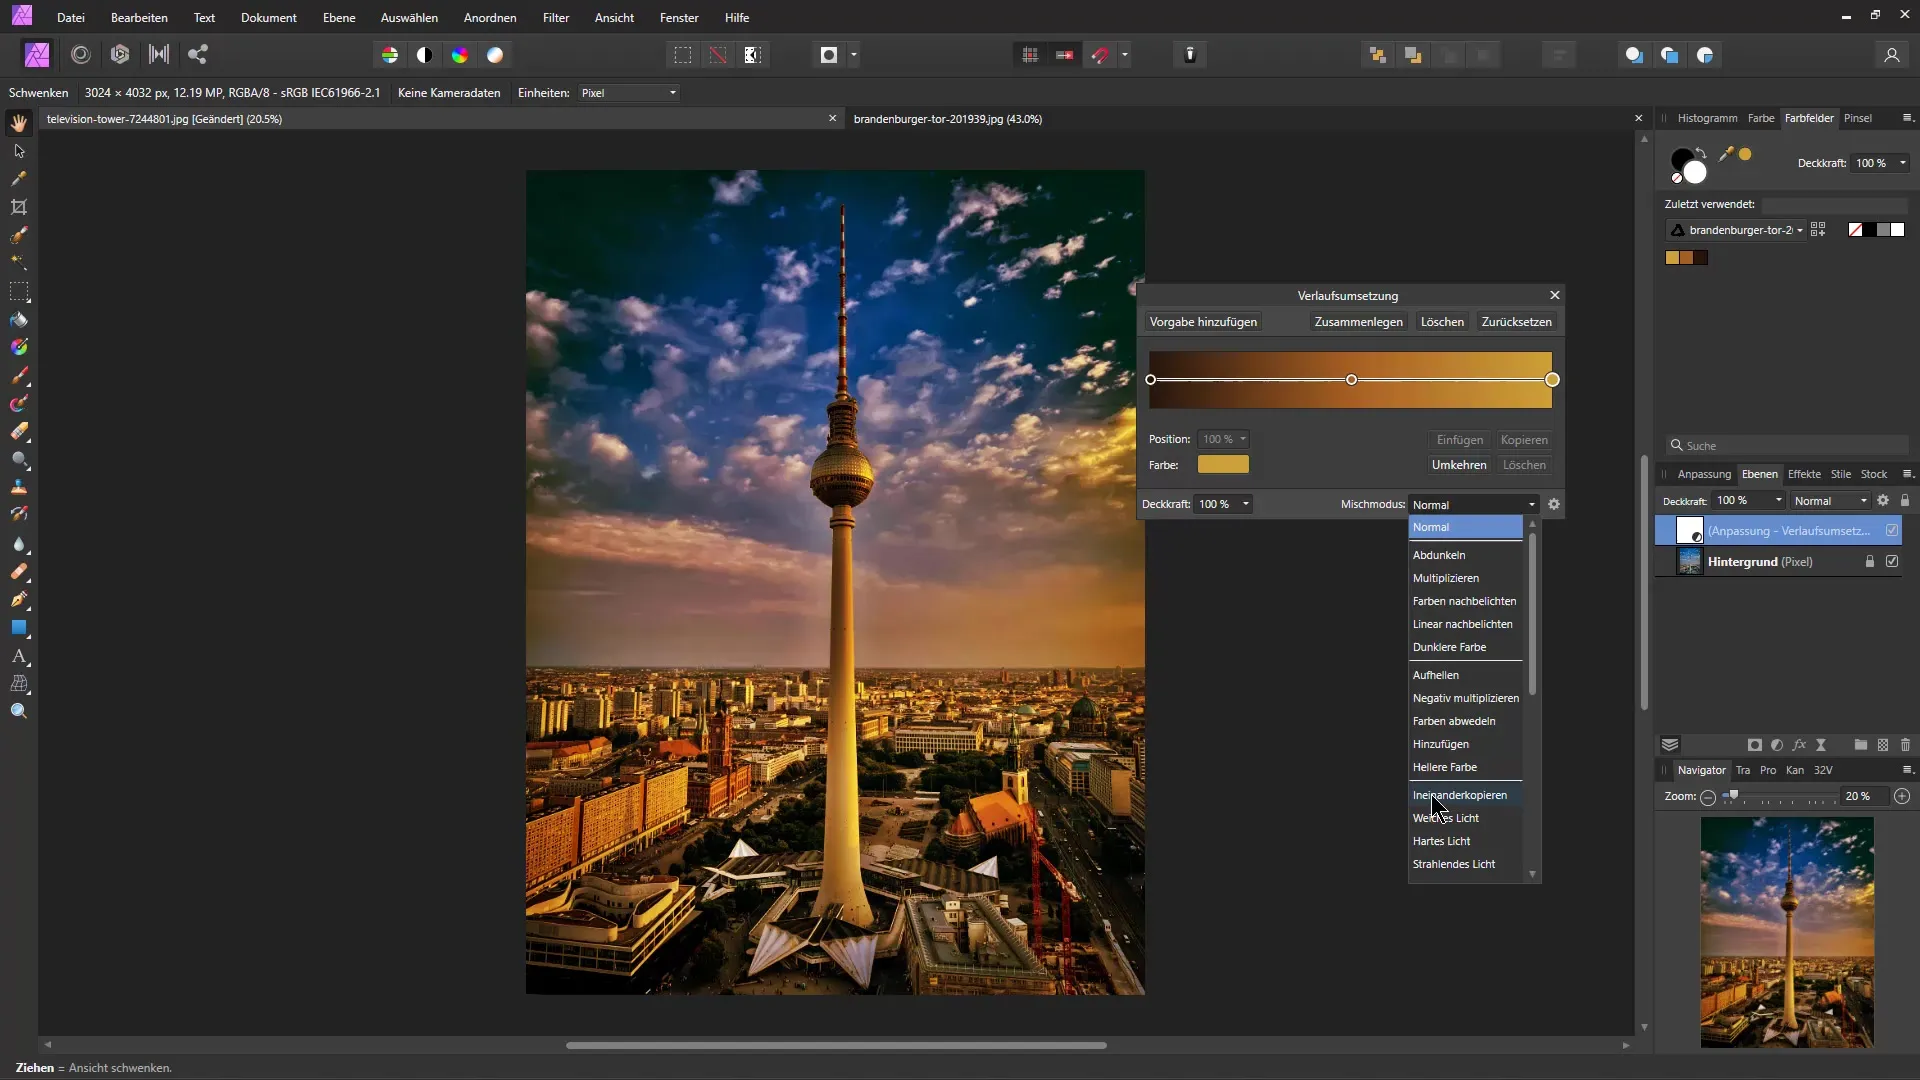
Once you have finished transferring the colors, you can adjust the blend mode to optimize the color effect. Simply hover the mouse over the different blend modes to see the effects. Options like "Screen" or "Soft Light" often yield very good results.
If you are not satisfied with the current look, you can adjust the position or other parameters by double-clicking on the adjustment layer. This allows you to make precise adjustments to the desired color tones.
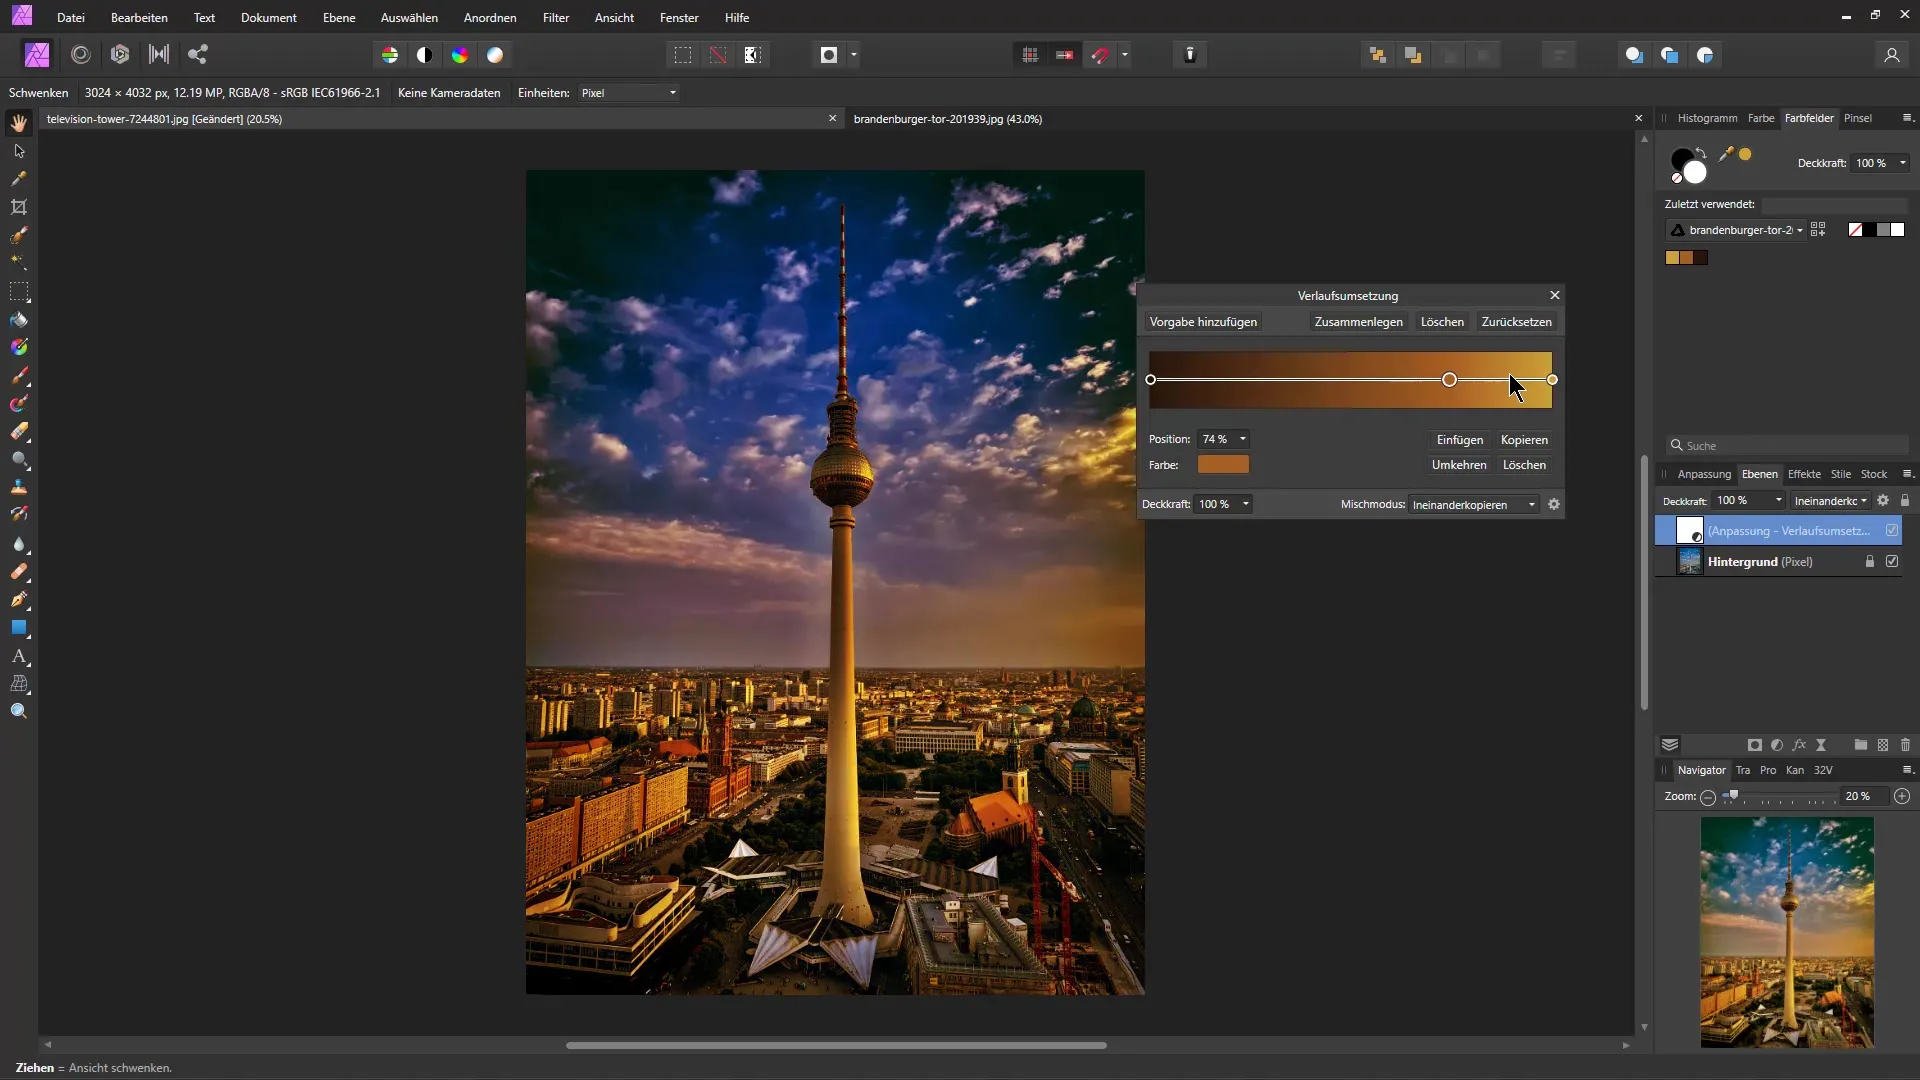
Additionally, it is possible to extract colors directly from the image instead of using them from the palette. This gives you more flexibility and can lead to unique results.
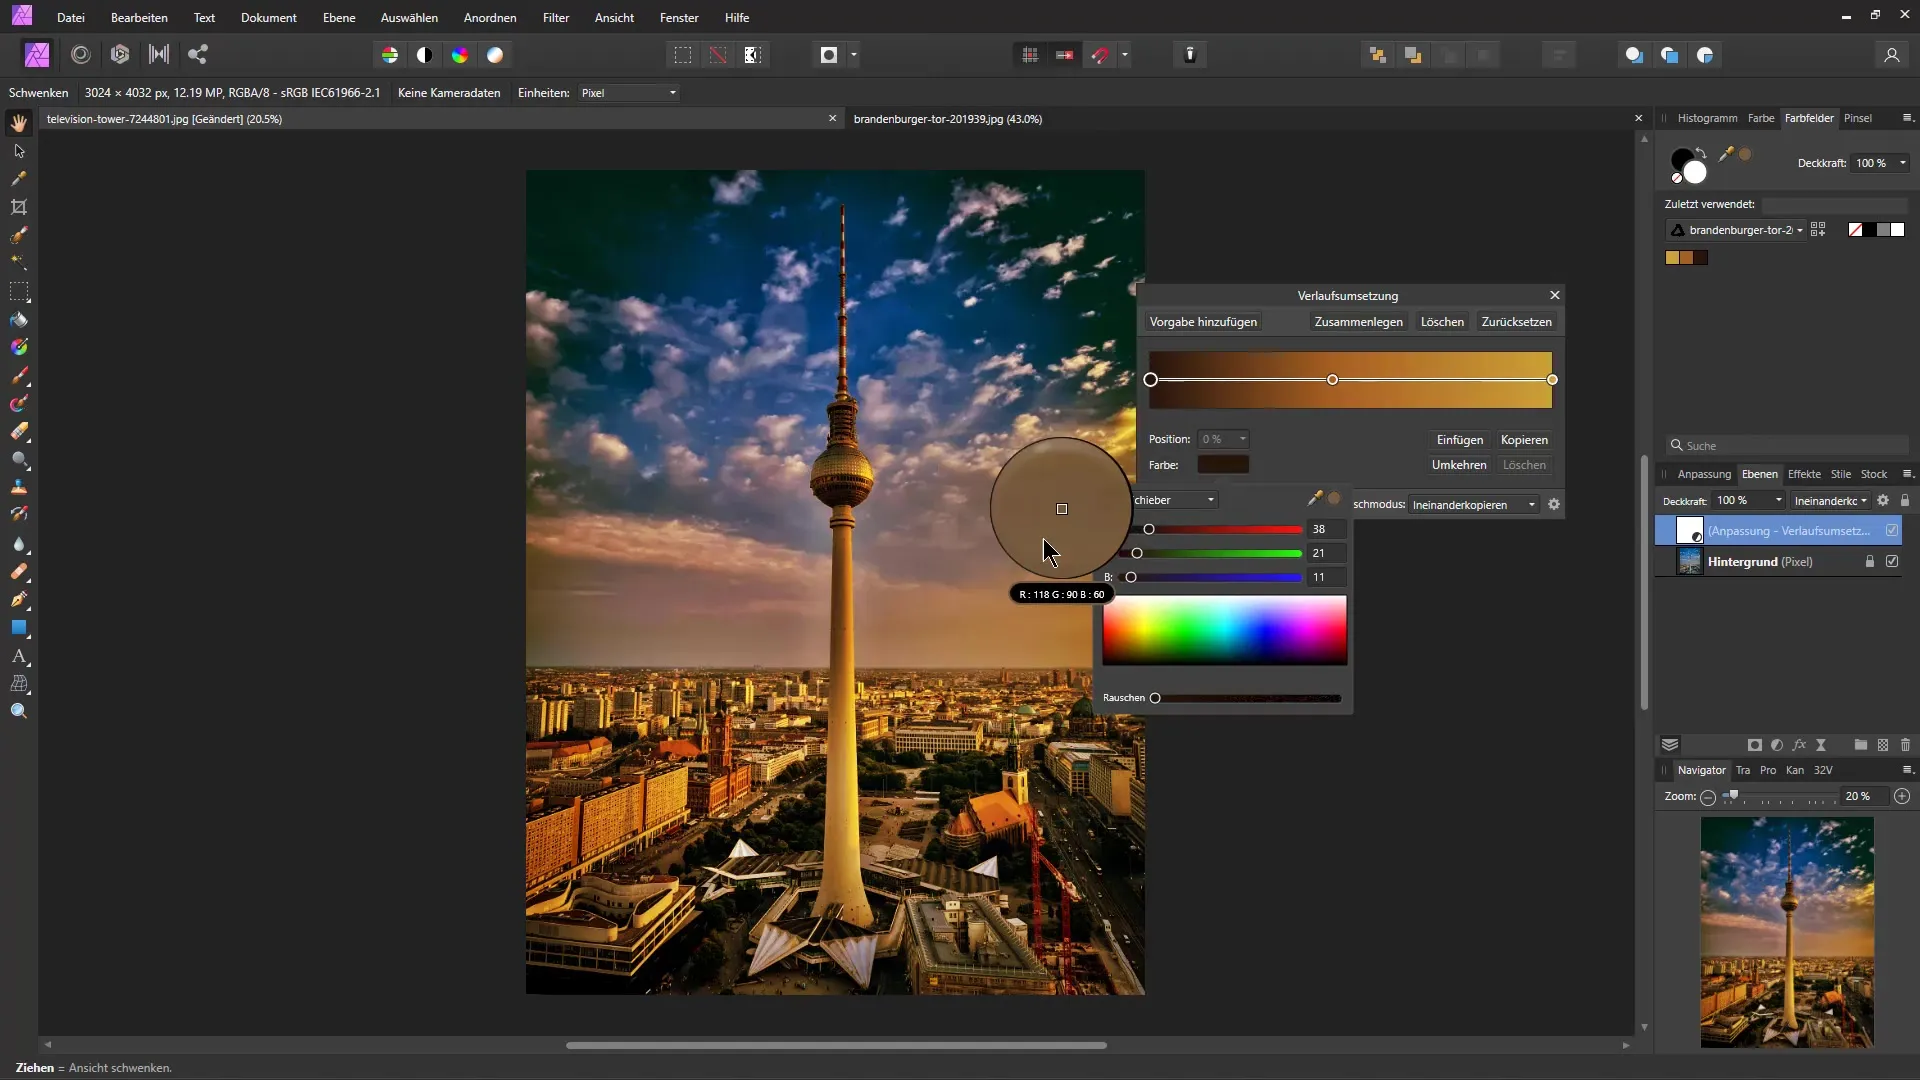
Be sure to also adjust the range for the blend mode intensity to achieve the desired effect. If necessary, you can add another adjustment layer to further improve the look. Experiment with different blend modes and color changes. You can lower the opacity of the adjustment layer to achieve subtle effects and further refine the color look. By following all these steps, you will be able to easily transfer the look of one image to another. This can significantly enrich your photo project and give it more continuity.
Summary
To transfer the color look of one image to another, use the color fields to create a palette, adjust the blend mode, and experiment with the color intensities to achieve the best result.
Frequently Asked Questions
How can I ensure that I choose the right colors?Make sure to create a palette from the image and choose the colors that match the desired mood.
Could I extract the colors directly from an open image?Yes, you can take the colors directly from the image instead of using them from the palette.
How can I adjust the blending mode optimally?Hover over different blending modes and see how they affect the colors to make the best choice.


