In digital image editing, it is often necessary to remove unwanted objects from a photo to improve the composition. Affinity Photo offers efficient tools to do just that. In this tutorial, I will show you step by step how to quickly and easily eliminate distracting elements in your images. Whether it's a person, an object, or background impurities, with the right techniques, you can achieve impressive results. Let's get started!
Key Takeaways
- Use the selection tool to precisely select the unwanted object.
- The "Fill" function with Inpainting allows effortless removal.
- The Restoration tool can be used for post-processing to remove any remaining artifacts.
Step-by-Step Guide
First, open Affinity Photo and the image from which you want to remove the distracting object. Make sure you have a copy of the original in case you need to undo changes.
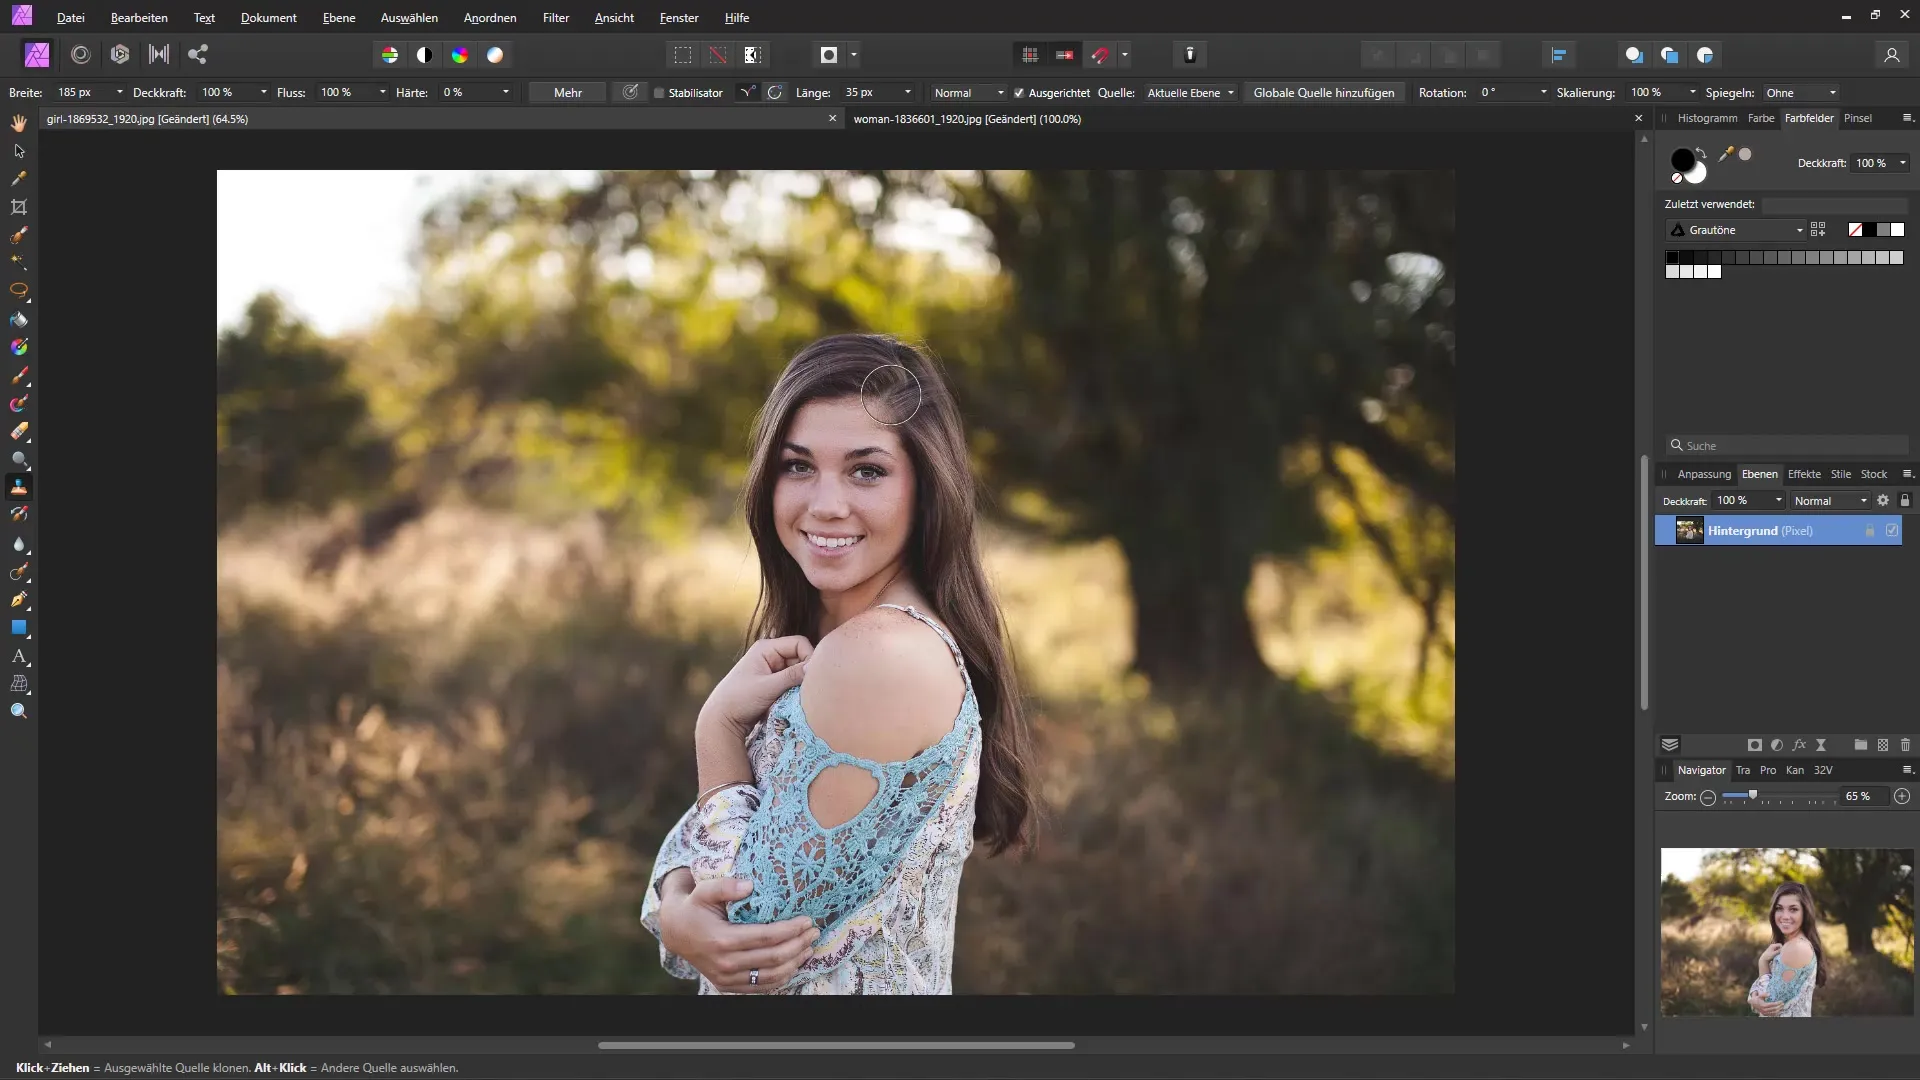
The first step in removing a distracting object is to select the object. You can use the selection tool or the selection brush for this purpose. Choose the selection tool and start roughly selecting the object, such as a person.
After selecting the object, you can adjust the selection. Go to the "Select" option and choose "Expand" or "Contract", depending on what is needed. For example, you can expand the selection by 20 pixels to ensure the entire area of the object is marked.
Once you have adjusted the selection, go to "Edit" and select the "Fill" option. Here, you should choose "Inpainting".
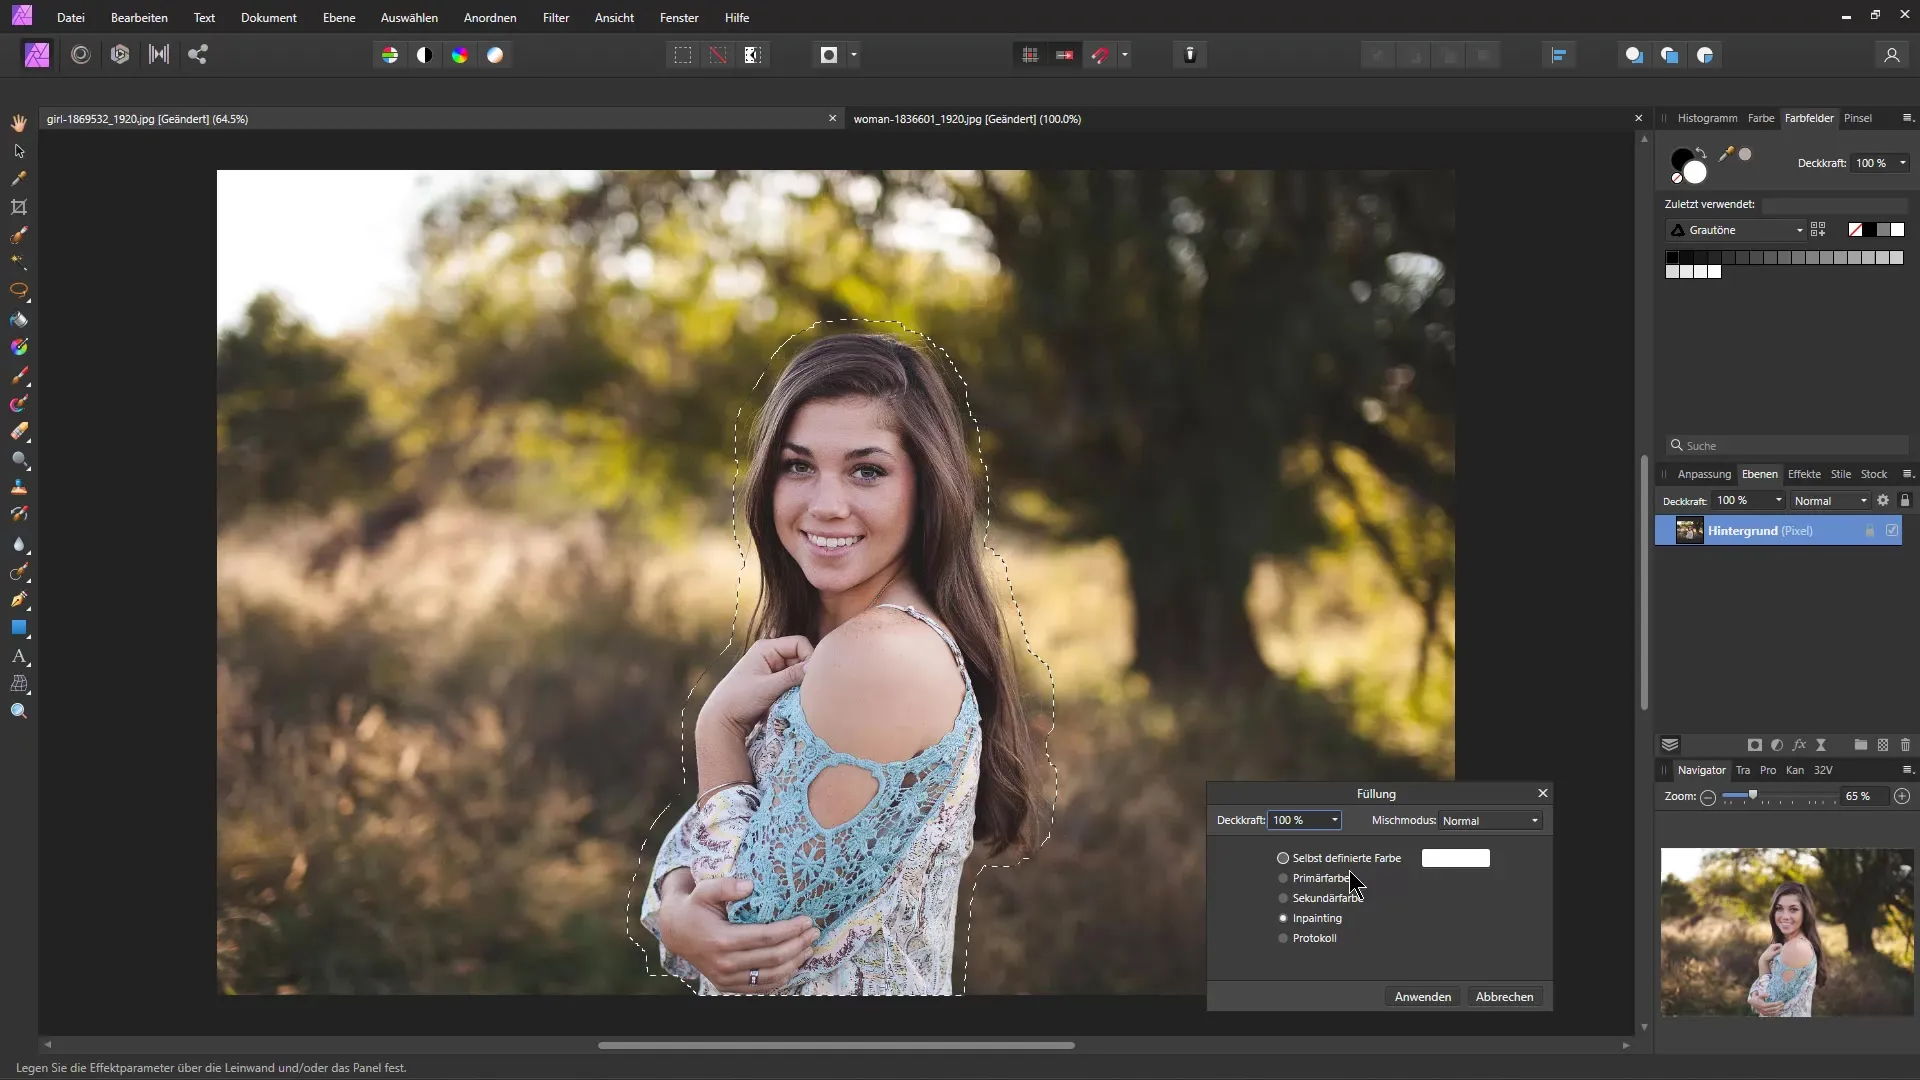
Click "OK", and Affinity Photo will work automatically. Depending on your PC's performance, this process may take a few seconds.
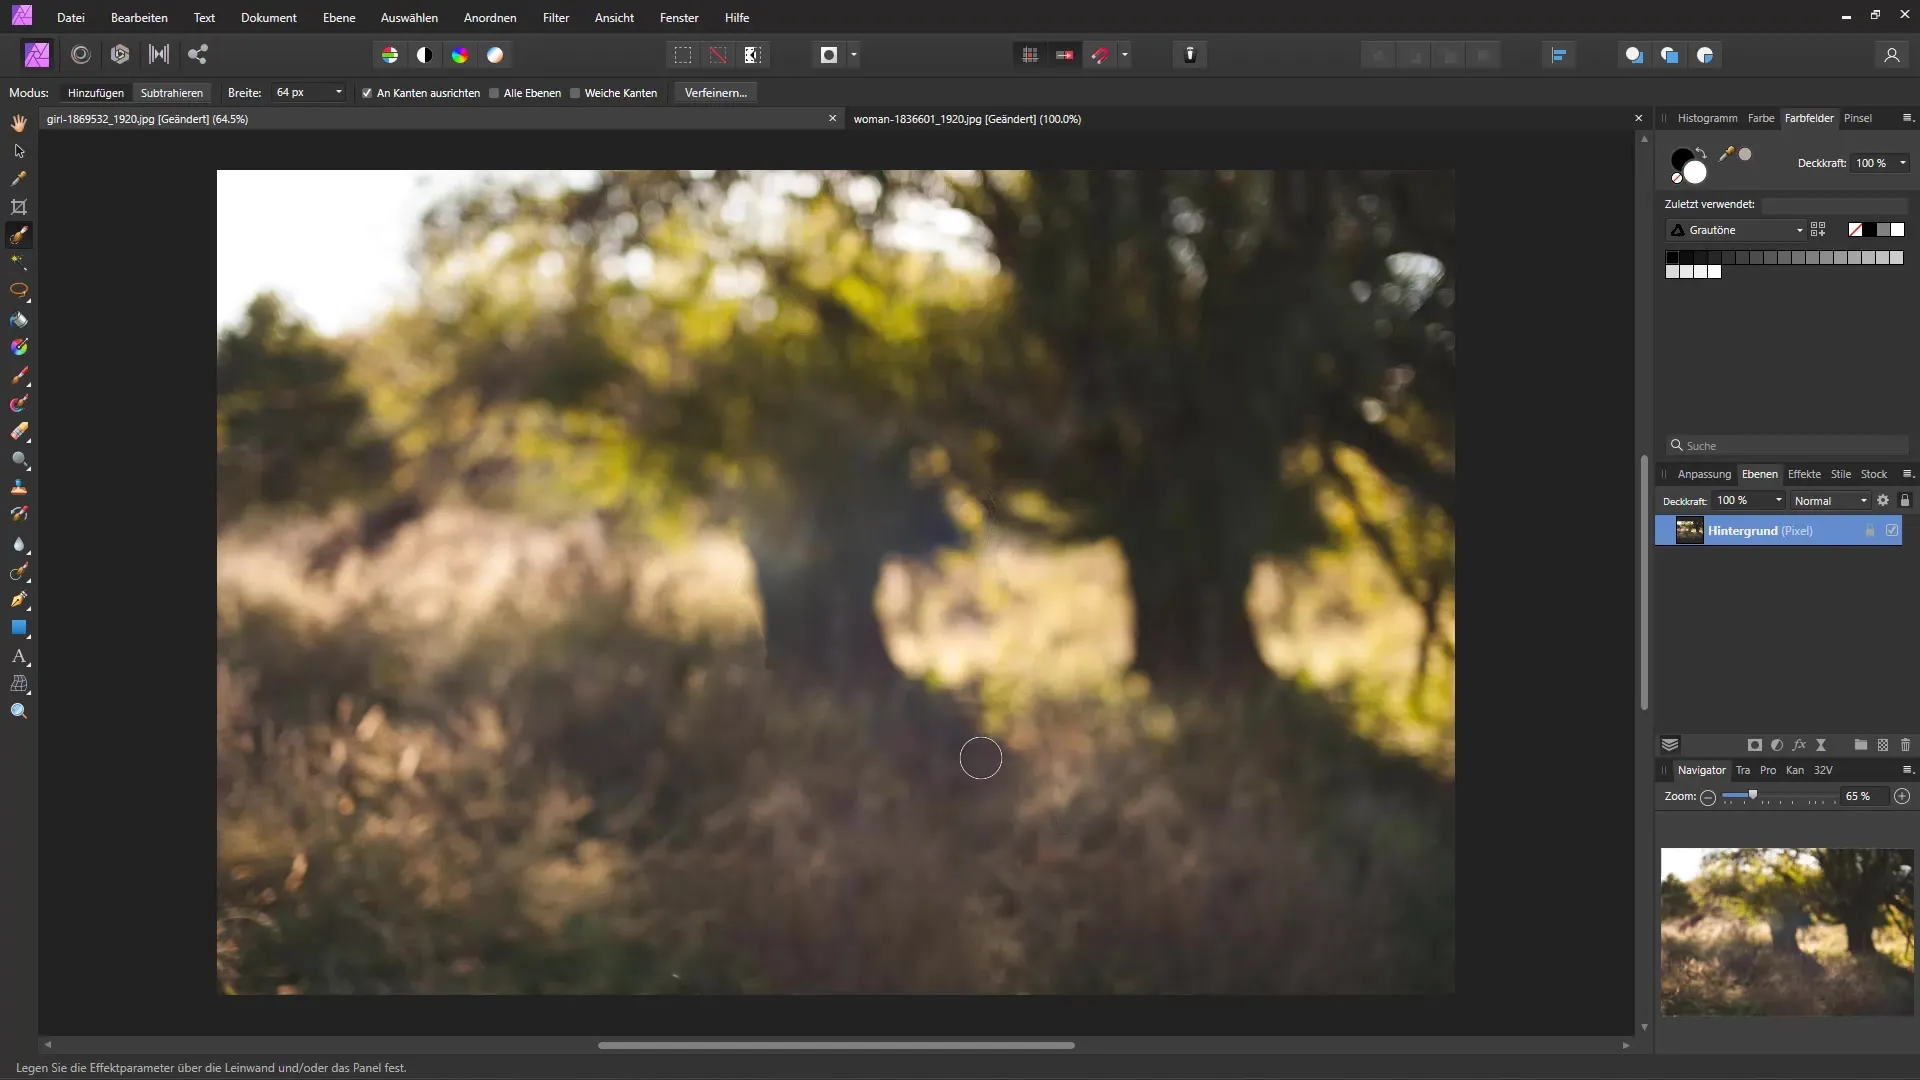
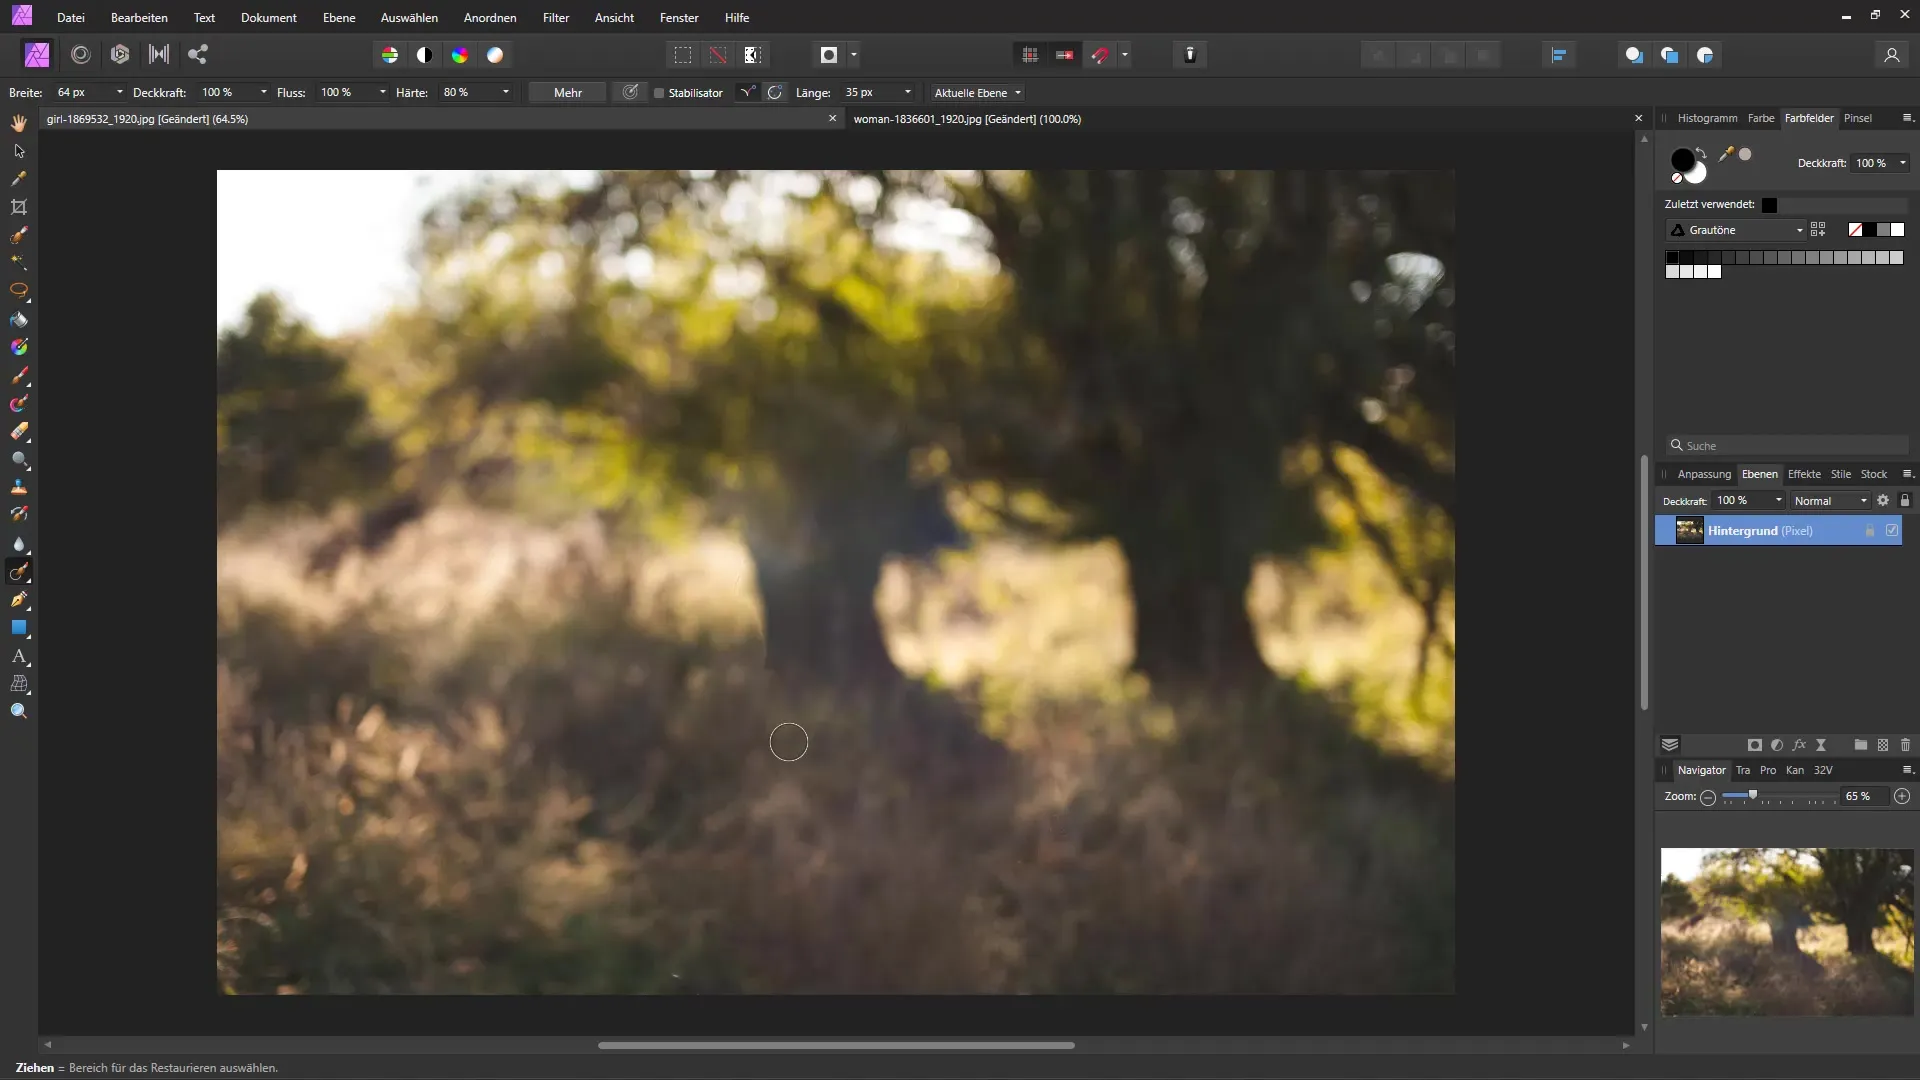
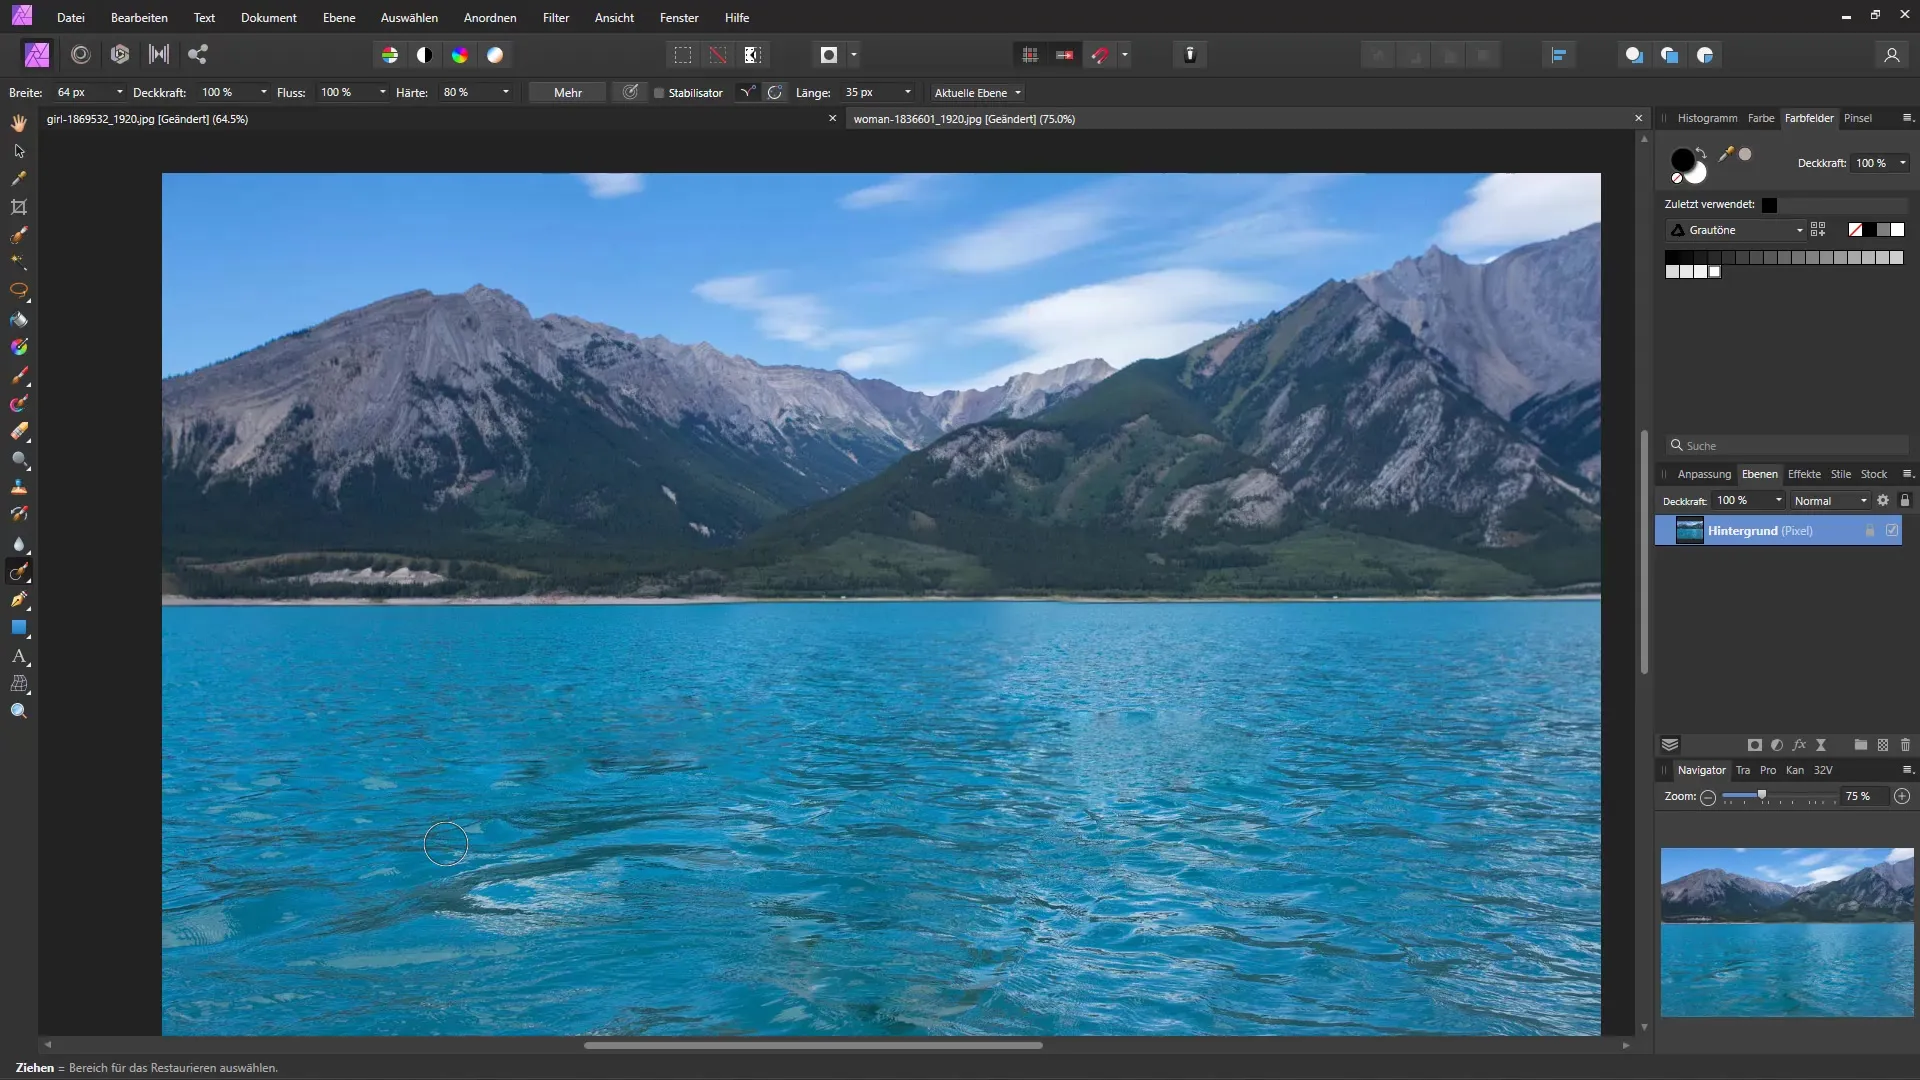
Once the editing process is completed, you will see that the distracting object has been removed. However, sometimes small residues like hair or other details may remain. You can easily clean these up using the Restoration tool. Simply paint roughly over the remaining spots, and they will disappear.
To achieve an even better result, it is helpful to repeat the steps if any unevenness is still visible. You may notice small artifacts that you also want to remove. With the Restoration tool, you can adjust the remaining areas so that the editing looks as if the object had never been there.
For the second example, we select a different image. Here, I want you to use the Freehand Selection tool to roughly select the woman in the rowboat. The Freehand Selection tool allows for more freedom and precision.
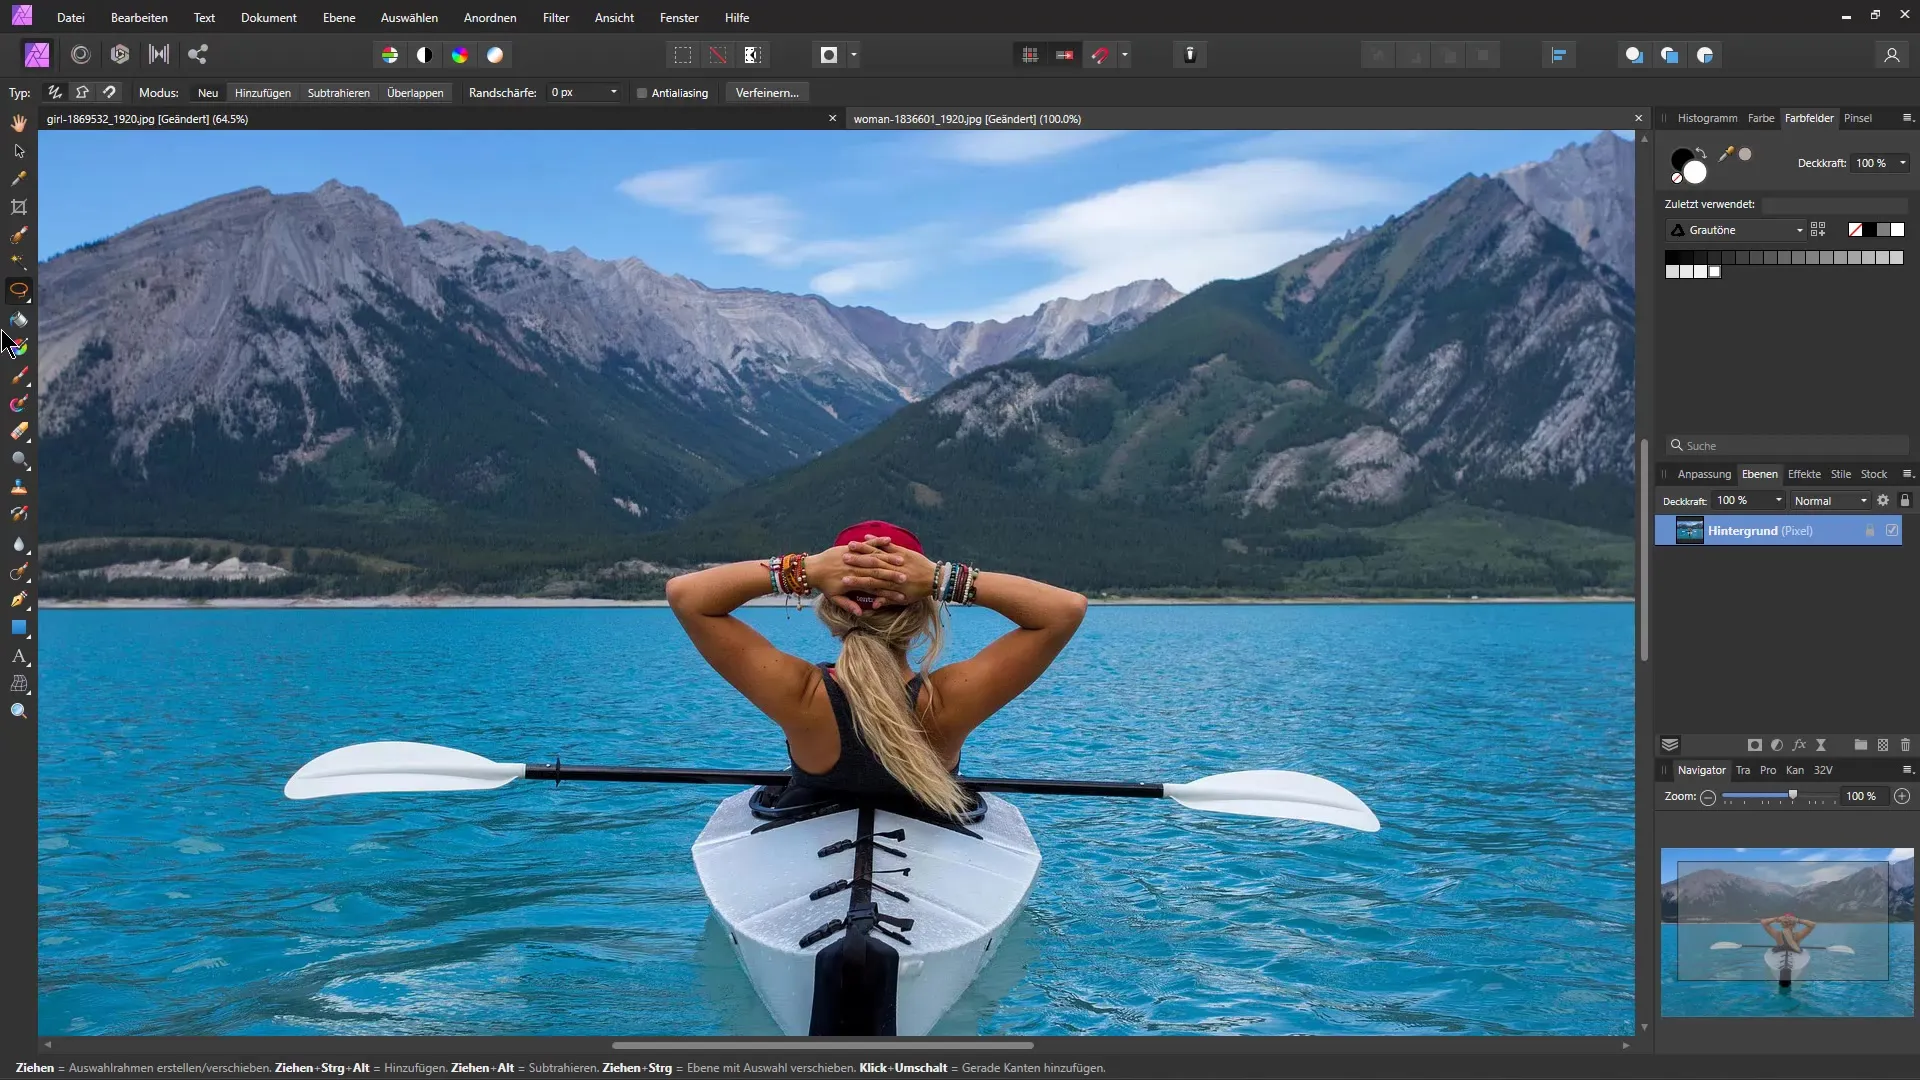
Just like with the first image, in the next step, go to "Edit" and choose "Fill" with Inpainting. This process will take some time, but the results are worth it. Make sure the selection is good to achieve the best results.
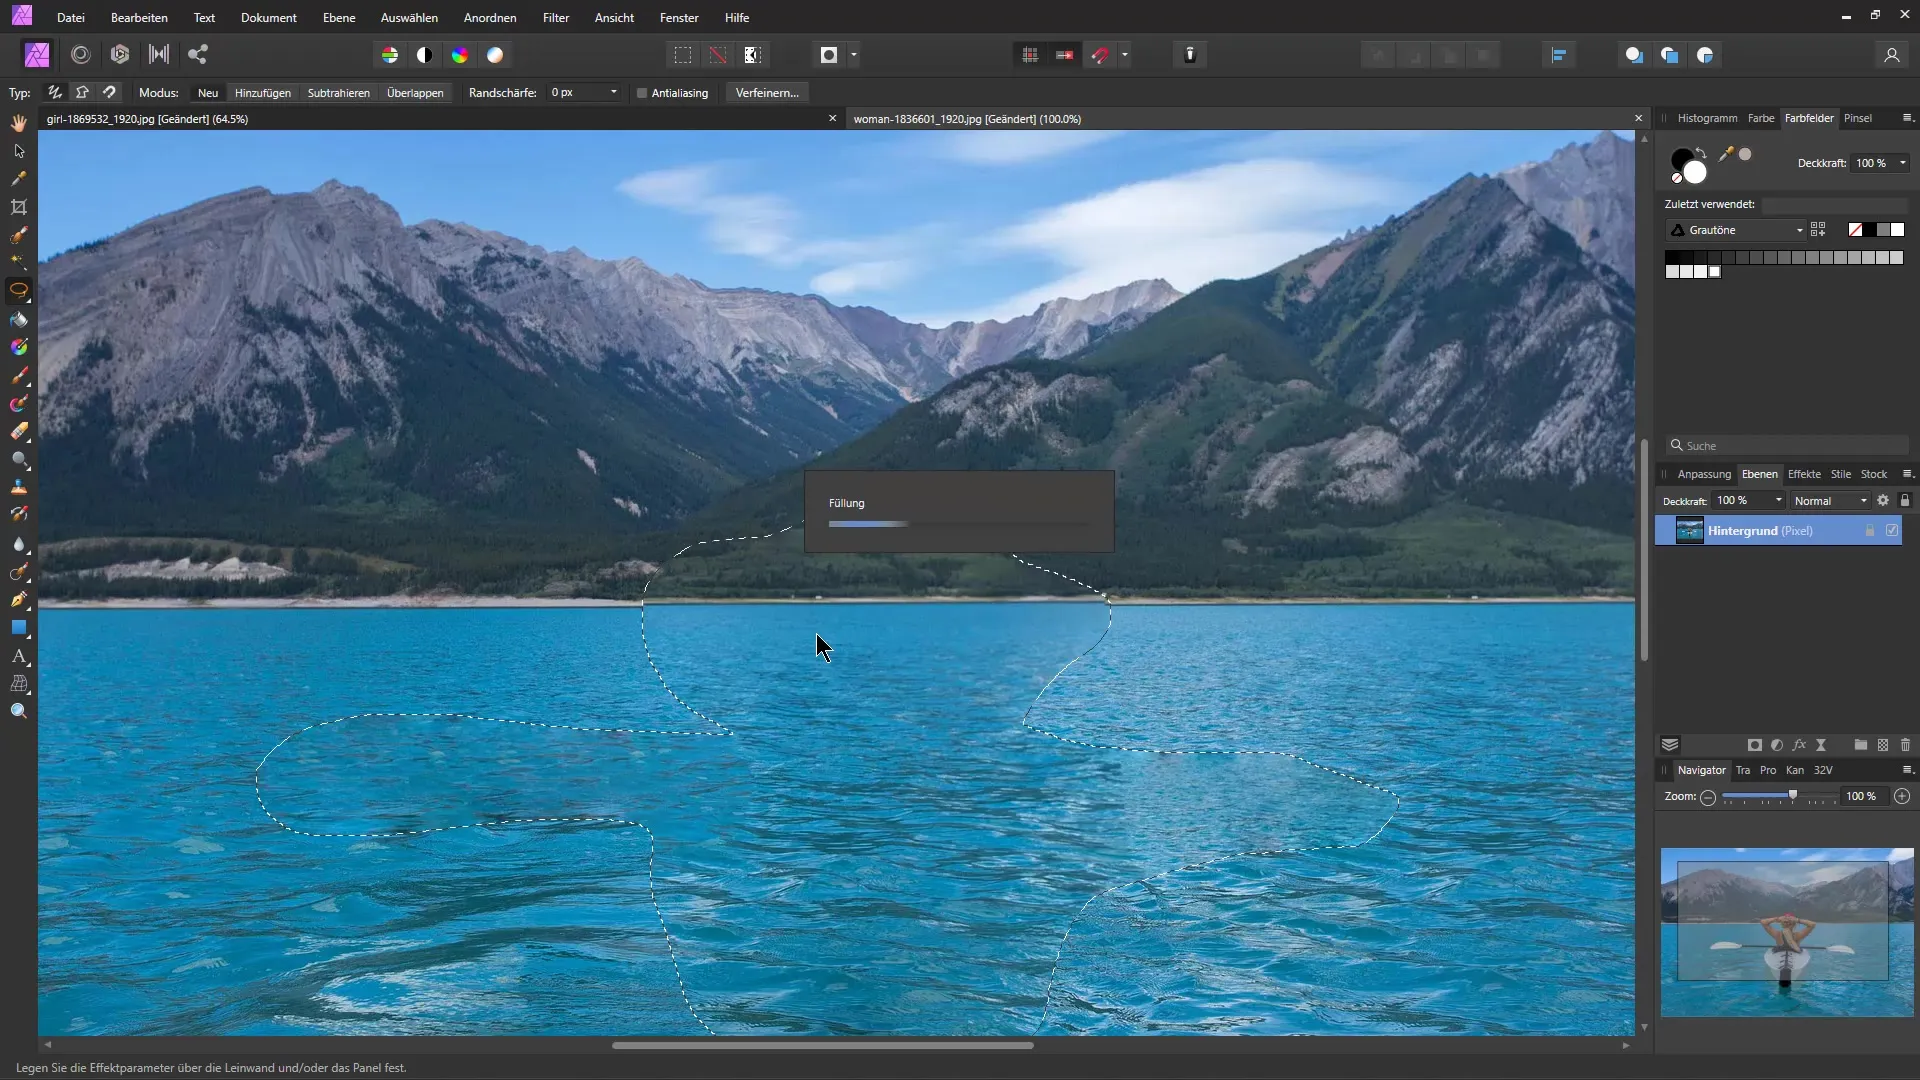
After removing the woman from the rowboat, you can deselect by using the keyboard shortcut "Ctrl + D" or "Cmd + D". Check the image to see if any minor details still need editing. Sometimes a slight pixel shift may occur, which you can easily correct using the Clone Stamp tool or the Restoration tool.
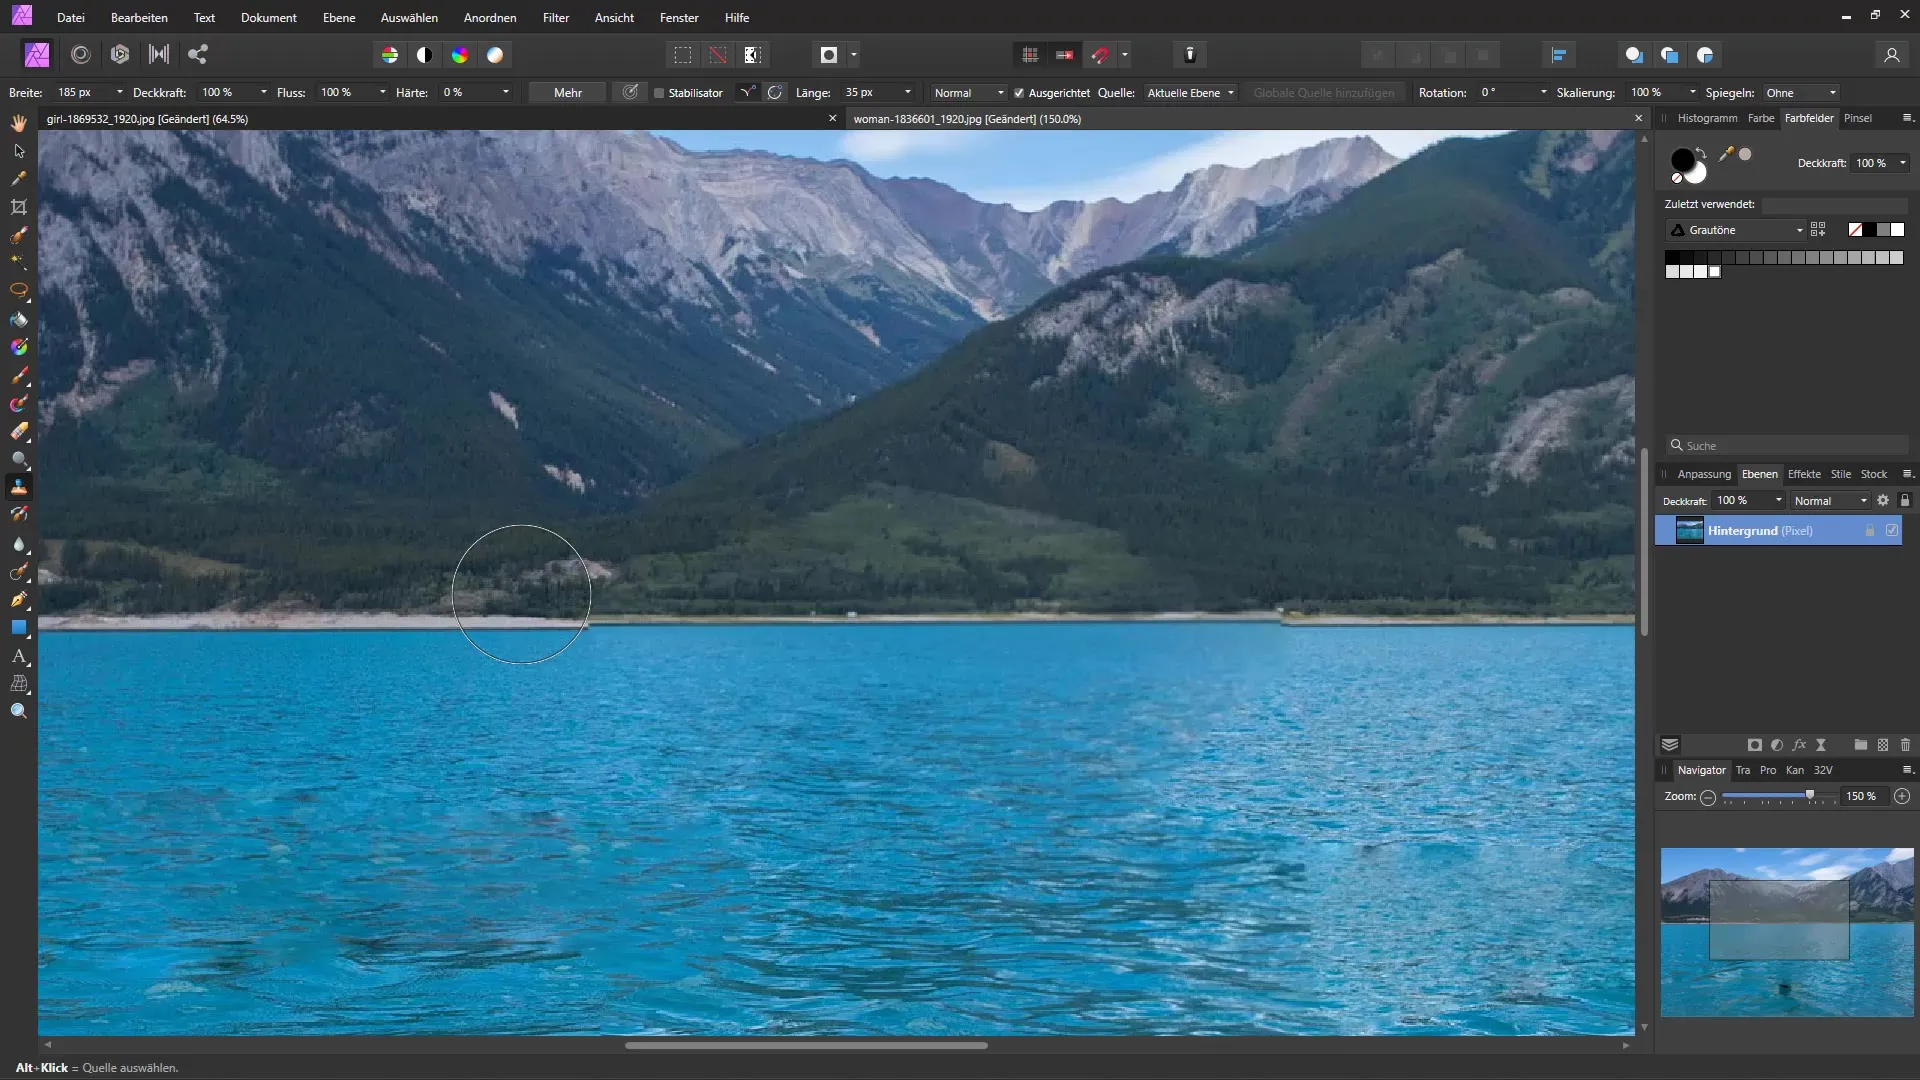
Make sure to select the correct source for copying by clicking with the Alt key (Option key on Mac). Then, drag the areas to retouch the image and make it seamless.
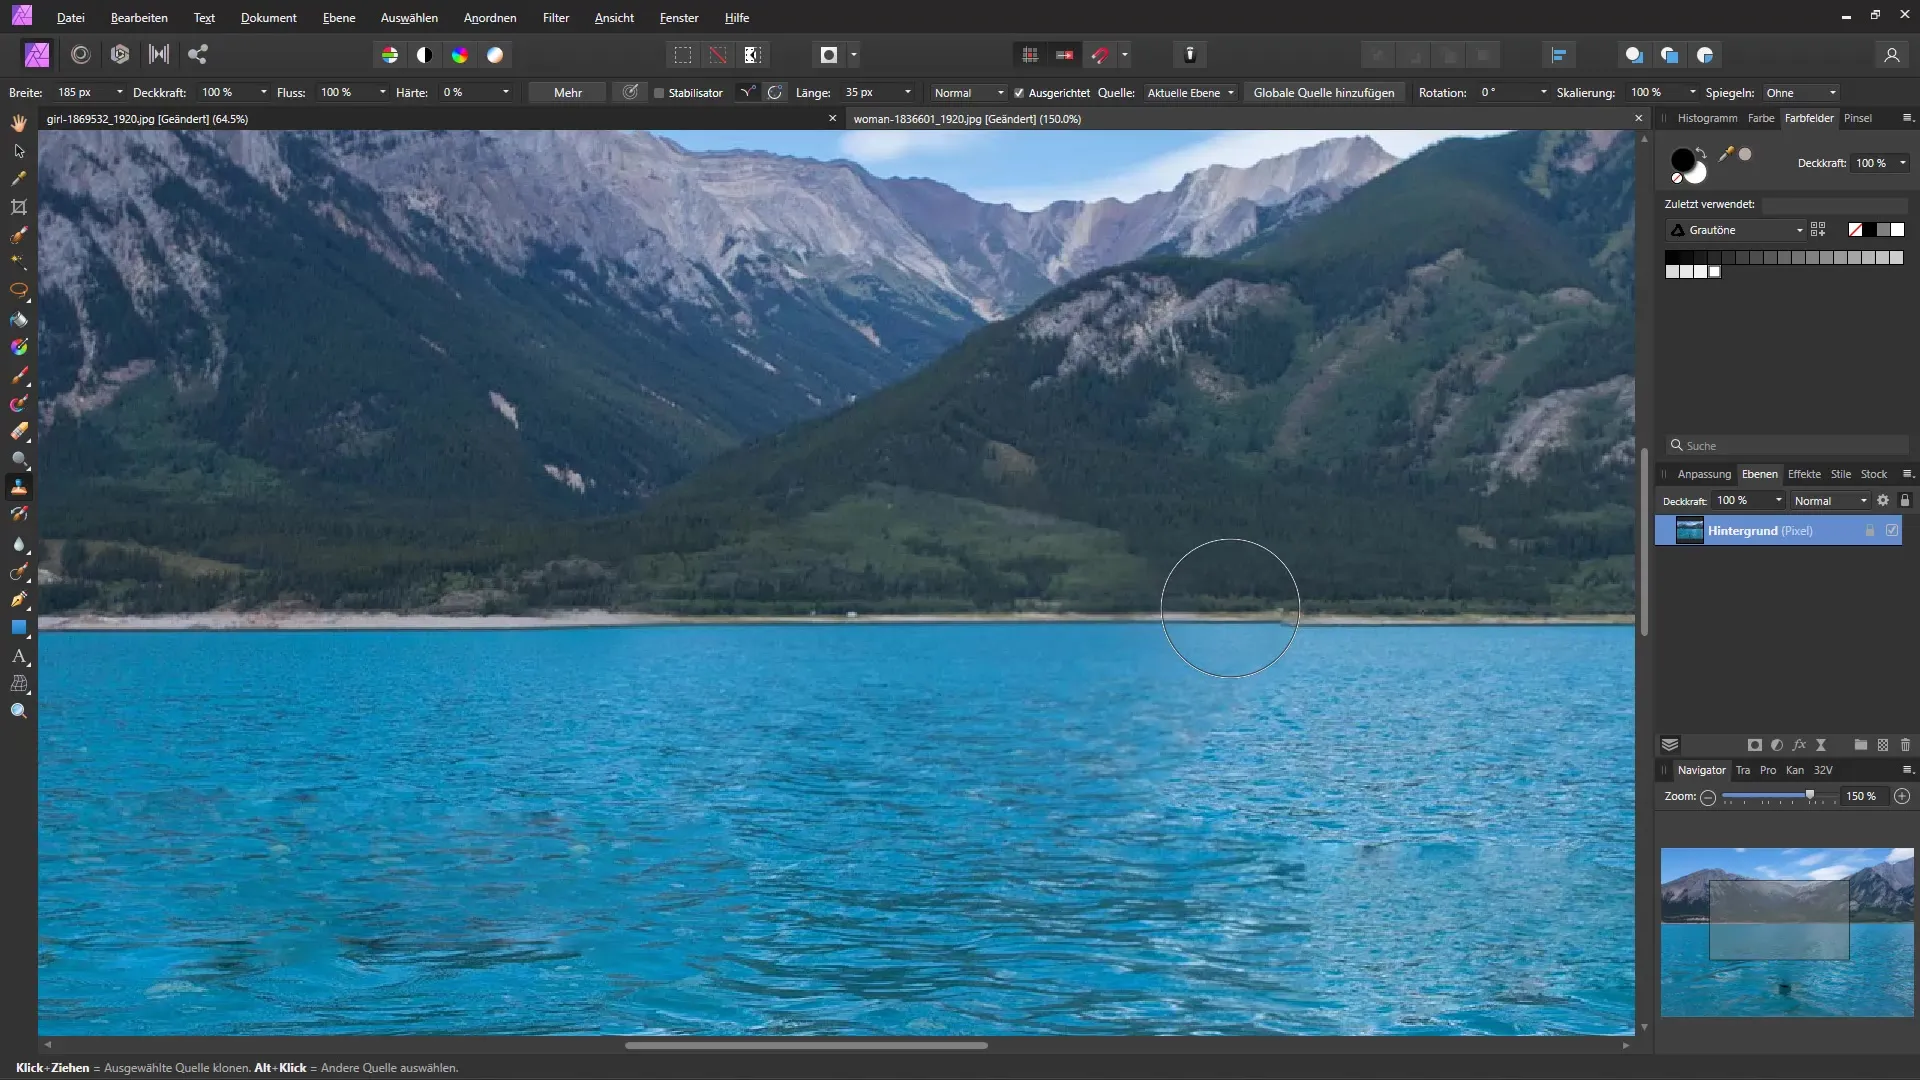
After you have made the adjustments, carefully check the result. You can always go back and optimize small areas to achieve a perfect end result.
You should now be able to quickly and effectively remove distracting objects from your images in Affinity Photo. Use these techniques to perfect your images and achieve a professional look.
Summary
In this tutorial, you have learned how to remove distracting objects from images using Affinity Photo. The steps involve selecting the object, applying the Inpainting function, and post-processing to achieve a flawless result. Use the various tools to enhance your photos.


