Inserting a Cielo into your Photoshop project can be a creative challenge, especially if you want to make sure it looks realistic and seamless. In this tutorial, you will learn how to effectively insert a sky into your Montage and adjust it to your composition. We will pay special attention to adjusting the perspective and the subtleties of image editing to create a harmonious overall image. Let's get started!
Main Insights
- Using a sky can significantly enhance your montage.
- Pay attention to the lighting conditions so the sky matches the rest of the image.
- The correct perspective and angle are crucial for a successful result.
Step-by-Step Guide
First, open the image file where you want to insert the sky.
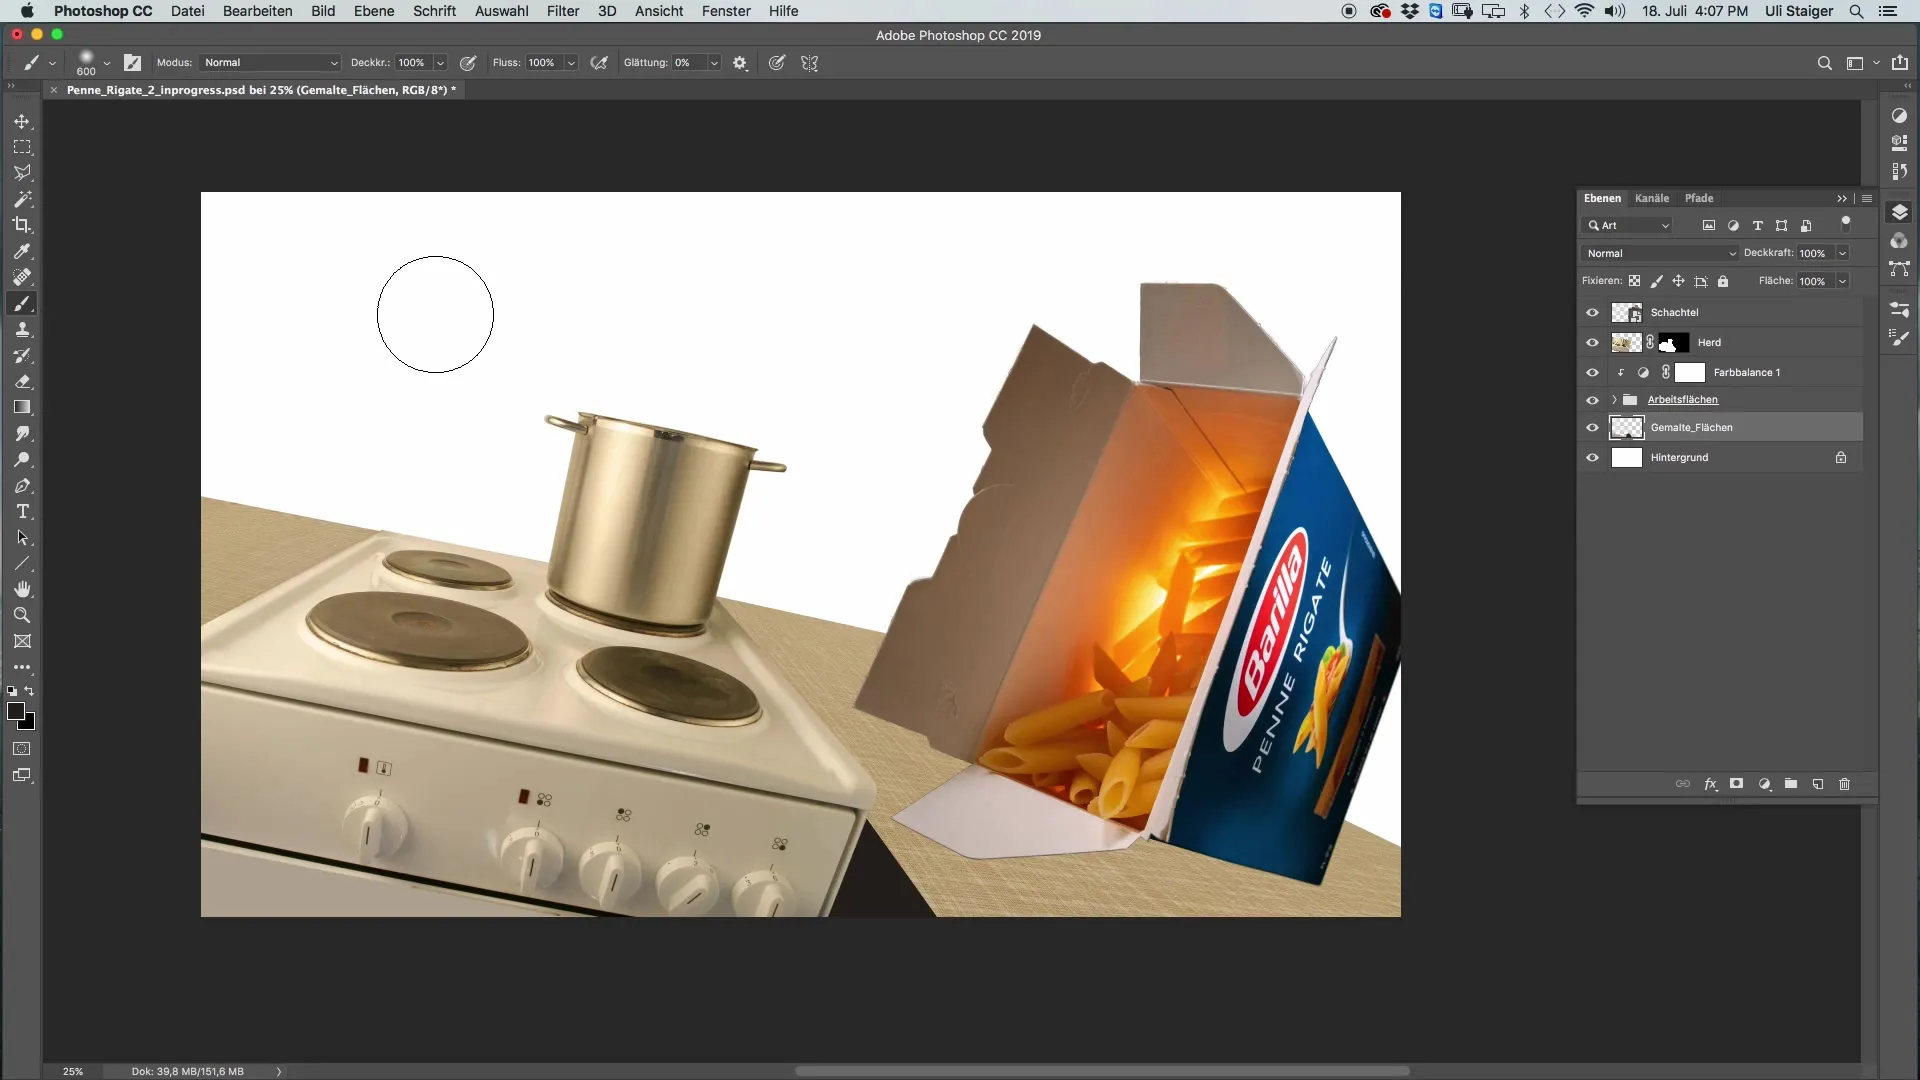
Use the "File" menu and select "Open". Here you can choose the sky you want to use. Make sure it fits well with the light in your current scene.
Once the sky is open in your project, select the Move tool. Drag the sky into your main image and make sure it aligns perfectly with the background.
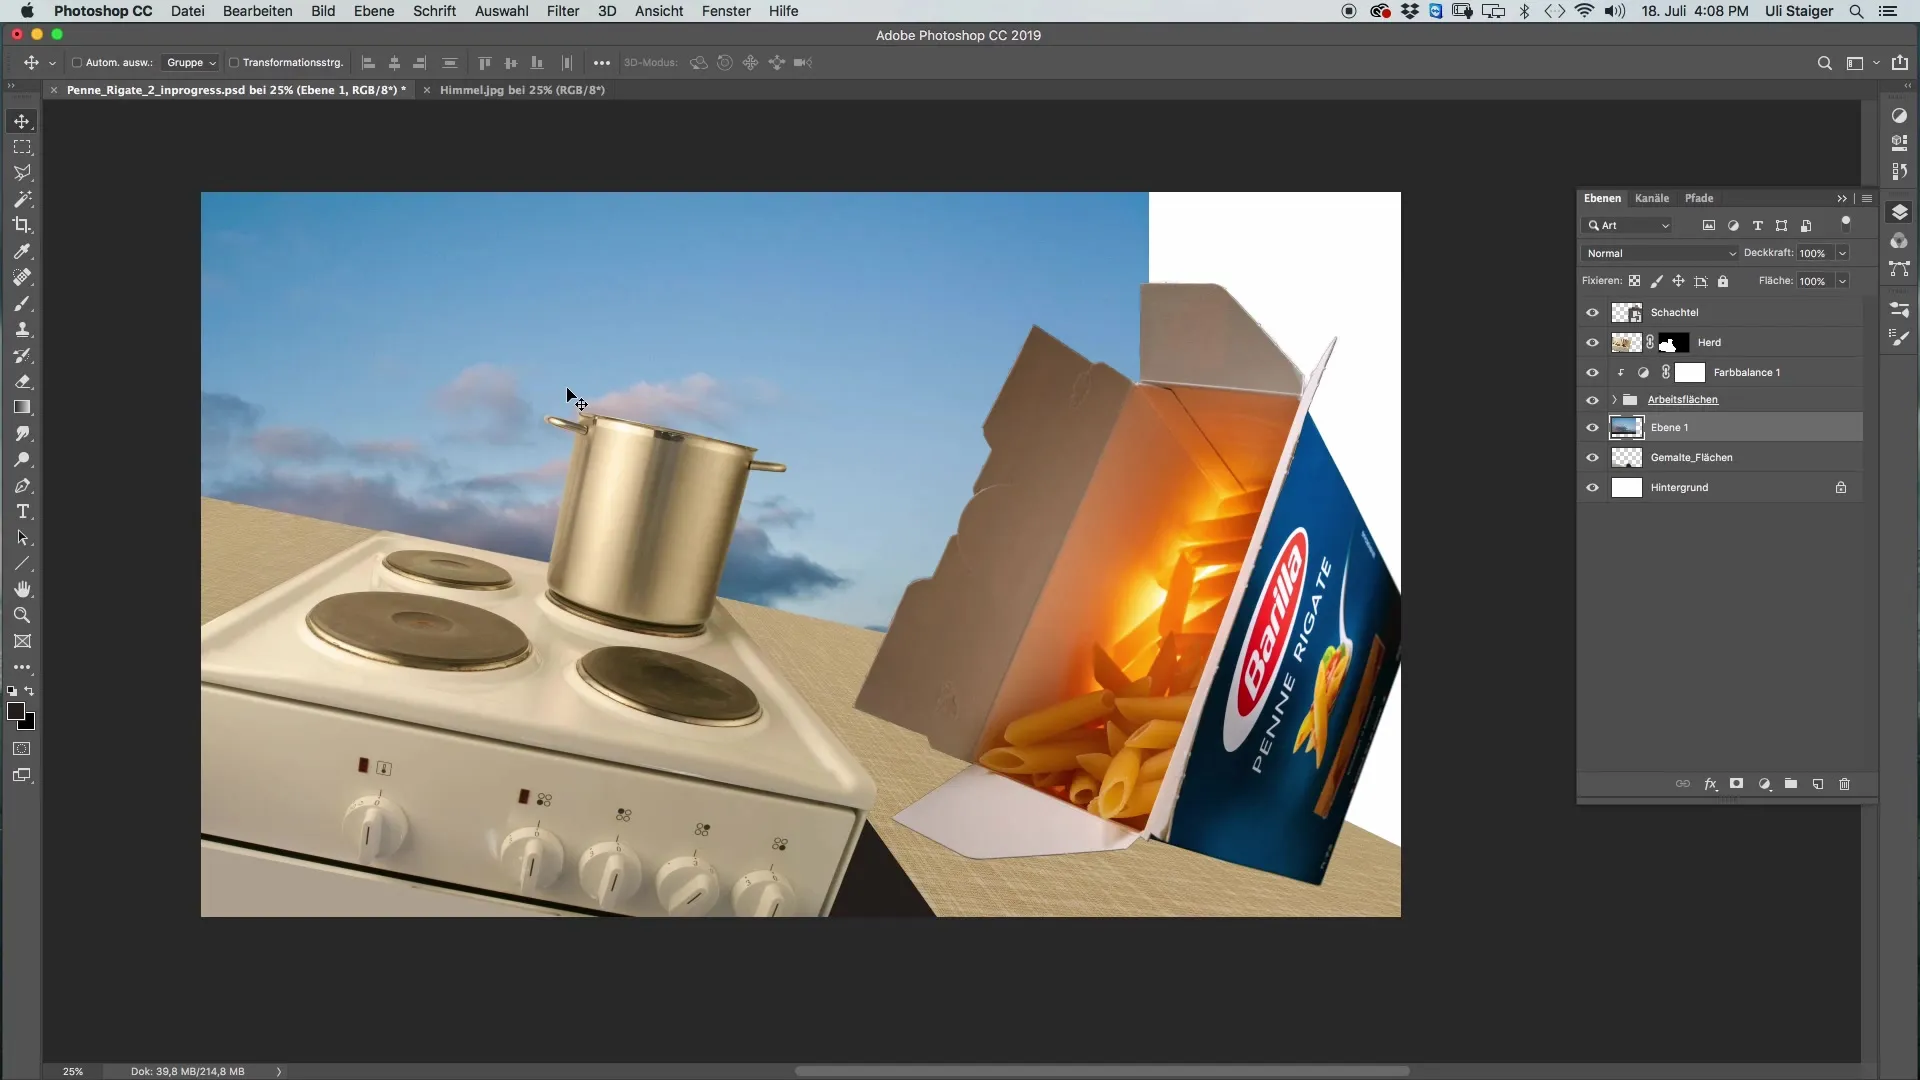
Now name the sky layer to keep track of it in your project. It is helpful to have order in the layers, especially when working with multiple layers.
To find the perfect position, adjust the sky using "Transform". Press "Command + T" and set the sky at an angle of about 11°. This helps improve the perspective of your scene.
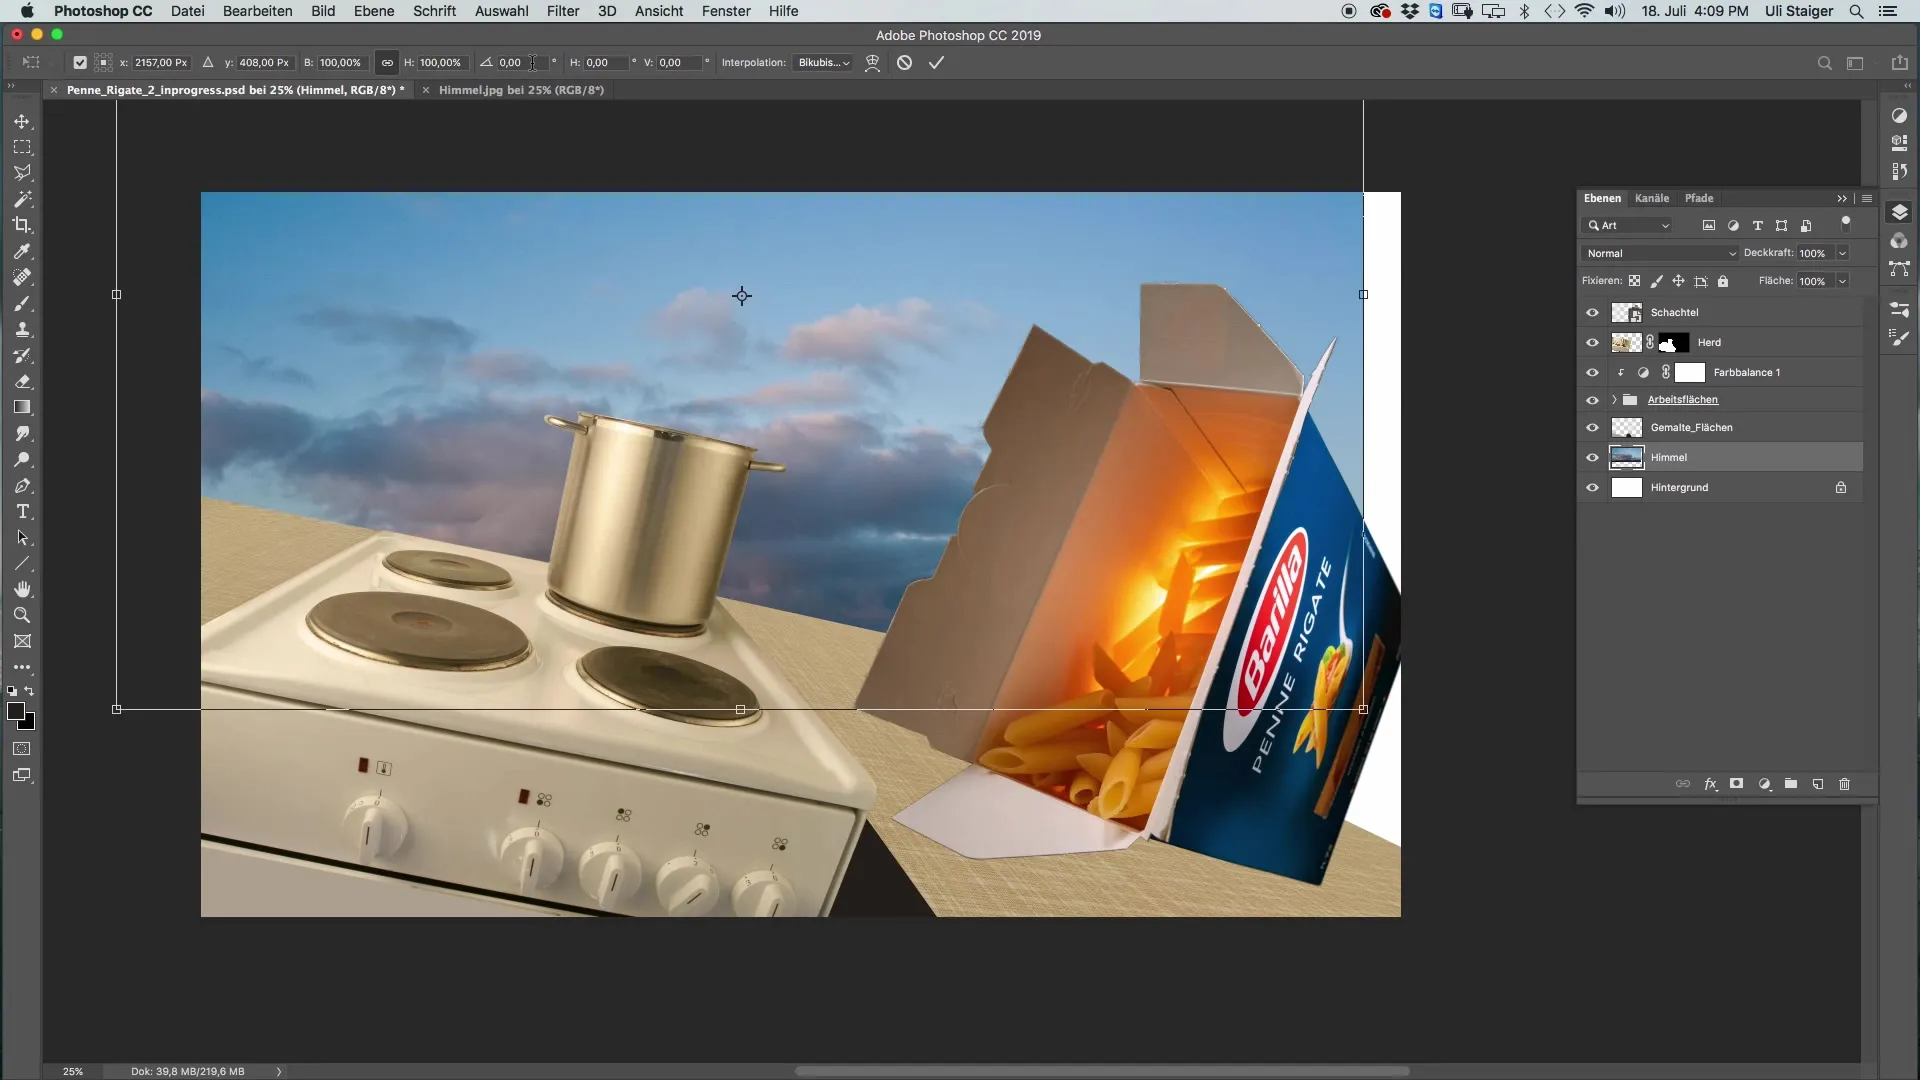
Ensure that the sky is large enough to cover the entire area. If it doesn't quite reach, you can adjust the size. It's important that it is fully visible.
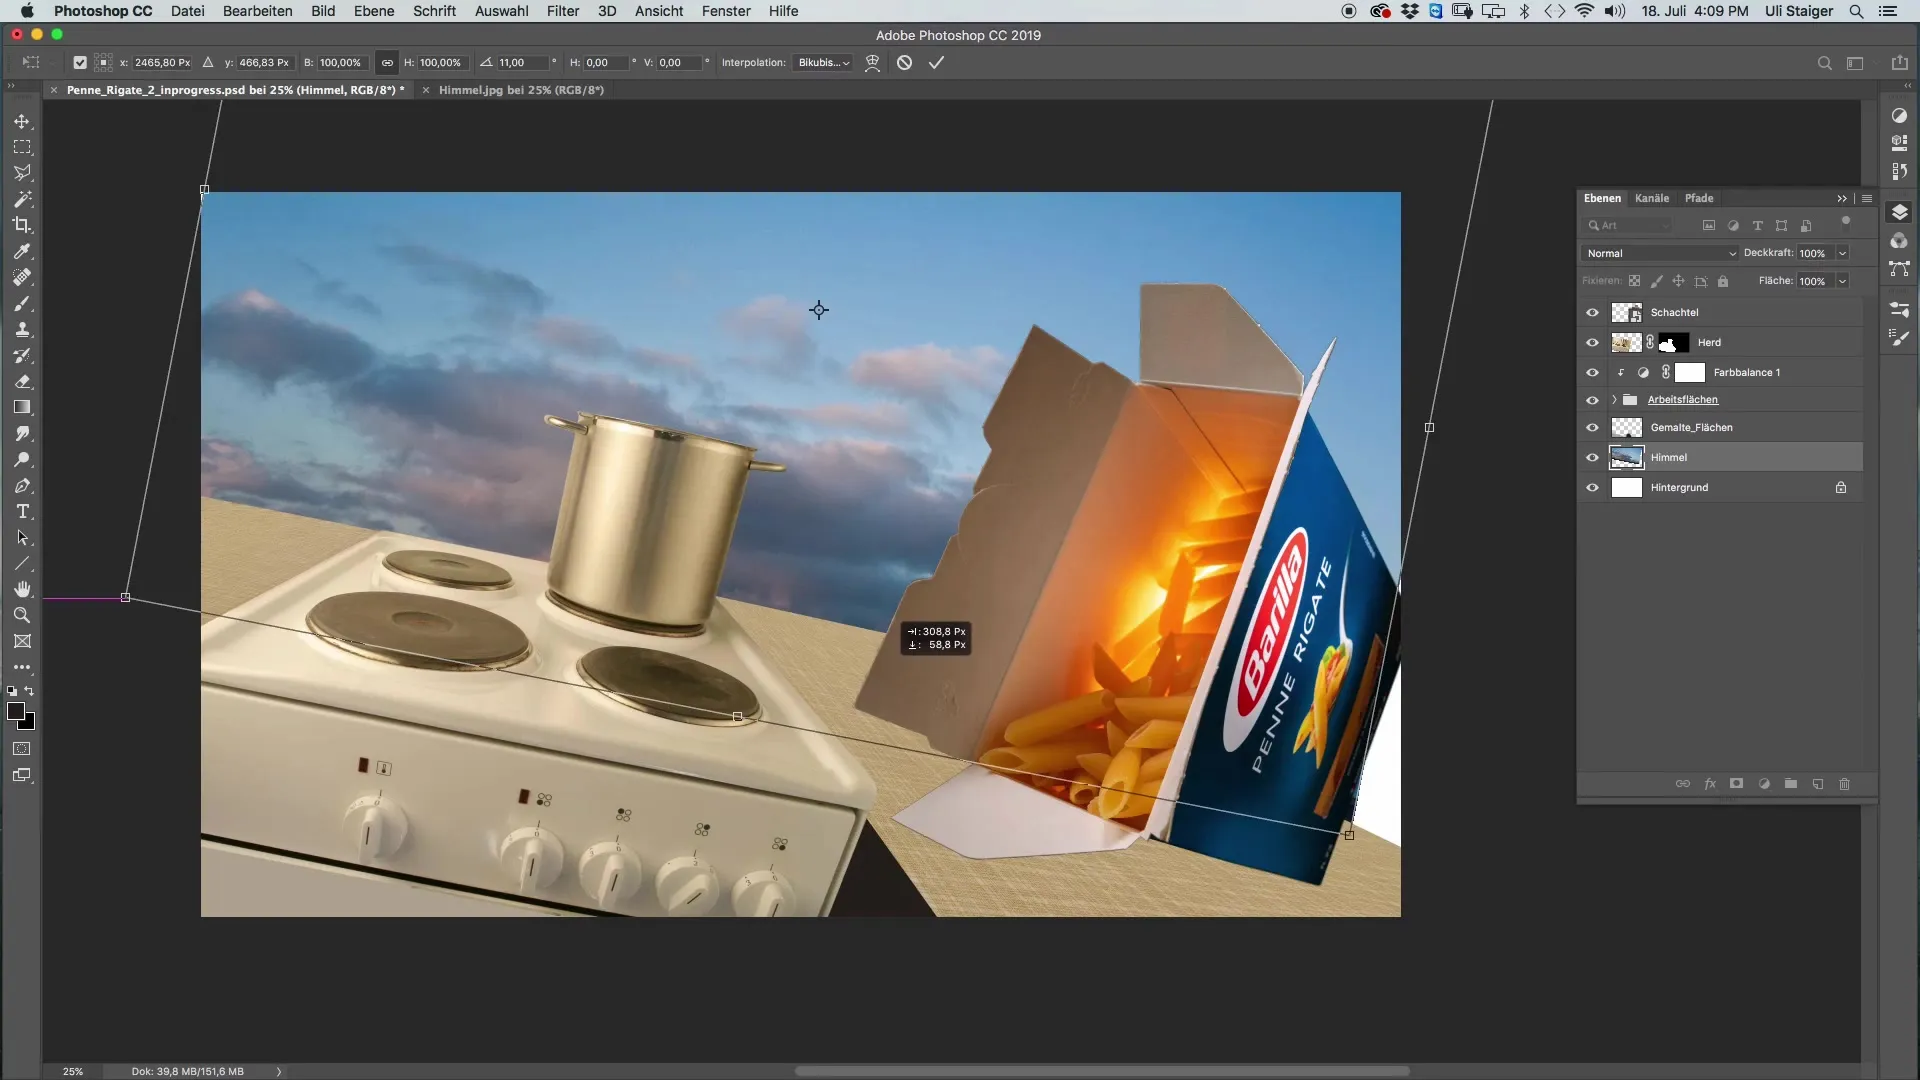
Since we may later work with a cover to edit details, it is useful to adjust the sky to the right height.
If the sky doesn't look optimal in certain areas or you can see something from the box background, use the stamp tool. Choose the large stamp tool with 100% opacity and no retouch layer.
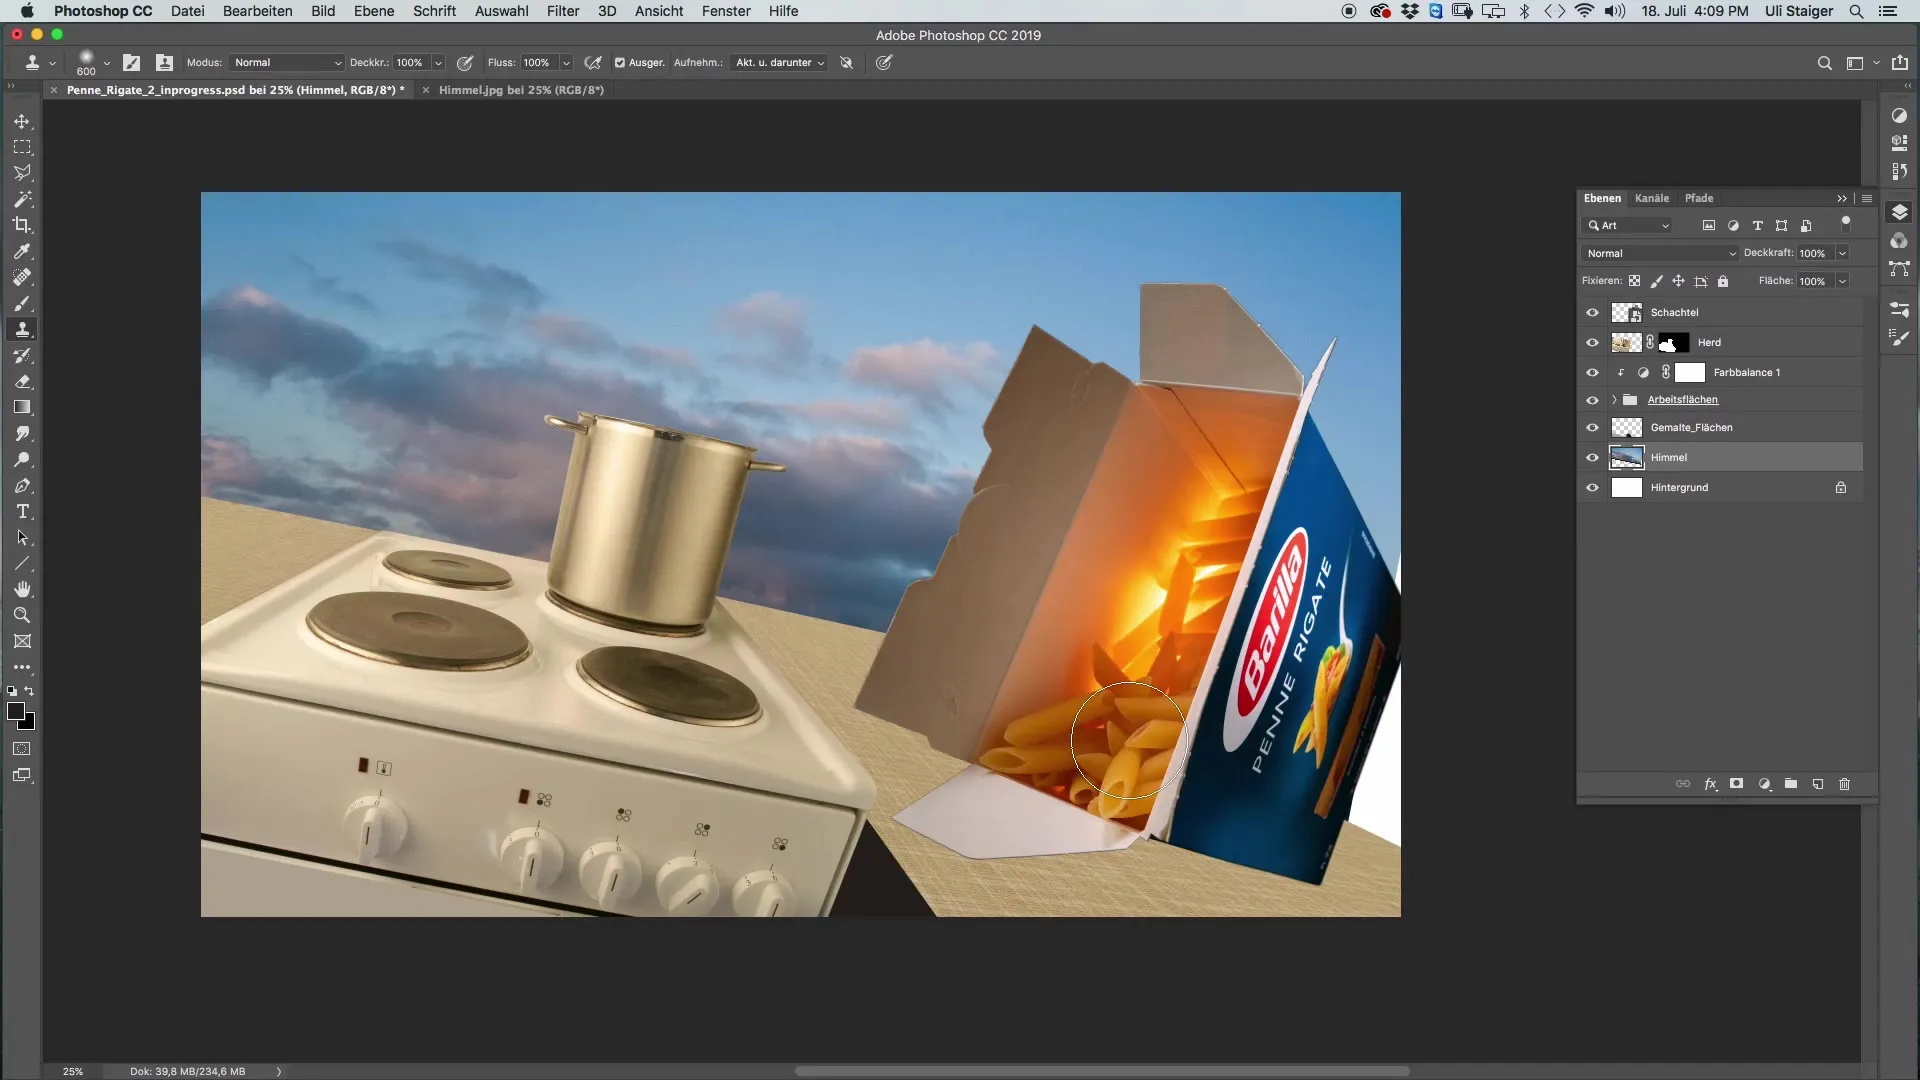
Start by picking up the color right behind the Barillers sign and begin stamping it on the errors. This will help conceal any unwanted elements in the sky and create a harmonious image.
If you want a different mood for your sky, feel free to try out different clouds or sky effects. You can also play with dark clouds to achieve the desired effect.
Finally, check your image to ensure that the sky is well integrated, even if the box doesn't move anymore. Sometimes the sky may look a bit inconspicuous, but it adds to the overall aesthetics of the image.
Summary
In this tutorial, you've learned how to effectively insert a sky into your composition in Photoshop. You have seen how crucial adjusting light and perspective is, and how you can fix small errors with simple tools. With these steps, you can further refine your artworks.
Preguntas frecuentes
¿Cómo encuentro el cielo adecuado para mi imagen?Asegúrate de que el cielo se adapte a la luz de la escena y transmita la sensación deseada.
¿Puedo usar mis propios cielos?Sí, puedes usar tus propios cielos en cualquier momento. Presta atención a la calidad y las condiciones de iluminación.
¿Cómo cambio el ángulo del cielo?Usa "Command + T" para transformar el cielo y ajusta el ángulo según sea necesario.


