In this tutorial, I will show you a simple and effective method to make eyes in Photoshop shine and customize them to your desired color tone. These techniques are particularly helpful in enhancing portrait images and making the gaze of your subjects more lively and inviting. You only need some basic tools within Photoshop and you will be amazed by how easy it is to achieve impressive results.
Main Insights
You will learn how to brighten eyes with just three layers and easily change the color to a desired tone. The entire process is clear and comprehensible, so you can quickly achieve results.
Step-by-Step Guide
To brighten eyes, we start by creating a new Curves Adjustment Layer in Photoshop.
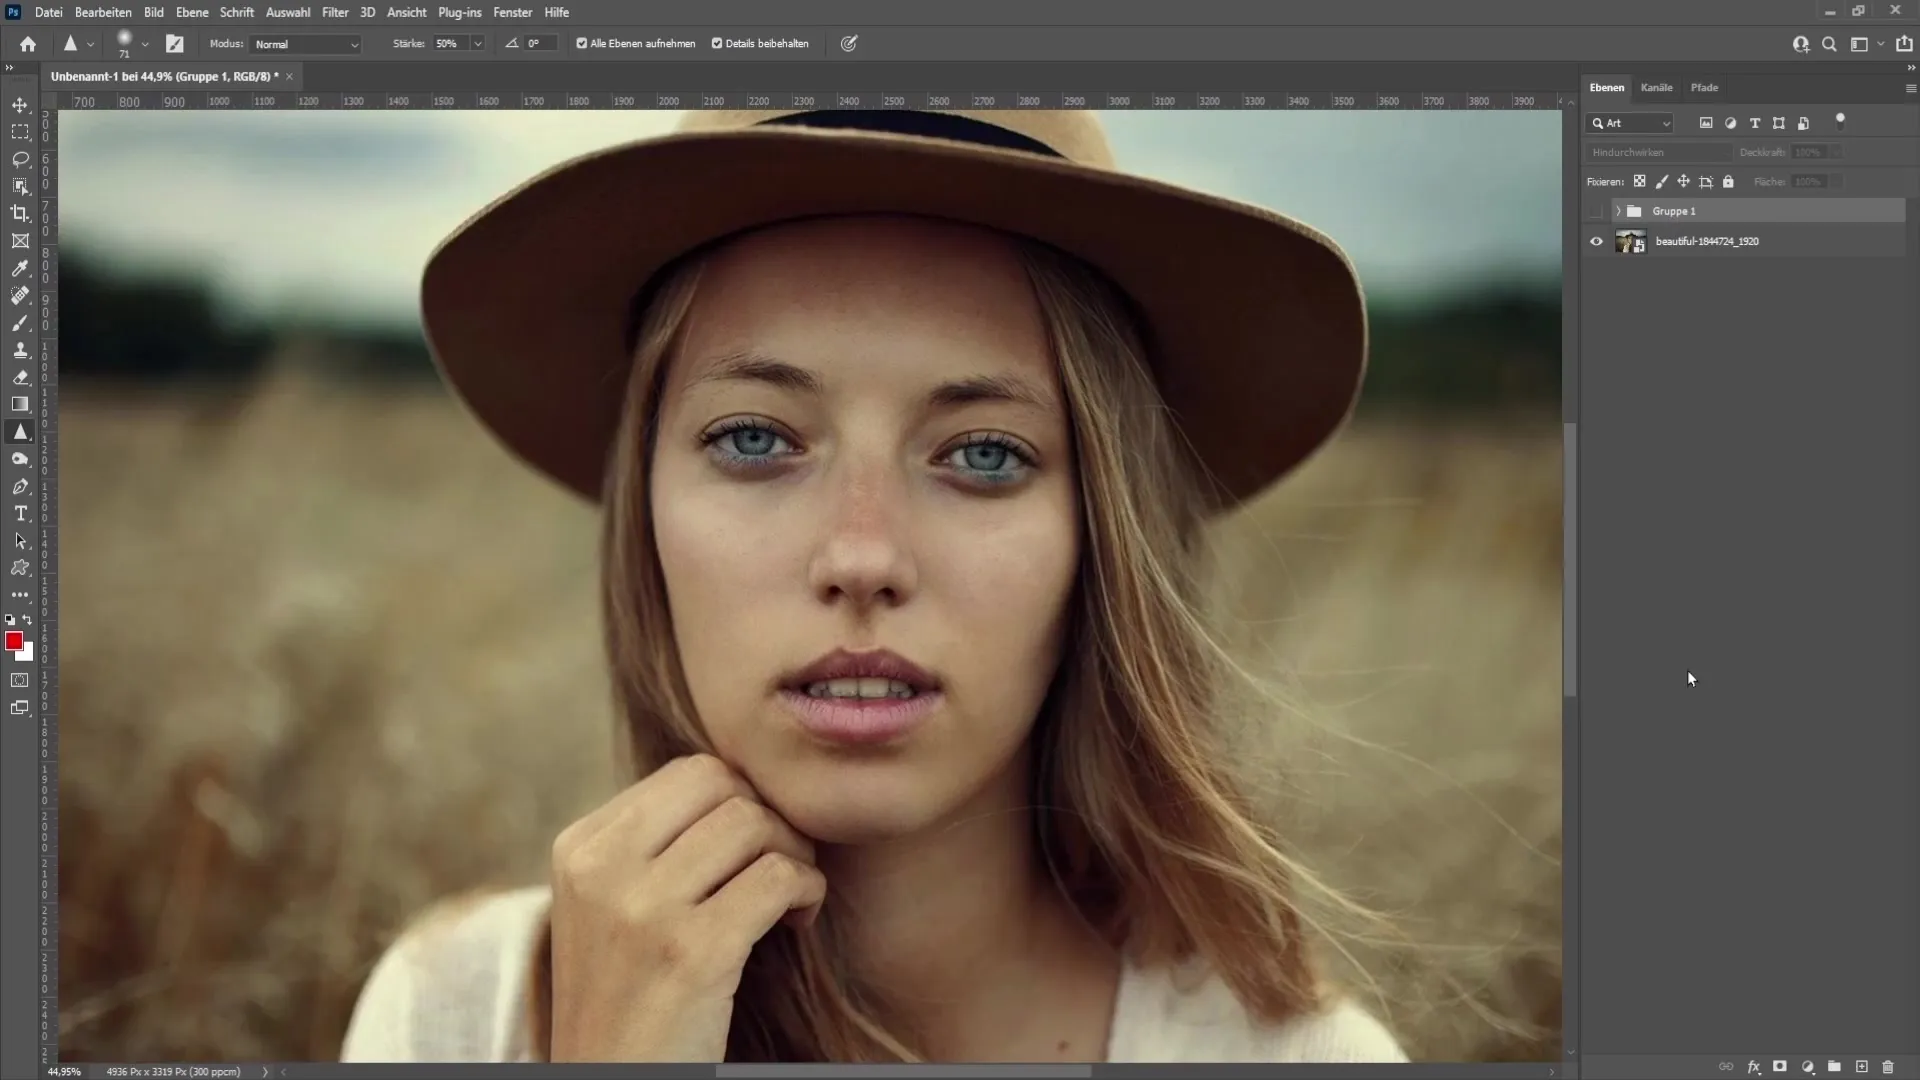
First, you can delete the group and its content to start with a clean workspace. Edge-Only: Make sure to select only the eyes you want to edit.
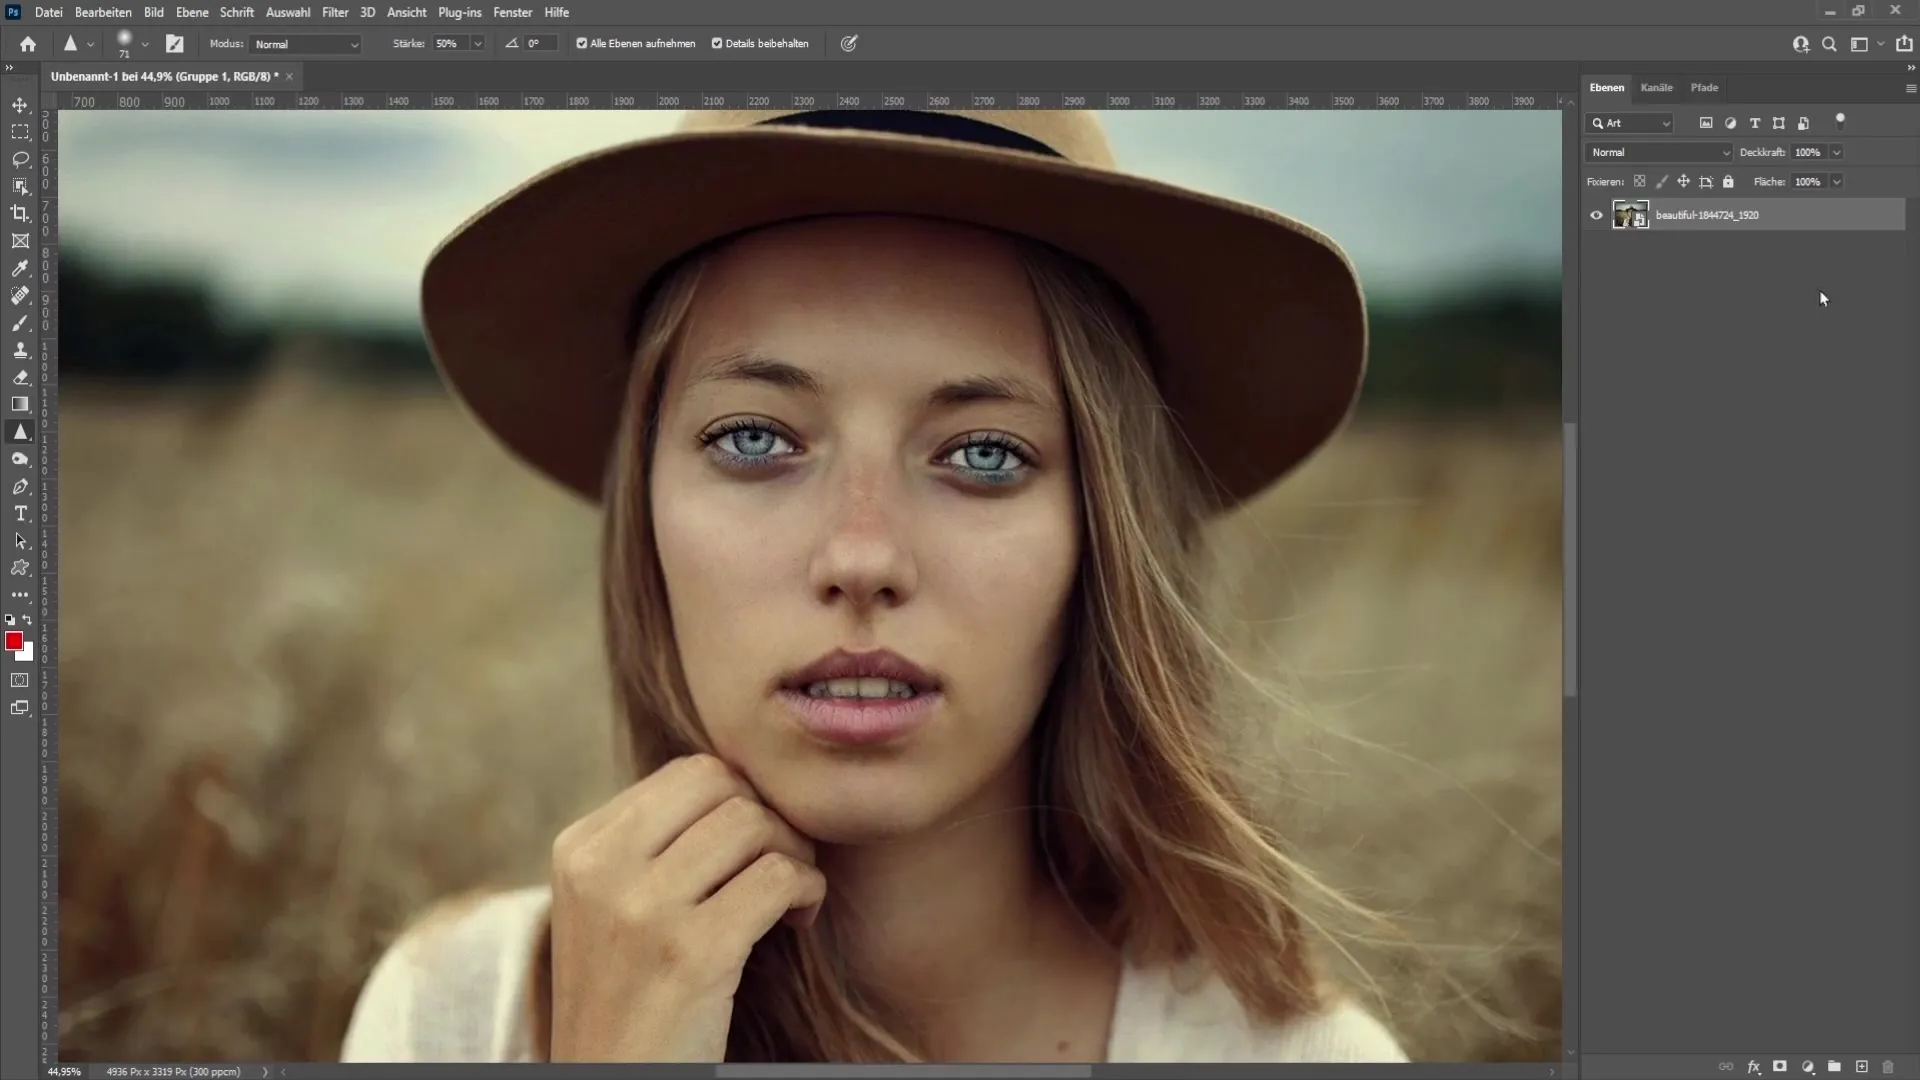
Now, add a Curves Adjustment Layer. Go to Corrections and click on Curves. A new window will open where you can adjust the midtones.
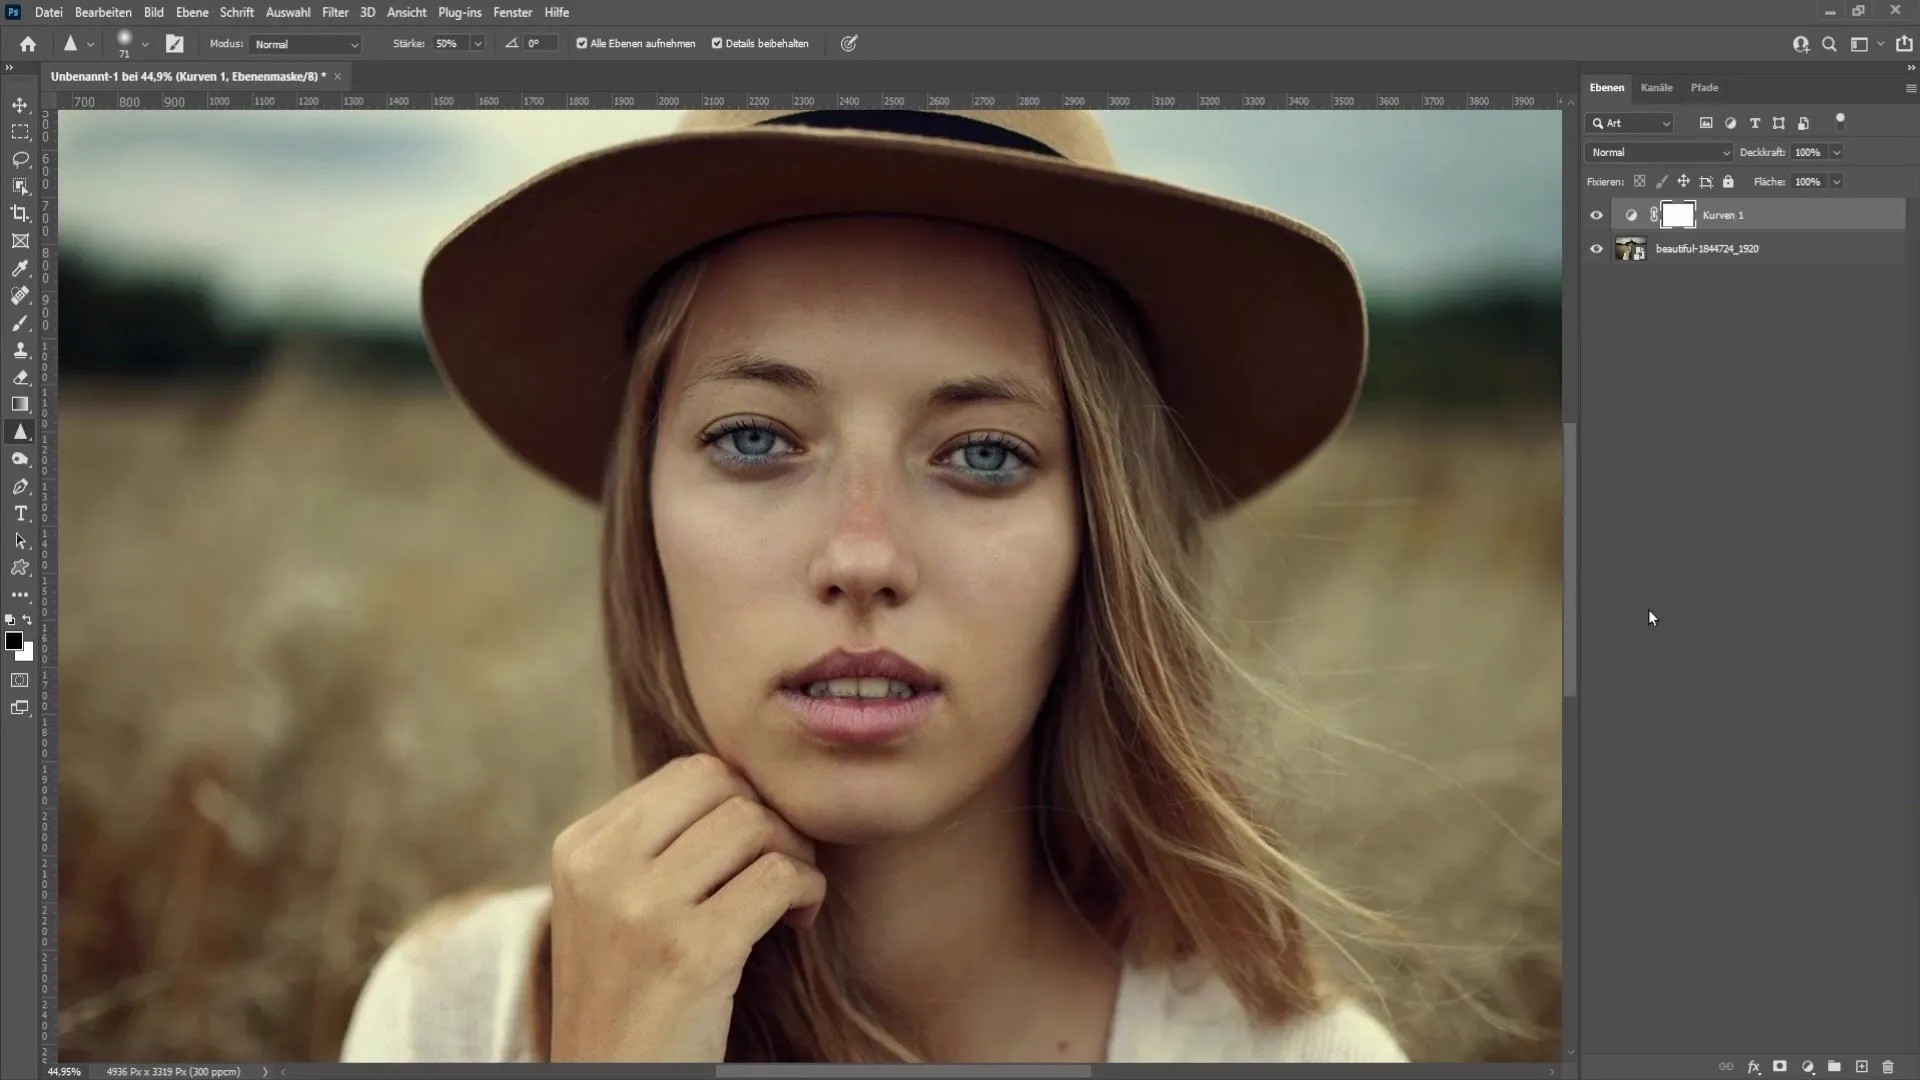
Pull up the midtones - roughly so that they are clearly visible. To apply these changes only to the eyes, we will use a layer mask. Press Ctrl + I to make the curve invisible at first, then create a copy of the layer.
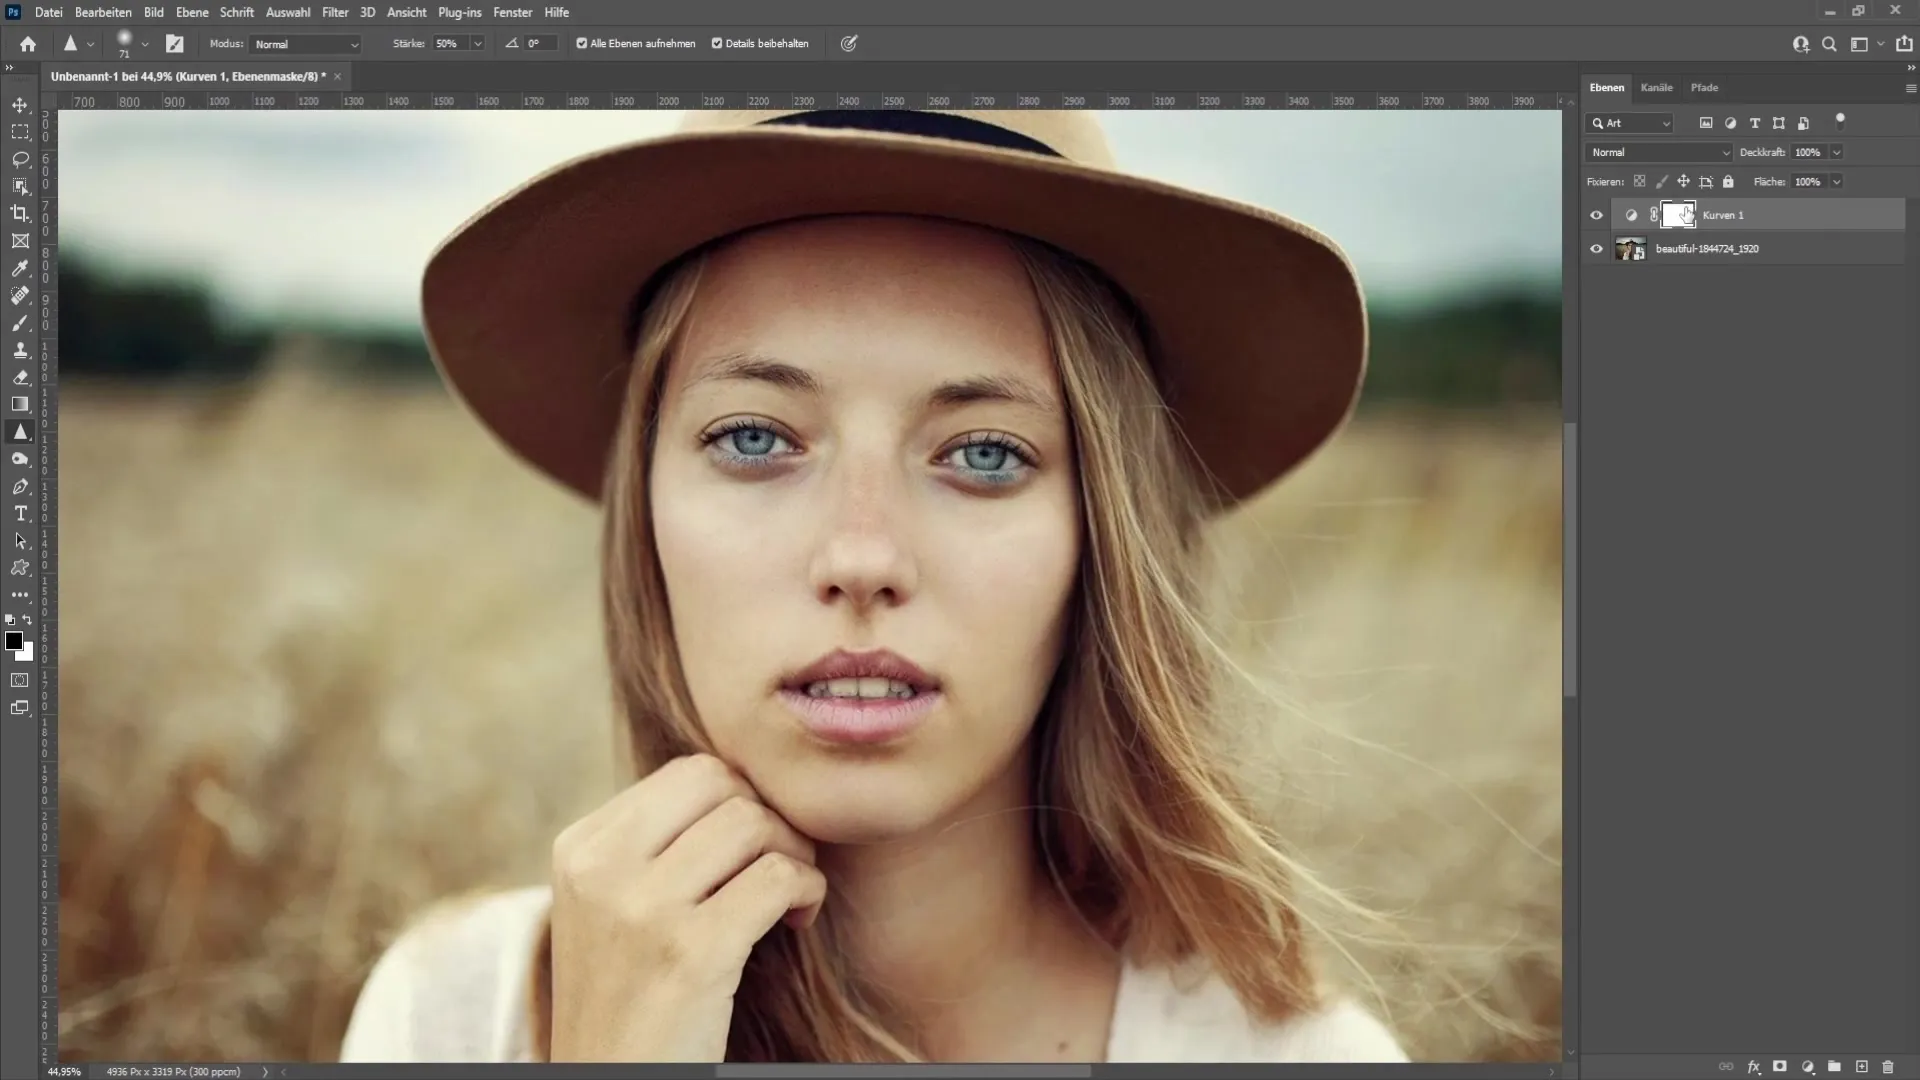
Next, use a brush with white foreground color to make the eye areas visible. Set the brush hardness to about 30% and opacity to about 35%. This way, you can gently paint over the eyes.
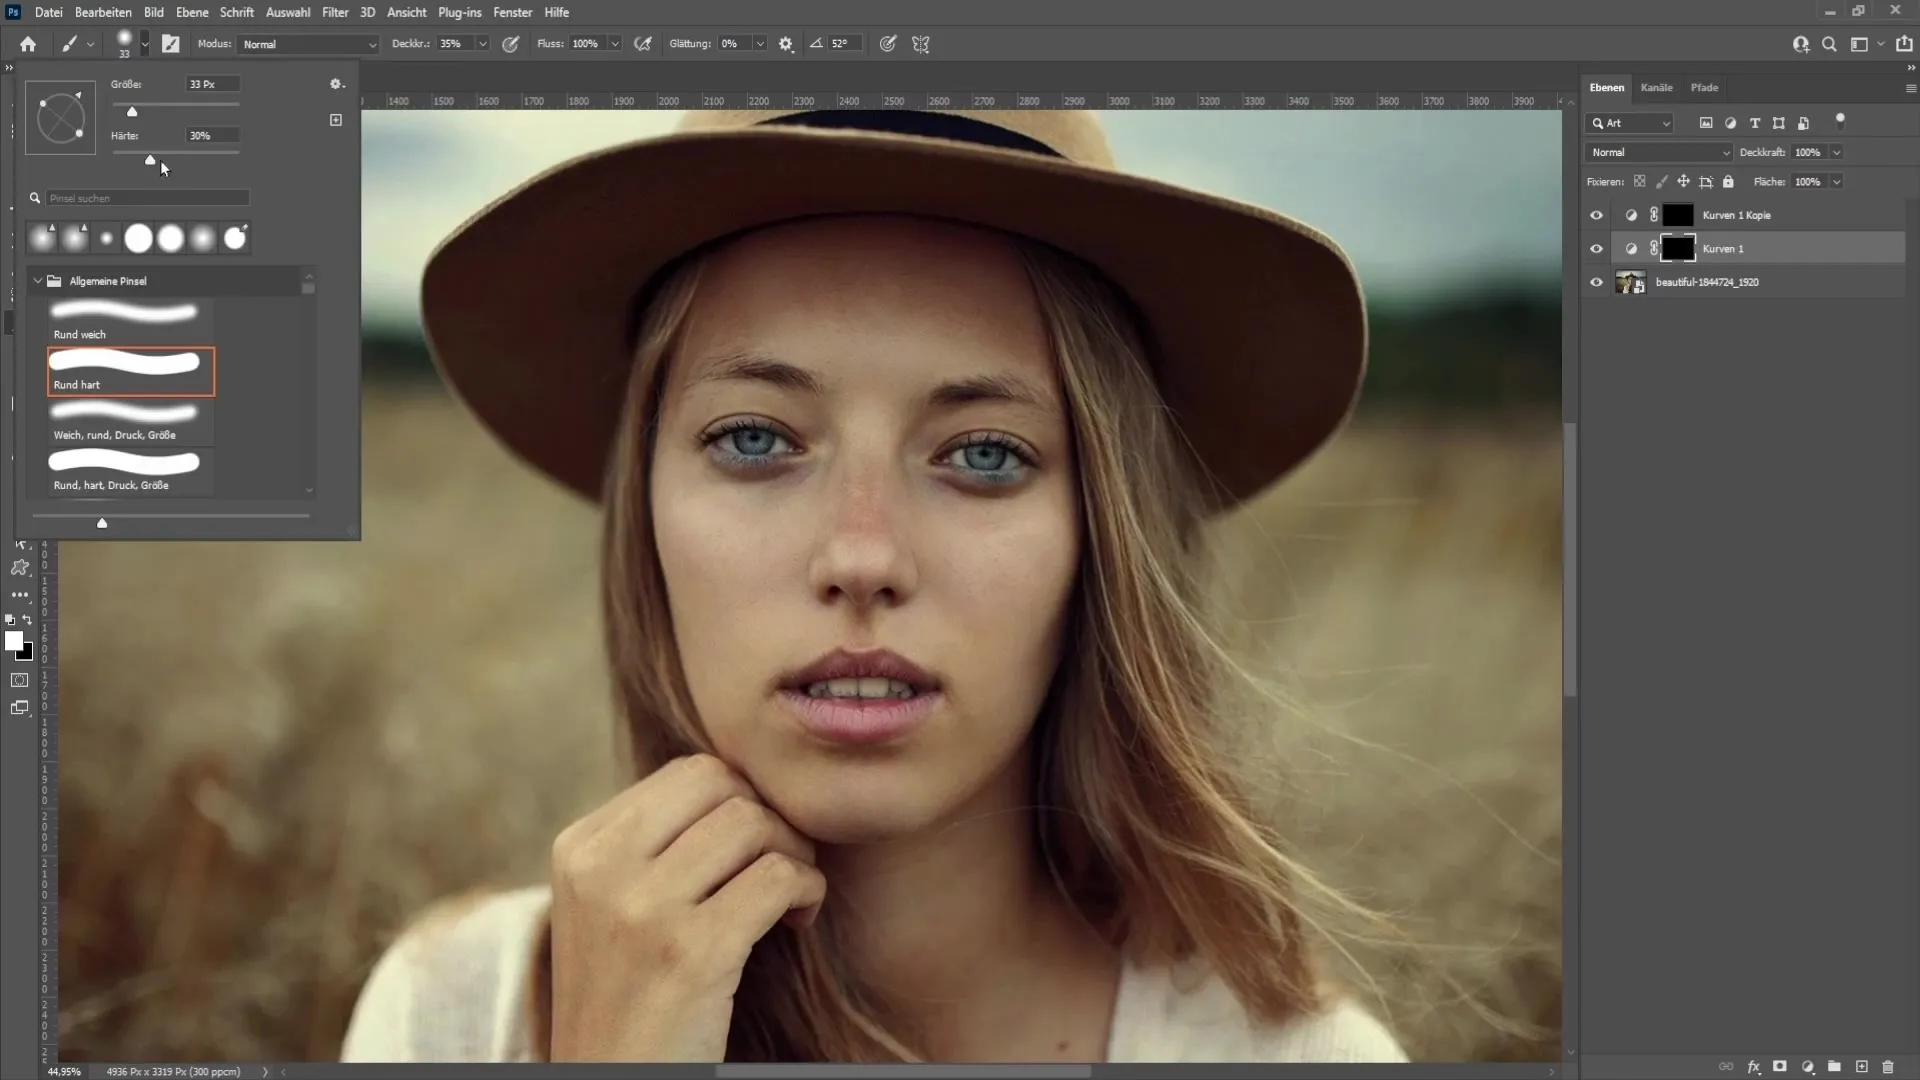
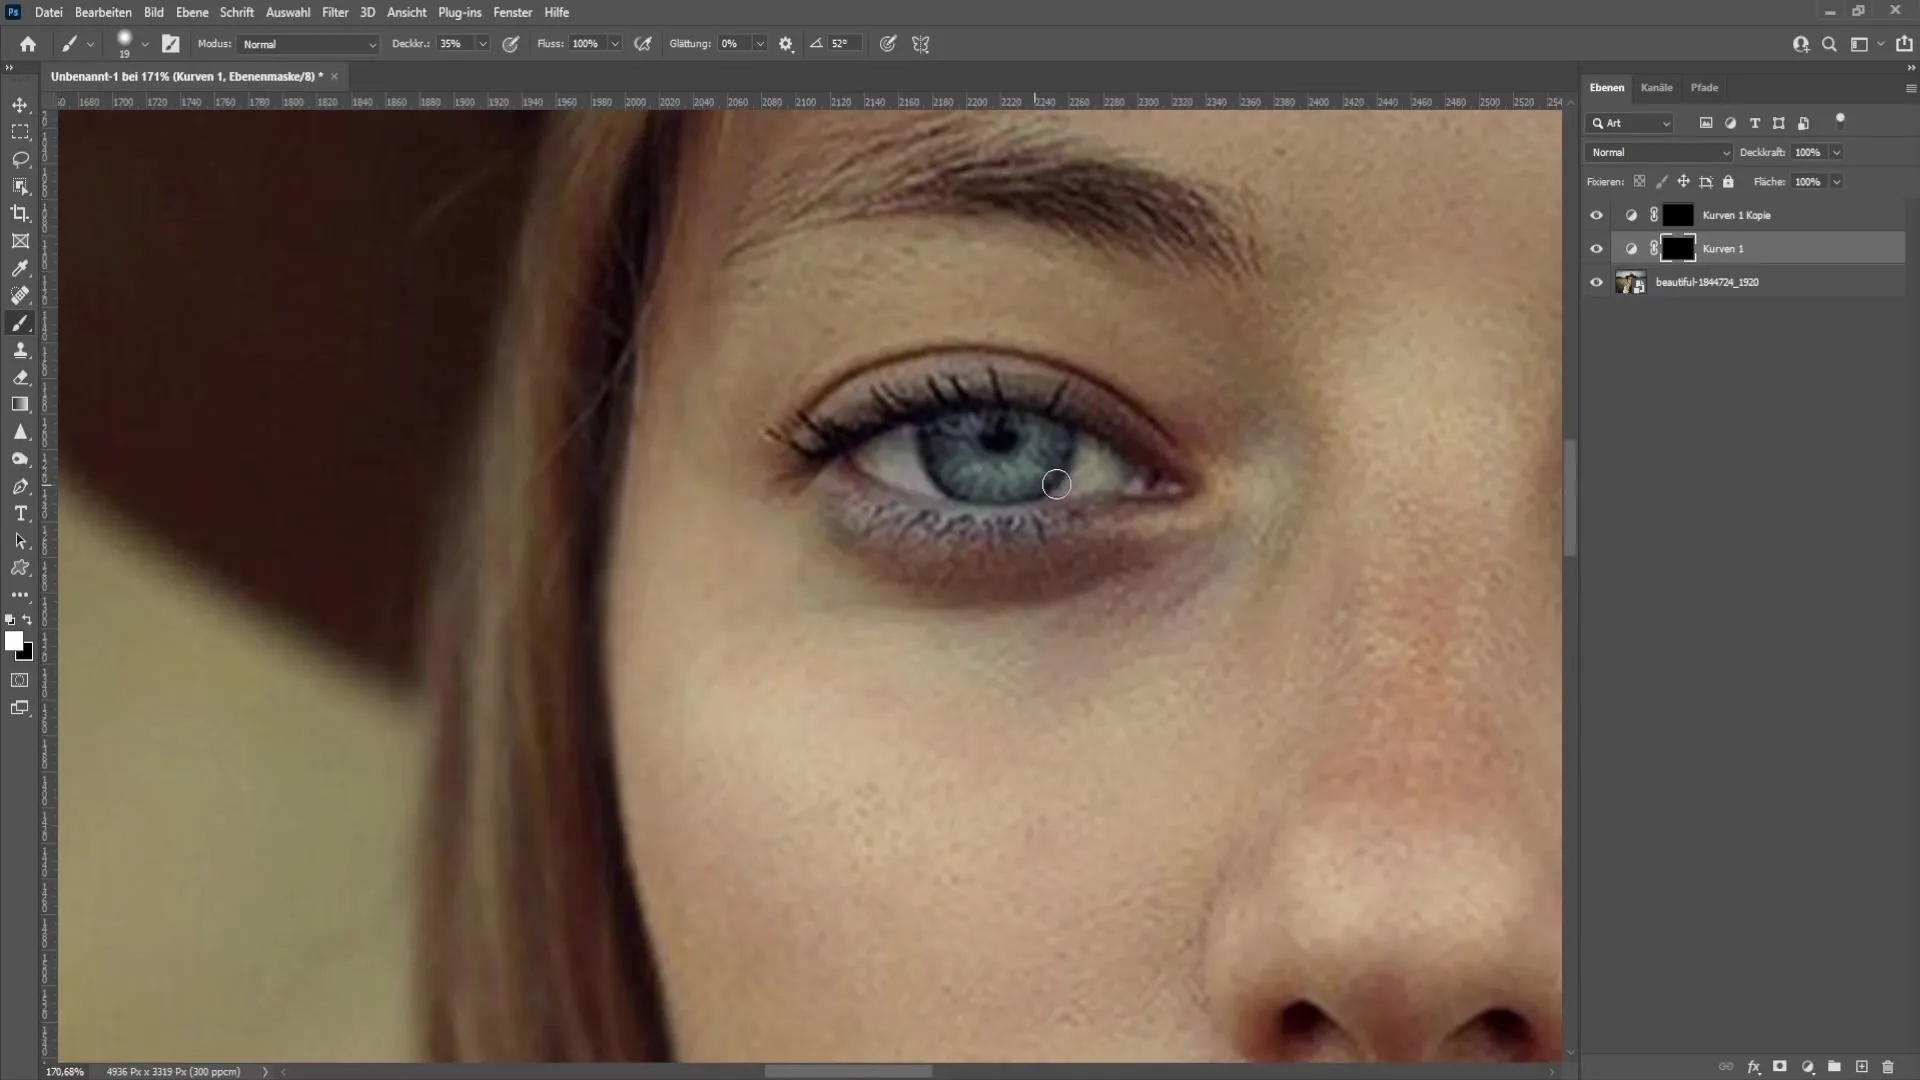
As you zoom in, carefully paint along the eyes. Always check the before-after effect to better see the progress.
To make the eyes even brighter, add another Curves Adjustment Layer. Set it to "Negative Multiply" mode. This time, you will only emphasize the iris by carefully painting around it.
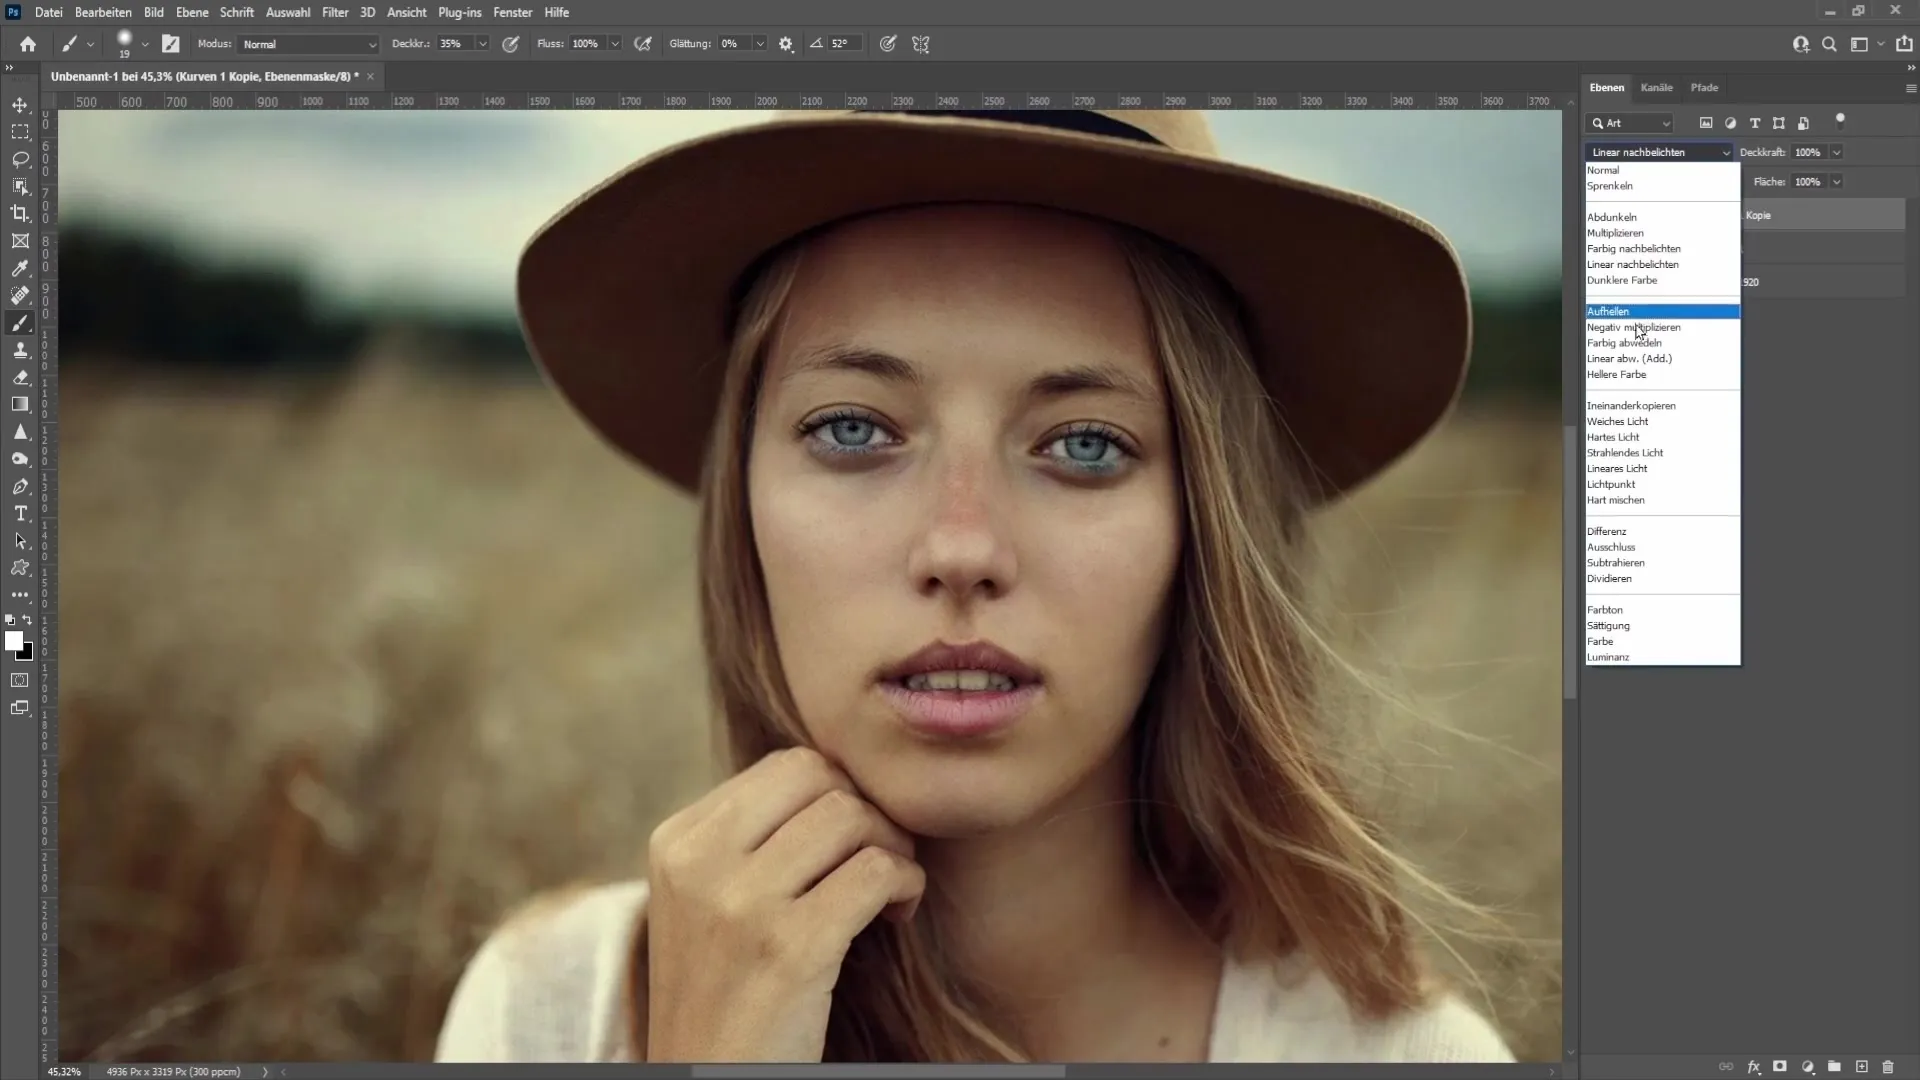
Be careful not to overdo it when applying this change to avoid an uneven result.
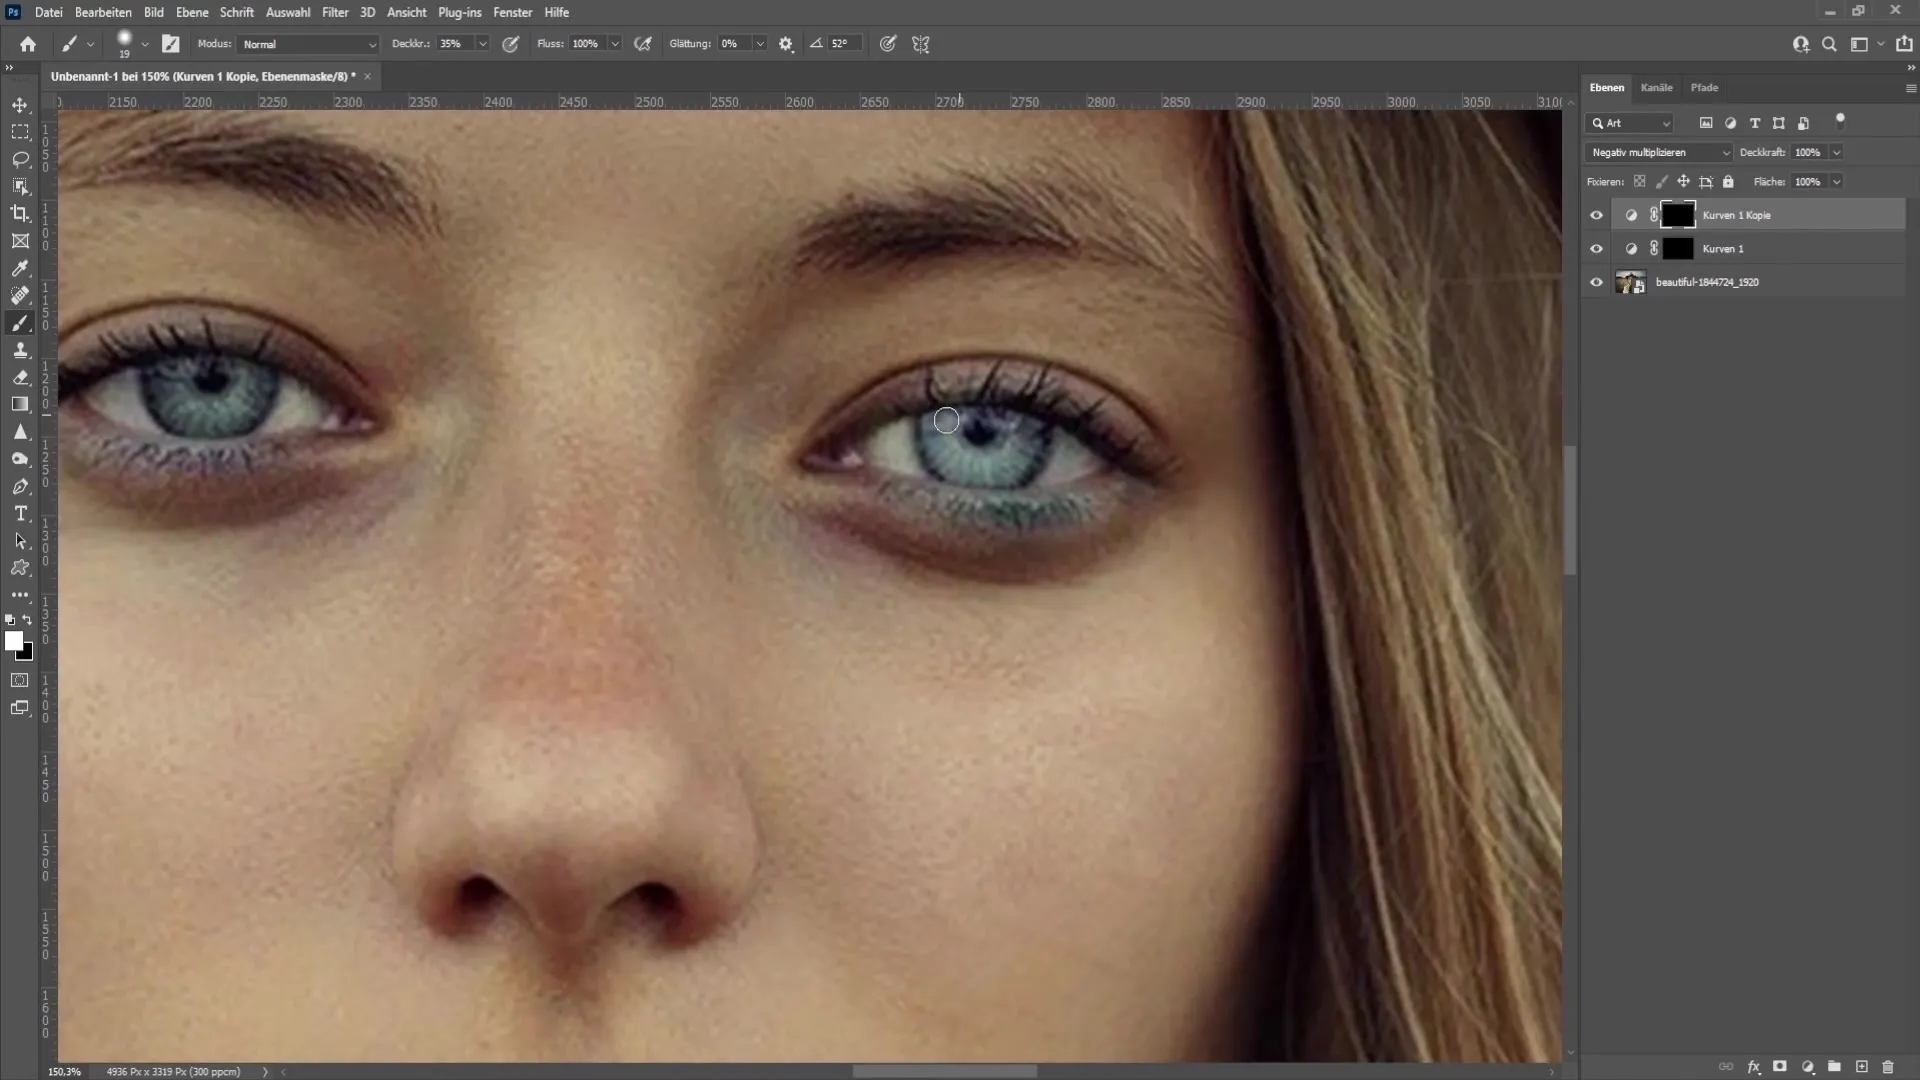
If the eyes appear too strong after editing, you can reduce the opacity of the Curves Adjustment Layer again, for example to about 60%. This way, you achieve a more harmonious look.
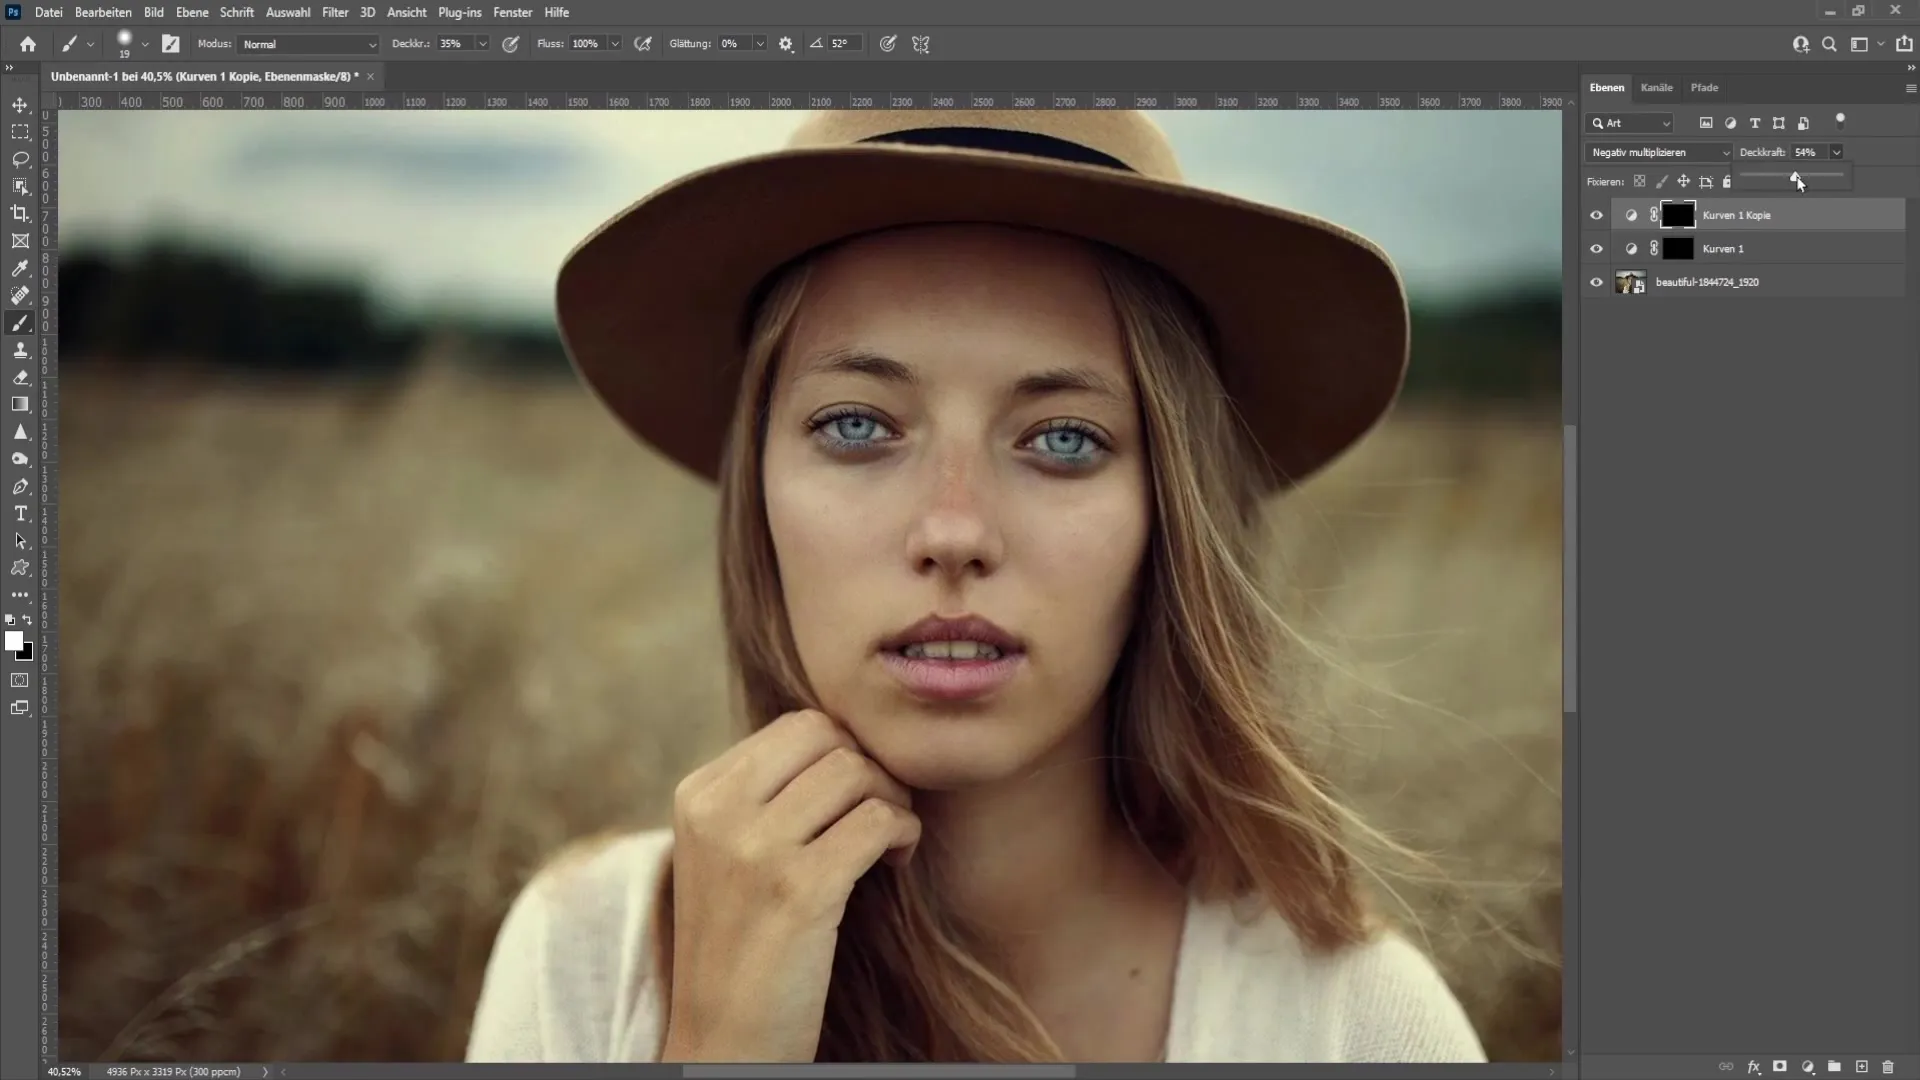
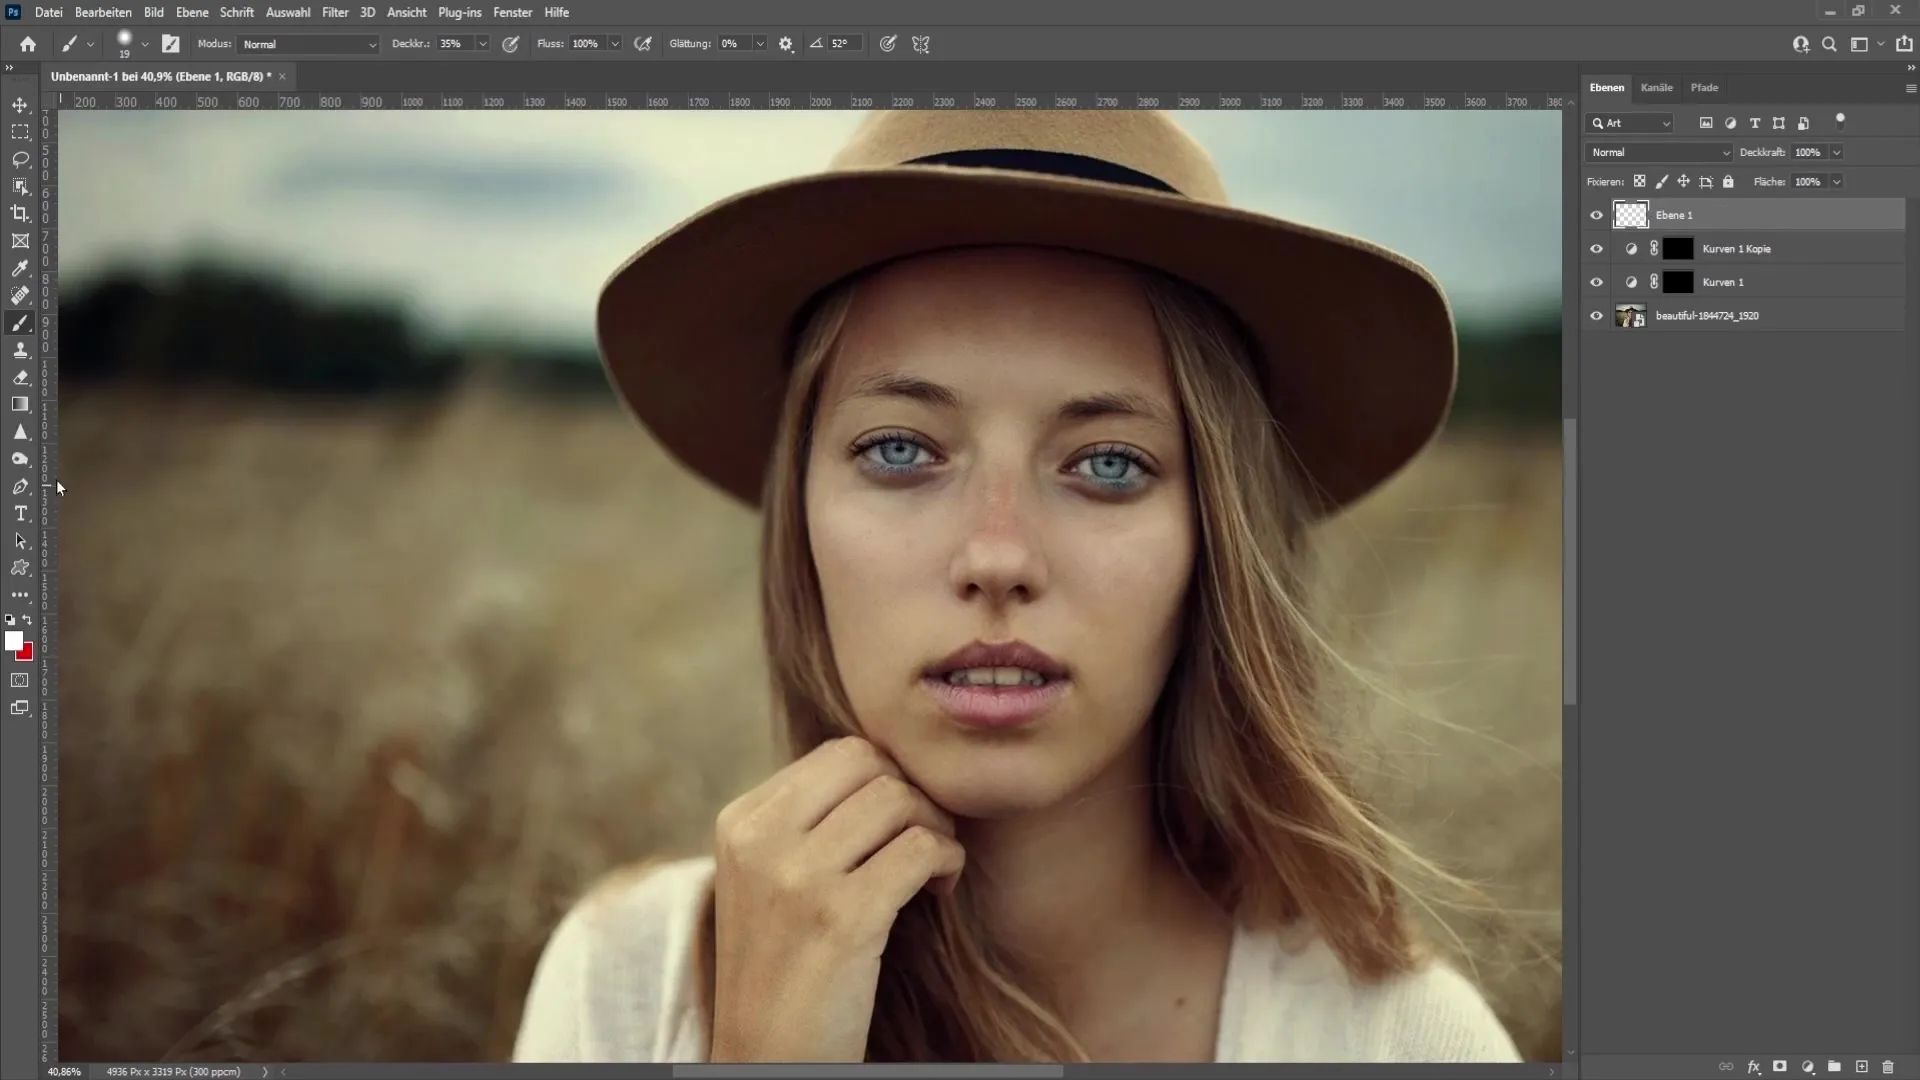
To sharpen the eyes additionally, create a new blank layer. Use the Sharpen tool and set the strength to about 50%. Check "Sample All Layers".
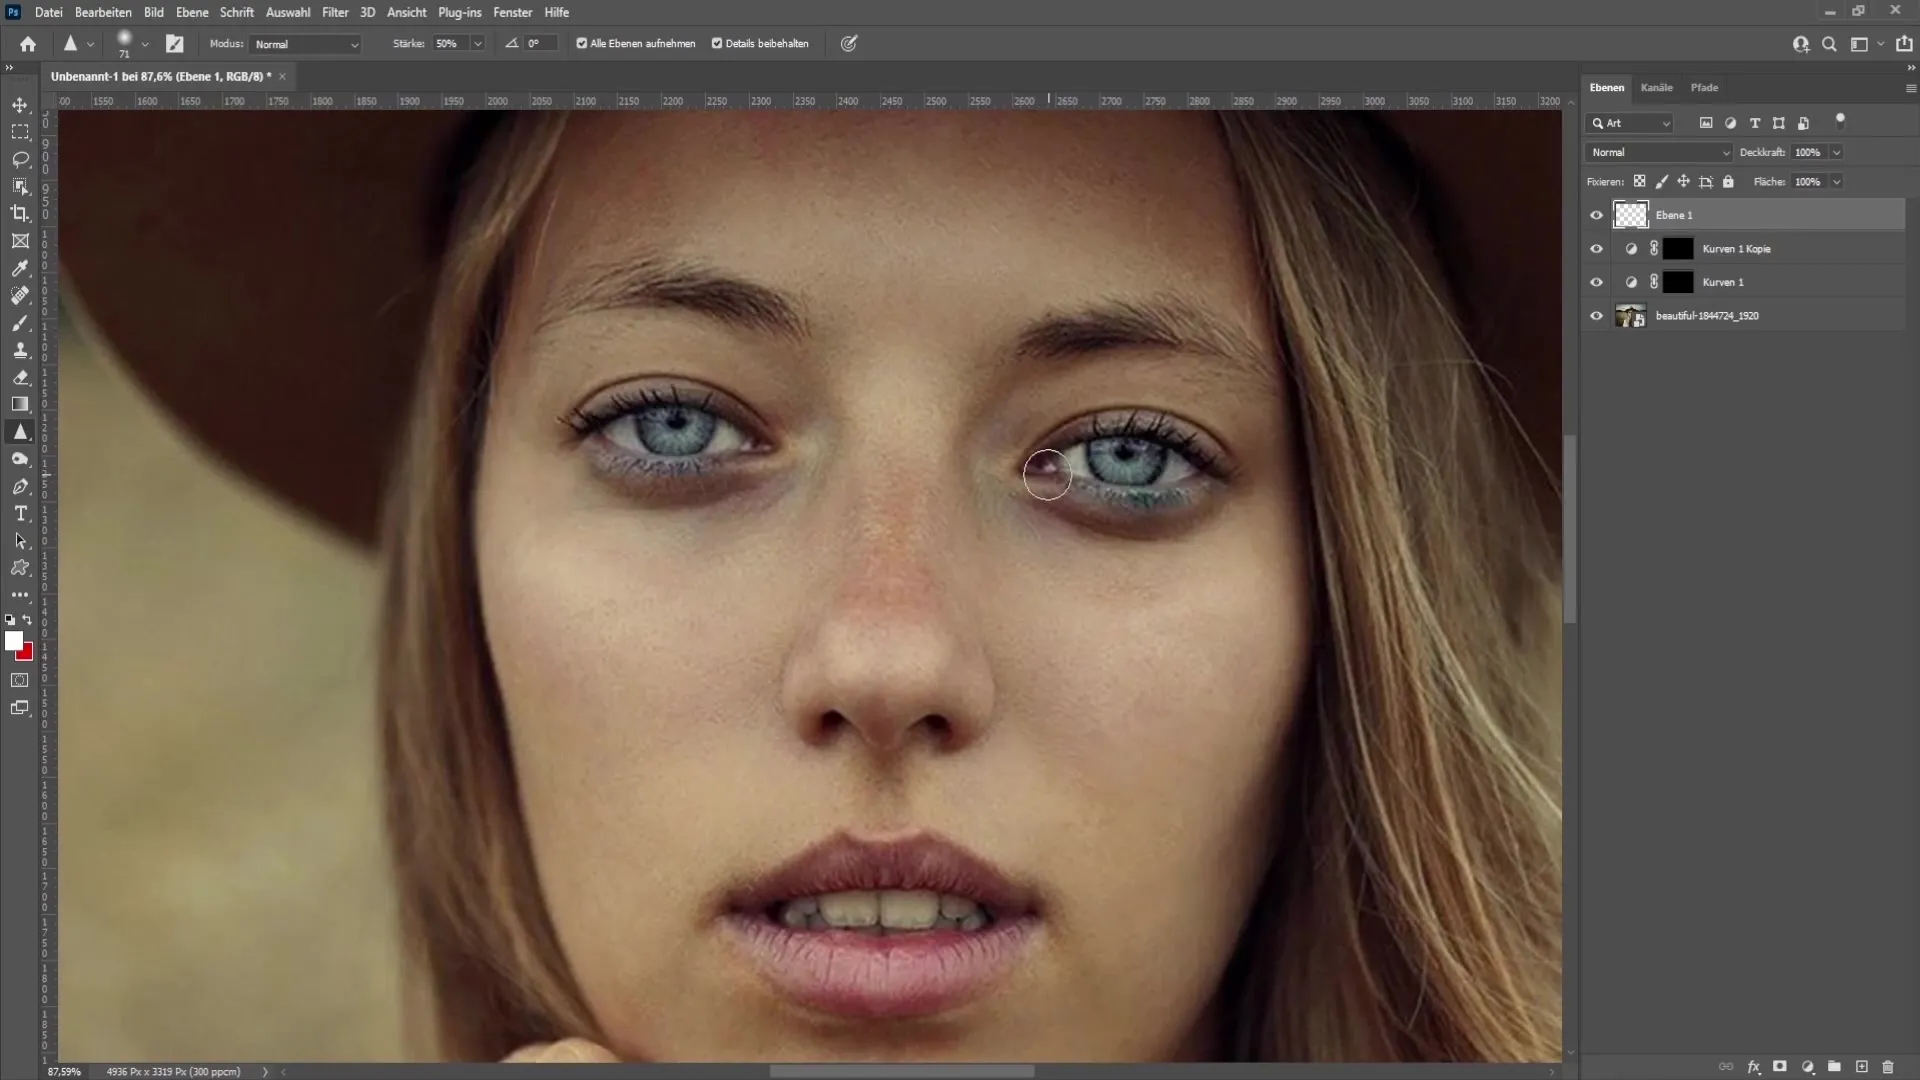
Zoom in and use the Sharpen tool along the eyes to further highlight them. Always check the difference here as well.
Finally, I will show you how to change the eye color. Create a new layer, select a color like green, and lightly paint over the eyes.
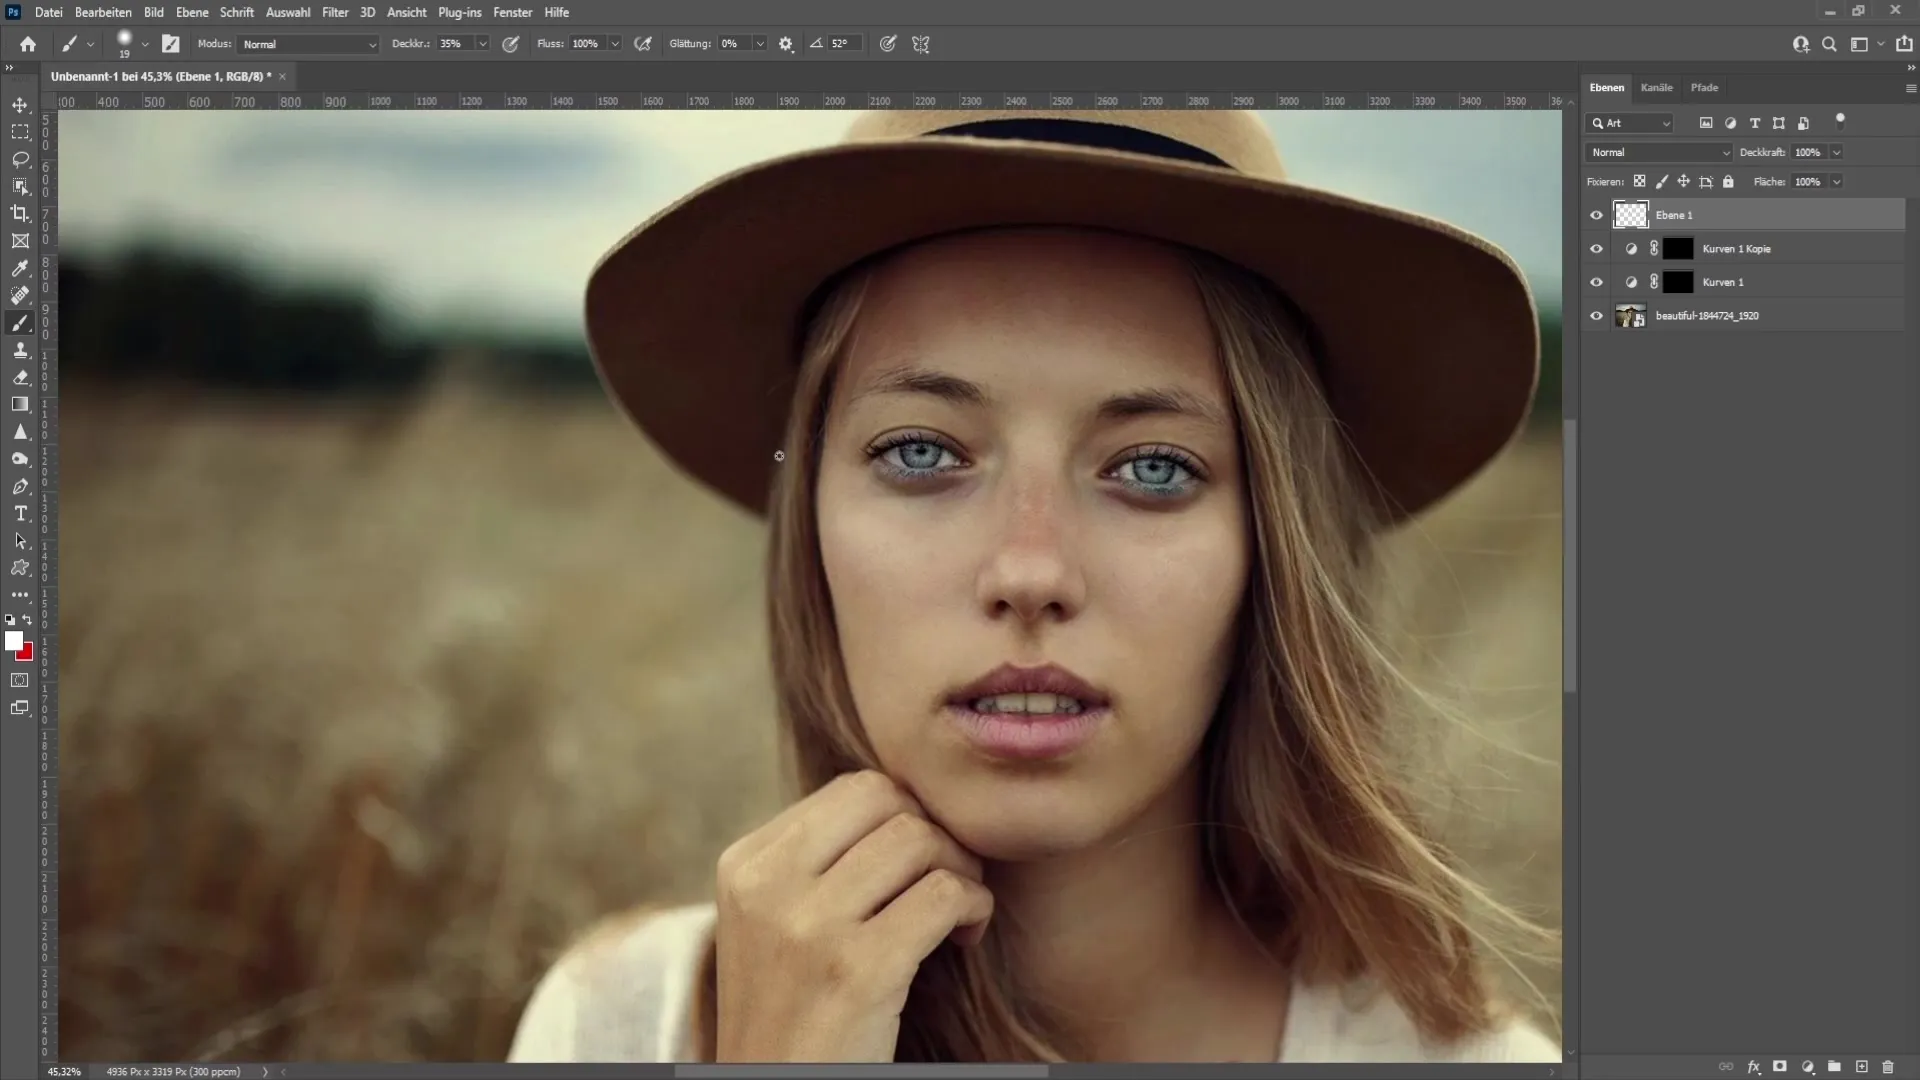
Untuk membuat warna baru terlihat, ubah mode campuran menjadi misalnya "Multiply". Dengan ini, Anda akan segera melihat bagaimana warna mata berubah.
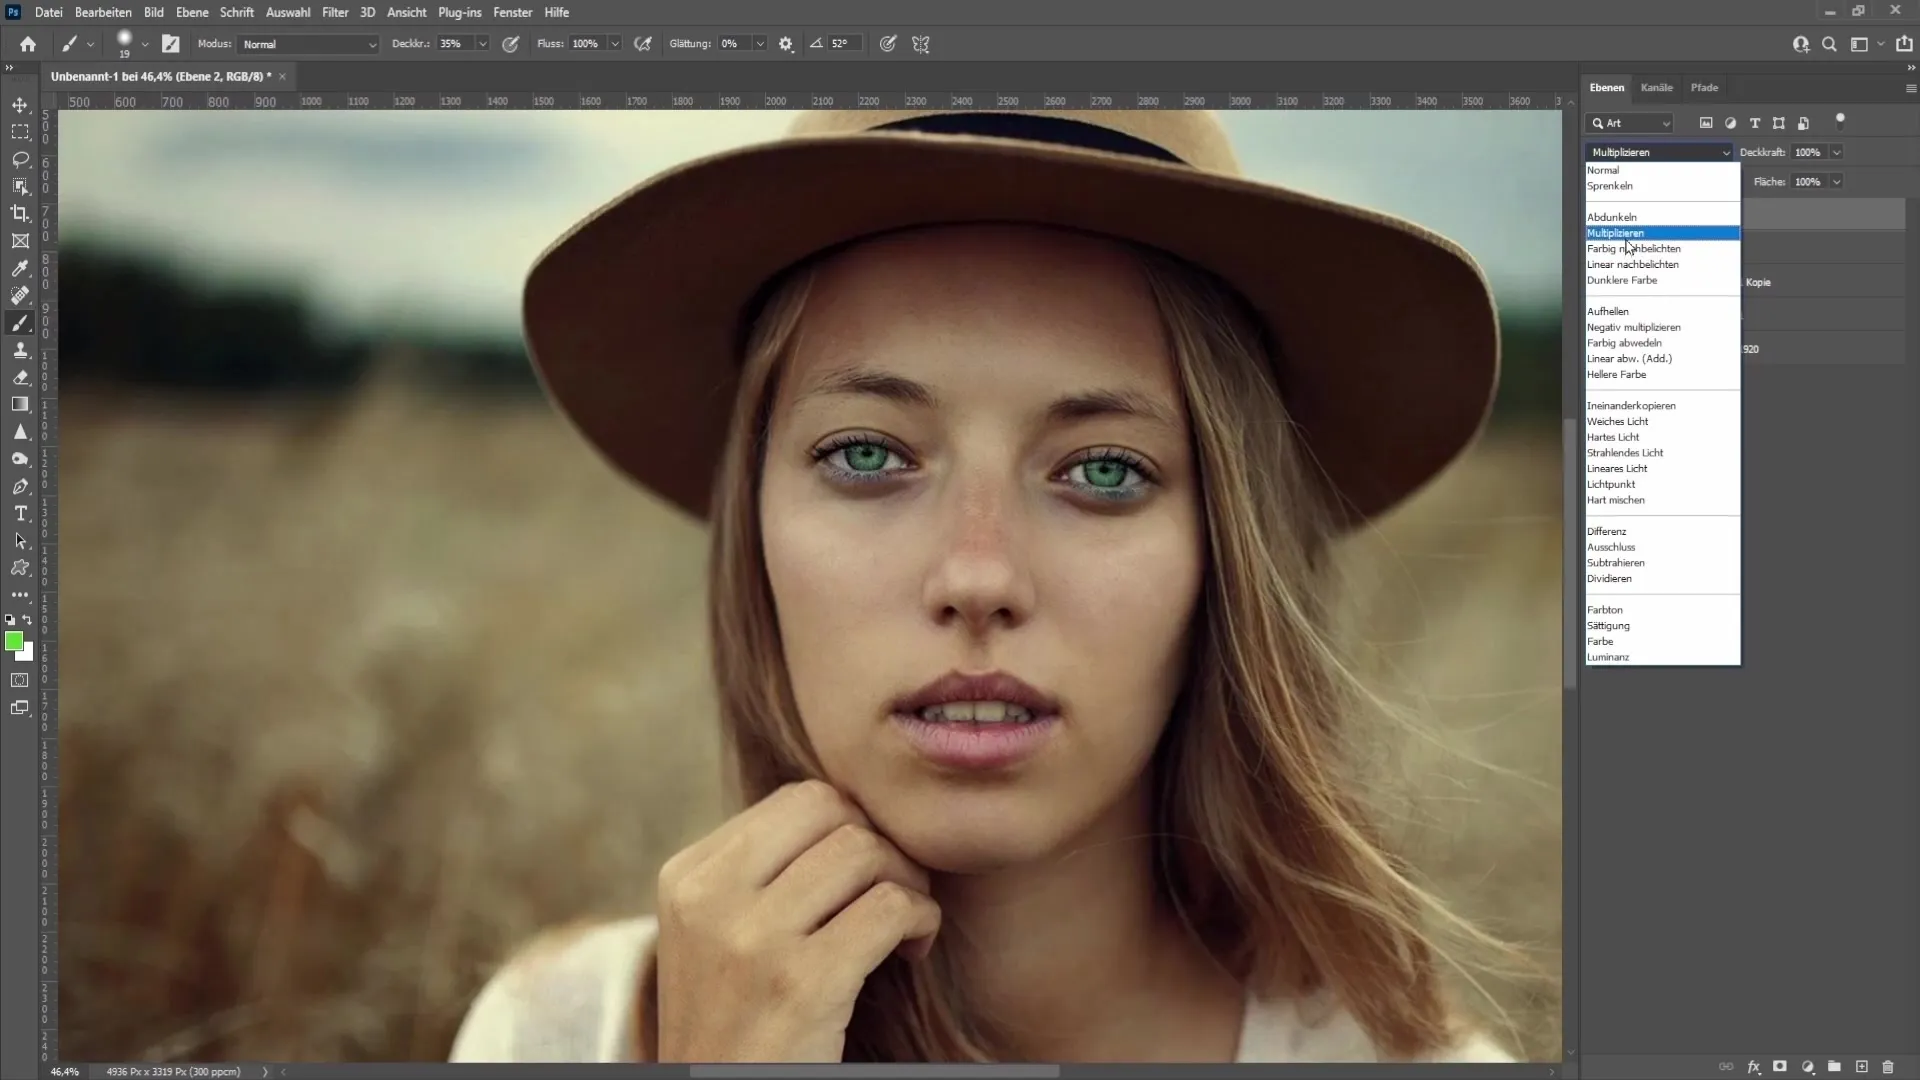
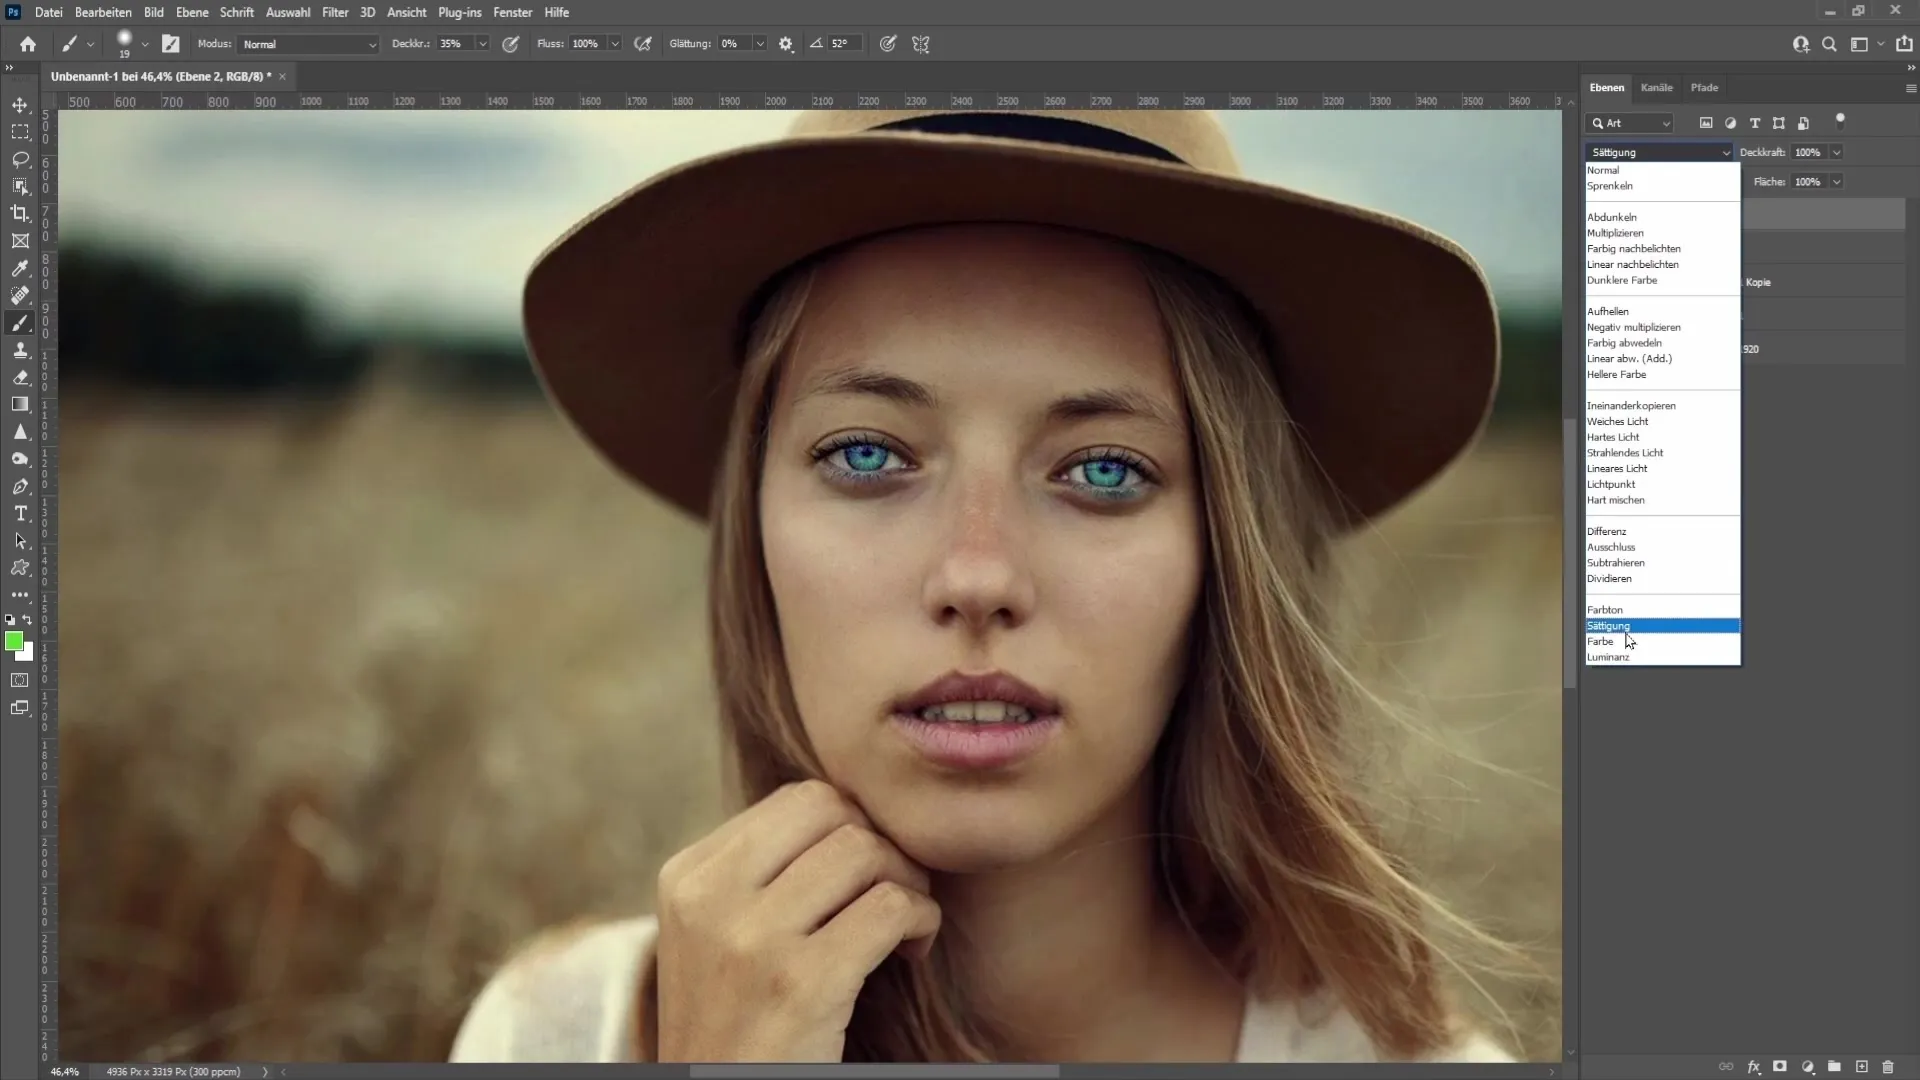
Anda dapat mencoba berbagai mode campuran untuk mencapai efek menarik dan menemukan warna yang sempurna untuk mata Anda. Jangan ragu untuk bereksperimen dengan itu untuk mendapatkan yang terbaik dari gambar Anda.
Ringkasan
Di tutorial ini, Anda telah belajar cara mudah dan efektif mencerahkan dan mengubah warna mata. Dengan hanya beberapa penyesuaian di Photoshop, Anda akan mendapatkan hasil yang menakjubkan yang akan meningkatkan potret Anda.
Pertanyaan yang Sering Diajukan
Berapa banyak lapisan yang saya butuhkan untuk mencerahkan mata? Anda hanya memerlukan tiga lapisan.
Bisakah saya mengubah warna mata setelahnya? Ya, Anda dapat membuat perubahan warna dengan sapuan kuas baru dan mode campuran.
Bagaimana cara menyetel opacity efek? Anda dapat menyesuaikan opacity kurva gradasi masing-masing di opsi lapisan.
Mode campuran apa yang direkomendasikan untuk mengubah warna? "Multiply" atau "Lighten" adalah opsi bagus untuk menyorot nada warna yang tersembunyi.


