If you use Paint.NET, you have probably heard of plugins. These extensions can significantly enhance the functionality of the program and allow you to achieve more creative effects and adjustments. In this guide, I will show you step by step how to download and install plugins for Paint.NET.
Most important insights
- Plugins expand the functions of Paint.NET.
- You can download plugins directly through the help section.
- Downloading and installing plugins requires moving DLL files to the correct folder.
Step-by-step Guide
Step 1: Opening the Help Section in Paint.NET
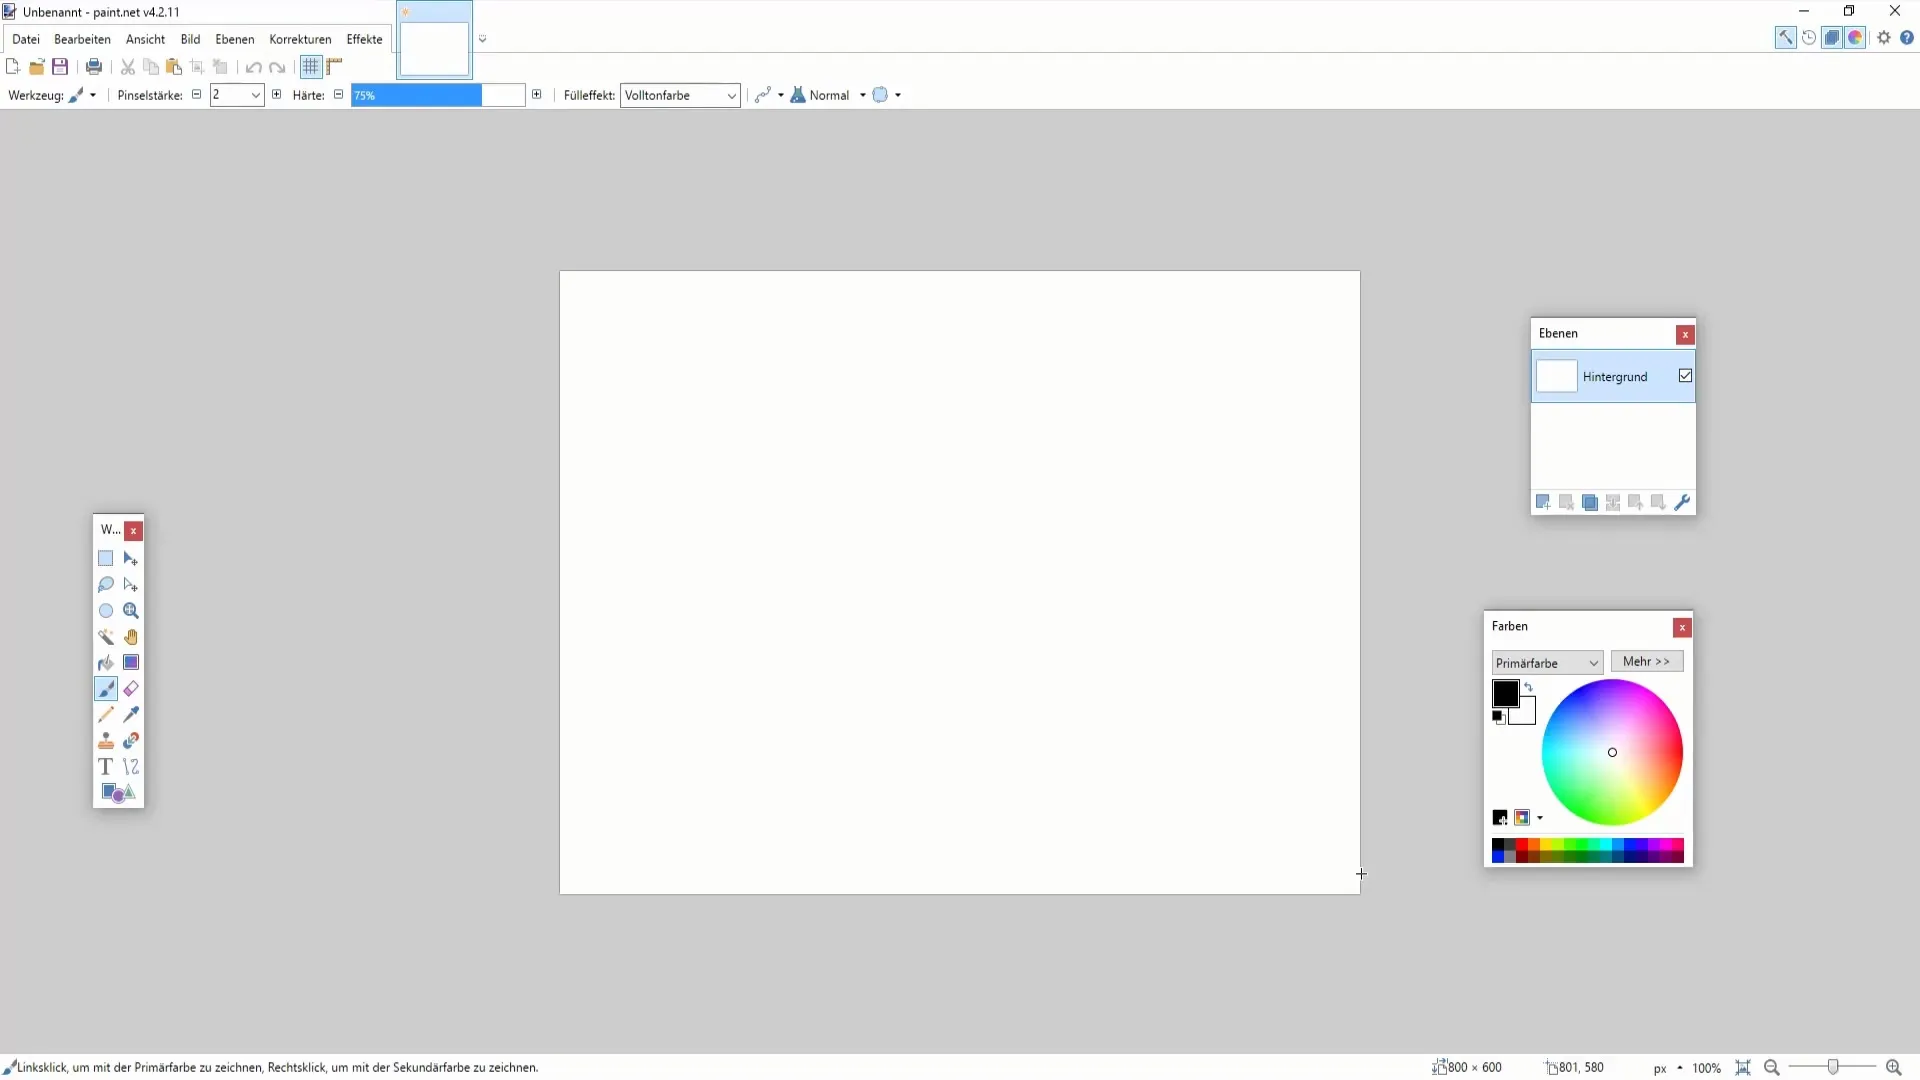
To start, open Paint.NET and click on "Help" in the top menu bar. Here you will find the option for plugins, which will lead you to the download pages.
Step 2: Navigating to the Plugin Pages
In the help section, you can click on the "Plugins" button to see more options. Here you will be redirected to the corresponding websites where you can find various plugins.
Step 3: Selecting Plugins
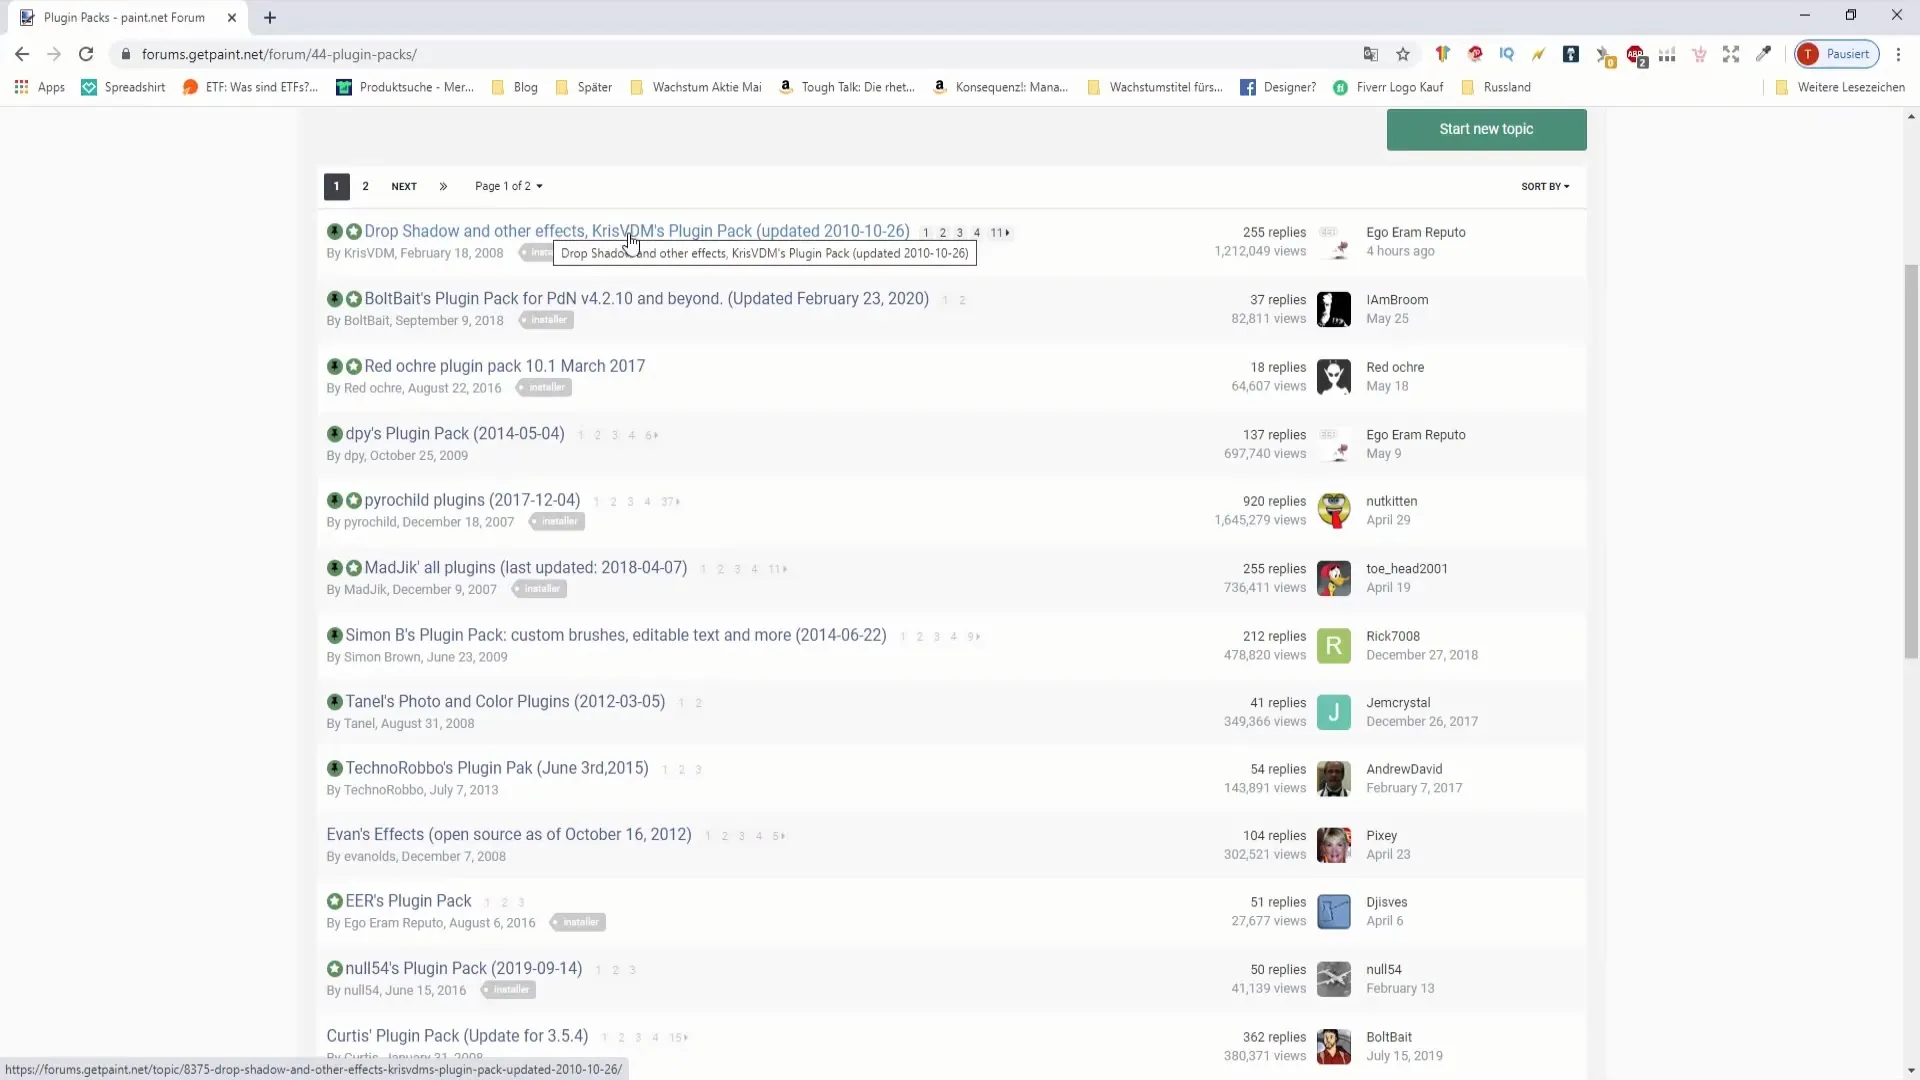
Once you arrive at the plugin website, you will see a variety of options. You can choose either "Plugin Packs" or specific plugin types. I recommend browsing through the "Plugin Packs" first, as they often contain multiple useful tools.

Step 4: Downloading a Plugin Pack
Select one of the offered plugin packs to get more information. Click on the corresponding link to start the download. Make sure to select the correct file - usually ZIP files with DLLs.
Step 5: Downloading the ZIP File
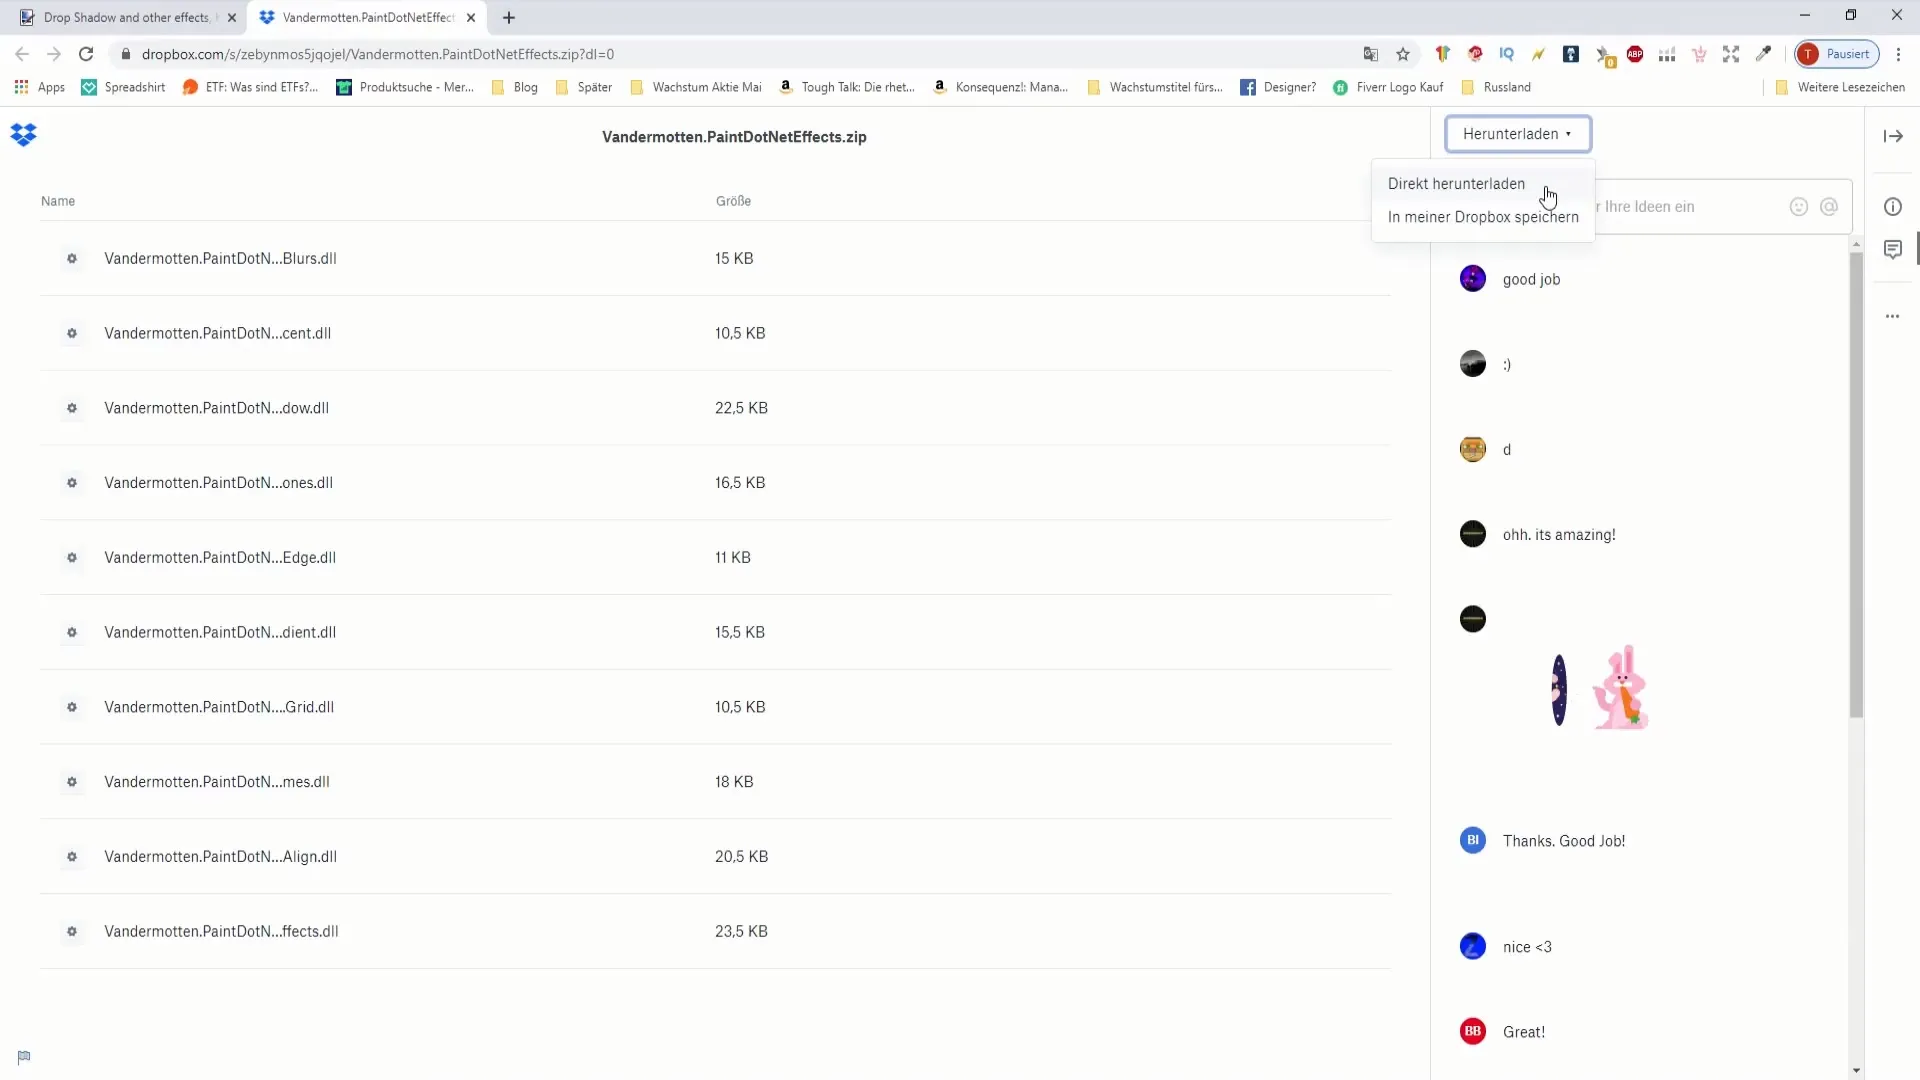
Downloading a ZIP file is the next step. You may be directed to a Dropbox page or find a direct download link. Click "Download" to save the file to your computer.
Step 6: Extracting the ZIP File
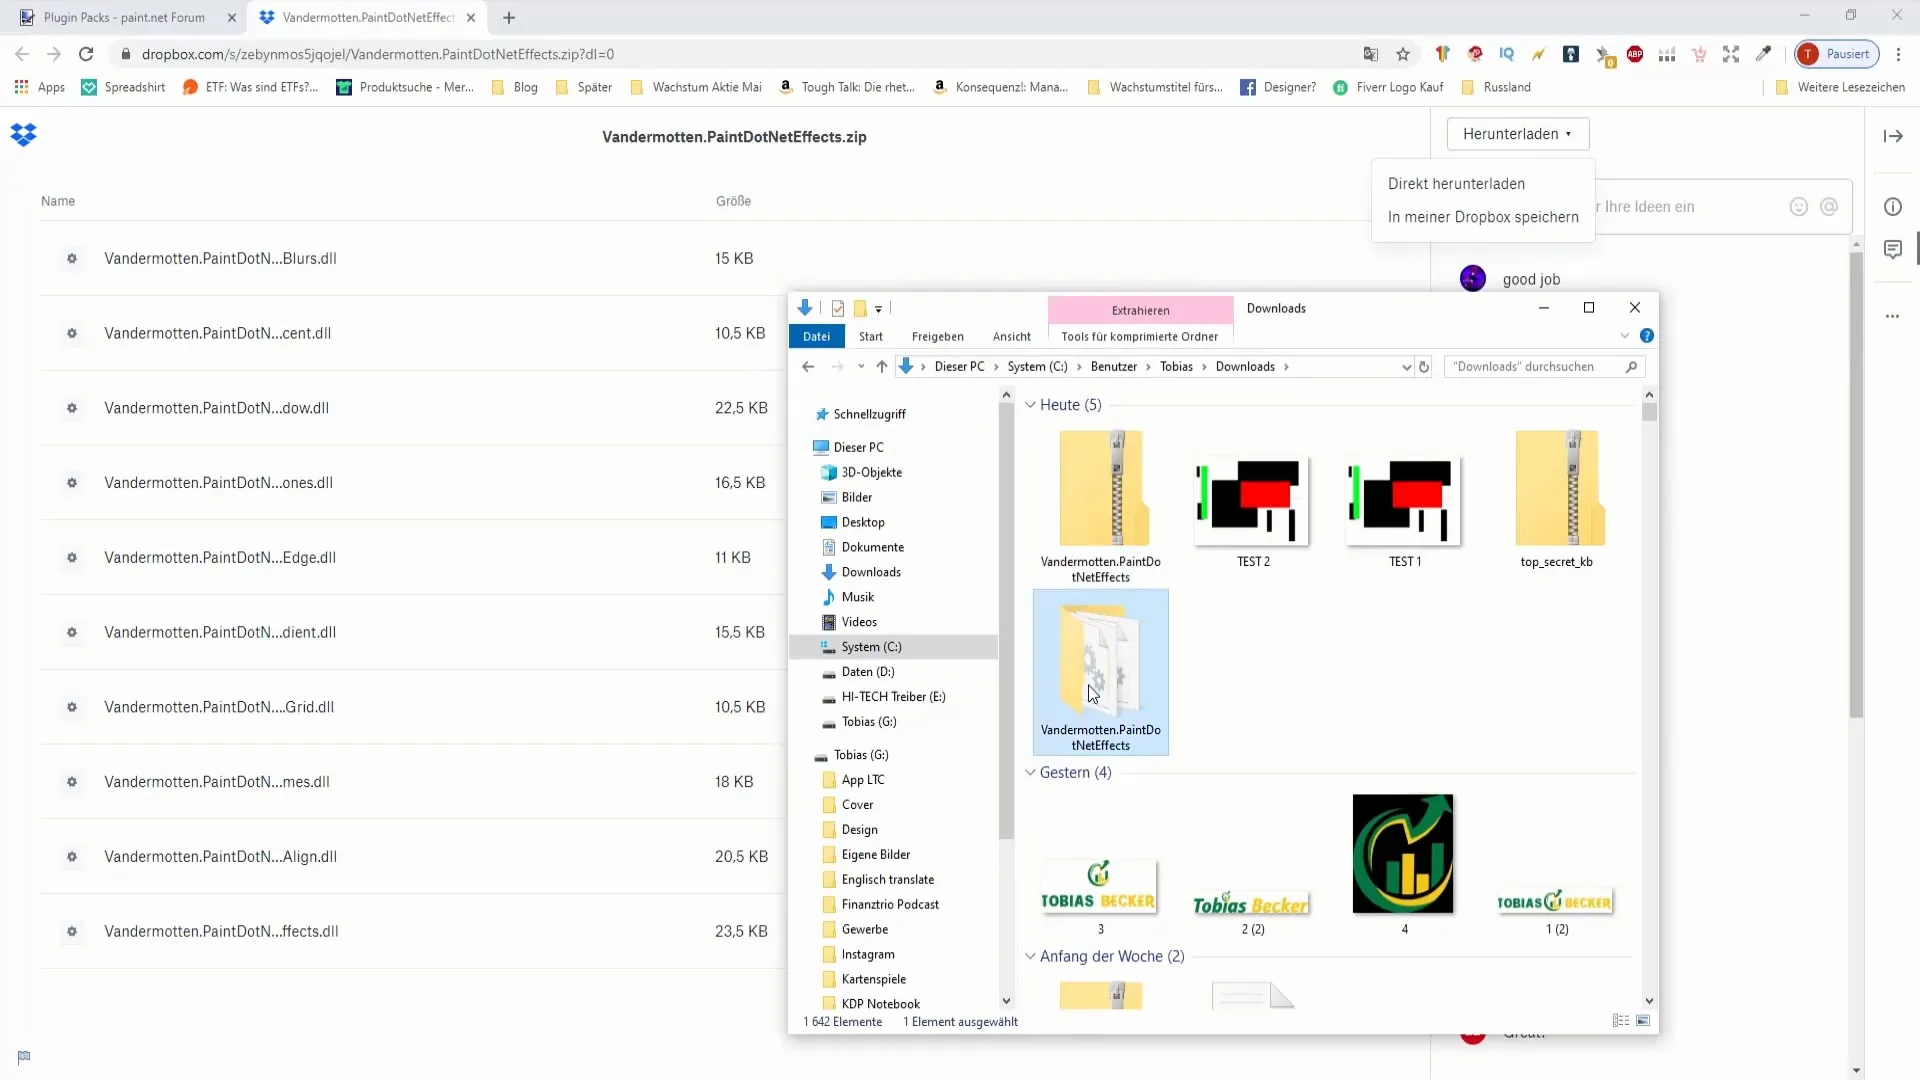
Once the download is complete, extract the ZIP file. Right-click on the file and select "Extract All". You will get a folder with the DLL files you need.
Step 7: Copying the DLL Files
Now, look for the installation folder of Paint.NET on your computer. You will often find it under "C:\Program Files\Paint.NET". Within this directory, you should find a folder named "Effects". If this folder does not exist, simply create it.
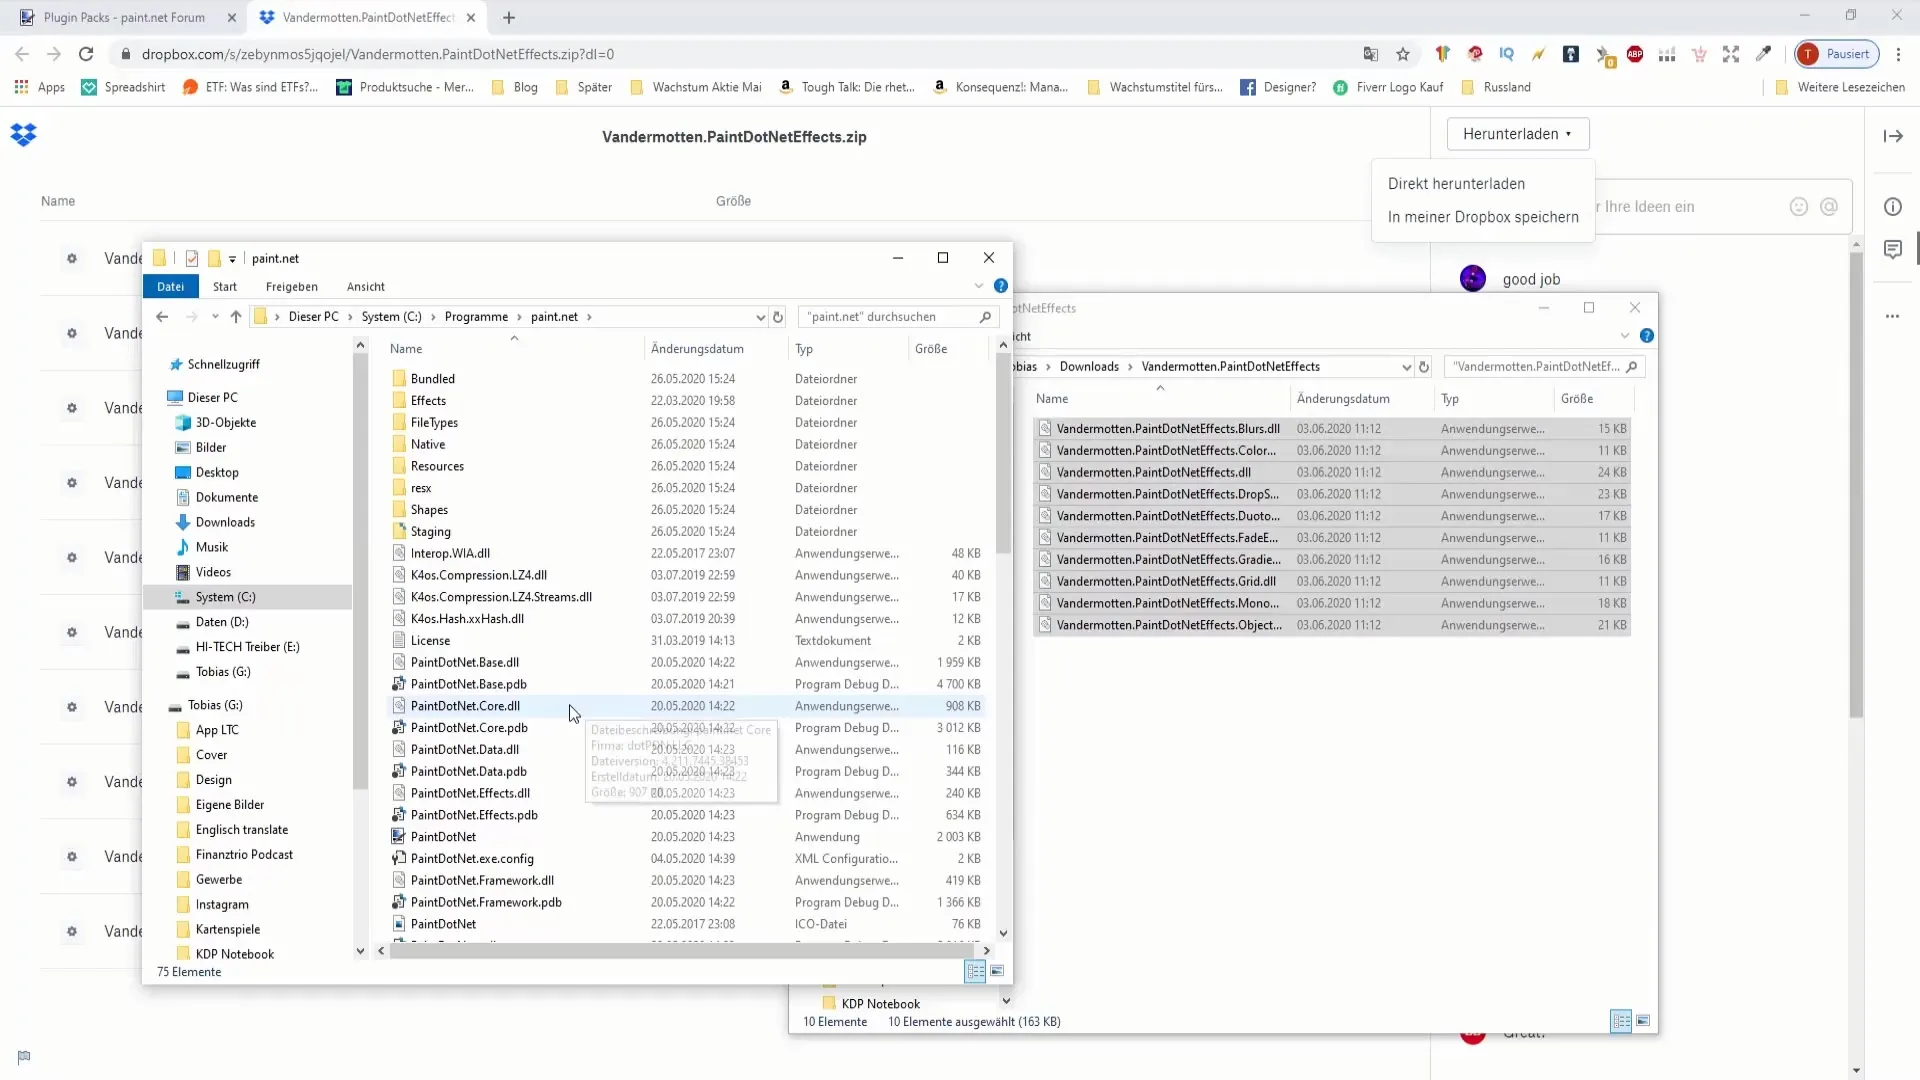
Step 8: Inserting the Files into the Effects Folder
Open the "Effects" folder and drag the extracted DLL files into it. Make sure to copy all necessary files into this folder.
Step 9: Restarting Paint.NET
After inserting the files, close and restart Paint.NET. The new plugins should be visible in the menu when you reopen it.
Step 10: Using the Plugins
Now you can start using the downloaded plugins. You can typically find them under "Effects" or "View" in the menu. Experiment with the new options and discover which ones give you the best results.
Step 11: Exploring the Plugin Features
Many plugins offer additional features that can help optimize your work in Paint.NET. Consider which tools could be useful for your projects. For example, some plugins are excellent for text creation or applying special effects.
概要
このガイドでは、Paint.NETのプラグインをダウンロードしてインストールする方法を学びました。プロセスは最初は複雑に見えるかもしれませんが、何度も繰り返すことで簡単になります。さまざまなプラグインを試して、あなたのツールを拡張して創造性を豊かにする方法を見つけてください。
よくある質問
Paint.NETの最適なプラグインはどこで見つけられますか?さまざまなプラグインパックを見て、評価を読んでください。
プラグインは無料ですか?はい、ダウンロードしたすべてのプラグインは無料です。
プラグインをインストールする方法は?DLLファイルを「Effects」フォルダーに移動し、プログラムを再起動します。
プラグインをアンインストールできますか?はい、「Effects」フォルダーから対応するDLLファイルを削除するだけです。
