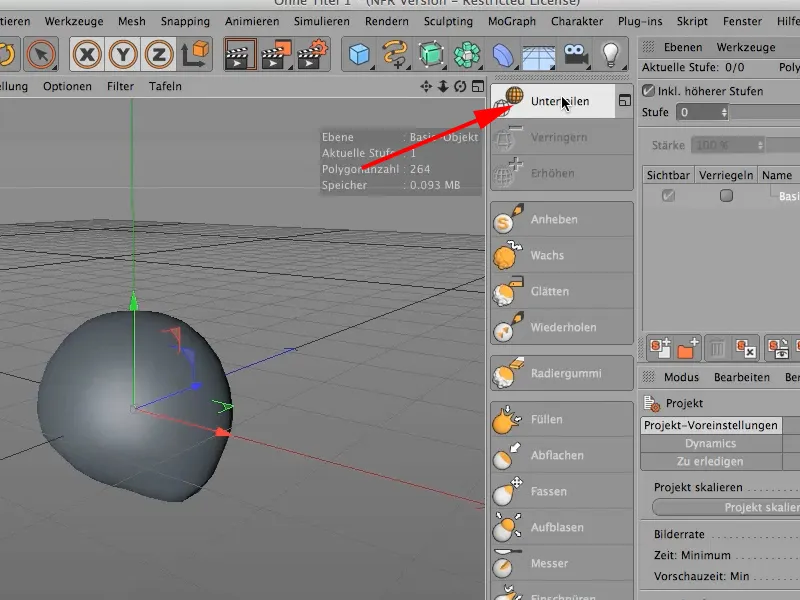
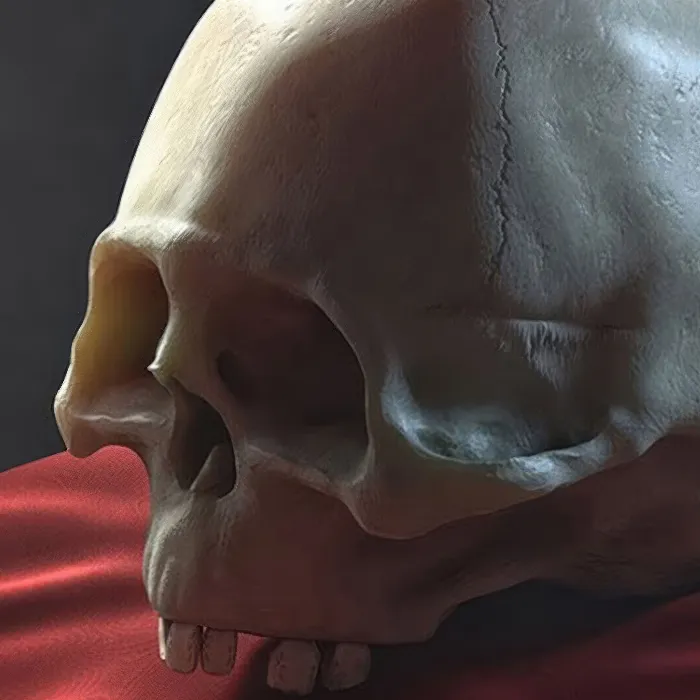
I denne veiledningen viser jeg dere hvordan dere kan lage en skulptur på få trinn uten å stole på en ferdig mesh, siden det er mye enklere å legge til alle nødvendige deler enn å fjerne dem fra en ferdig skulptur.
Jeg bruker en kule-objekt, siden dette har de viktigste forutsetningene. Lag derfor et kule-objekt.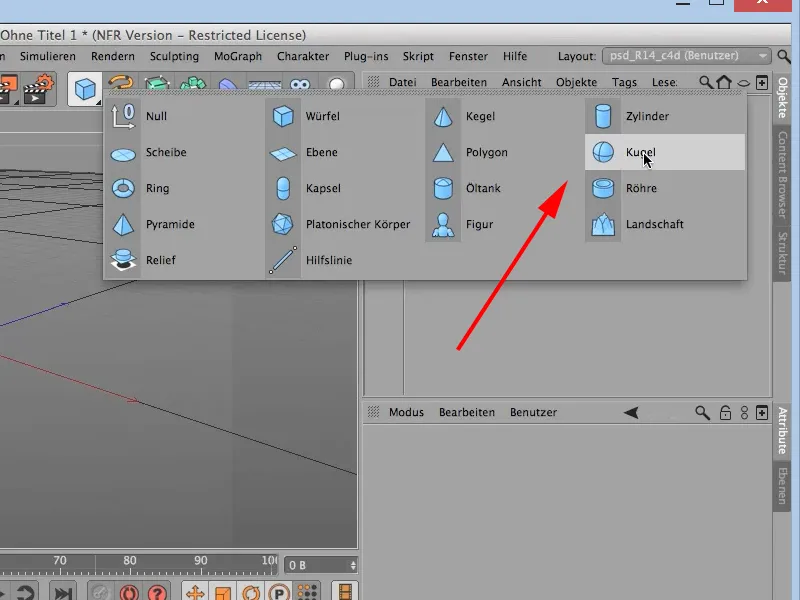
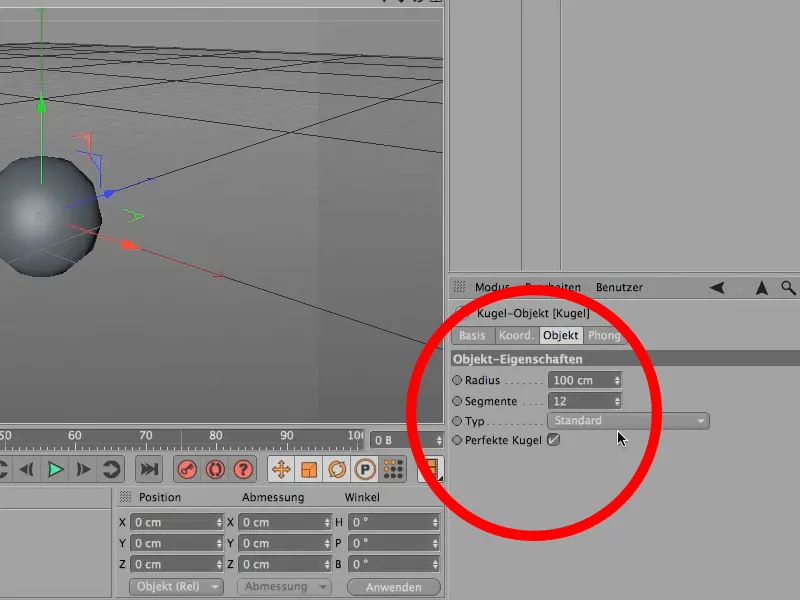
• Radius: 100 cm
• Segmenter: 12
• Type: Standard
• Perfekt kule: ja
For at dere skal kunne se segmentene når vi konverterer dem til et polygon-objekt, bytter jeg visningen til Gouraud-shading (linjer). Konverter objektet til et polygon-objekt.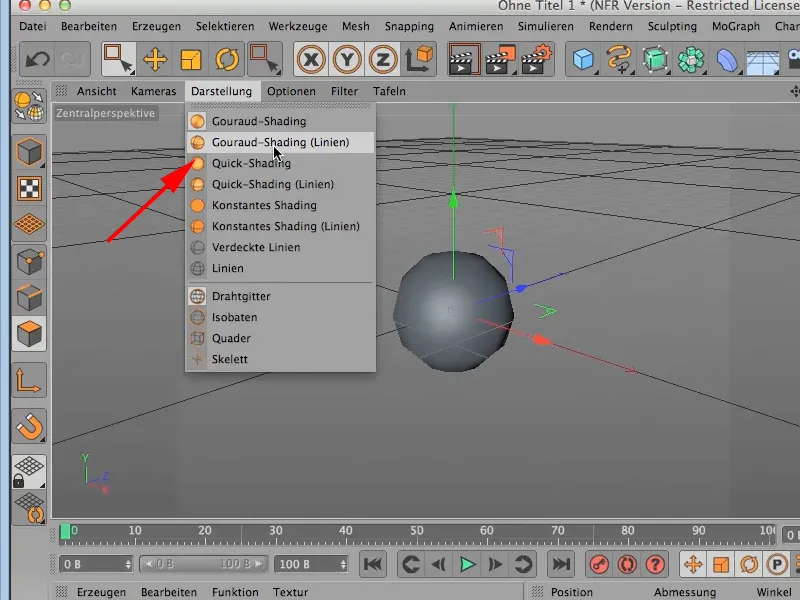
Siden en kule selvfølgelig ikke har riktig form som et hodeskalle, må det gjøres noen justeringer her. Det beste er å bytte til side-/høyrevisningen. Her i polygon-redigeringsmodus med rektangulær-seleksjon dra en seleksjon.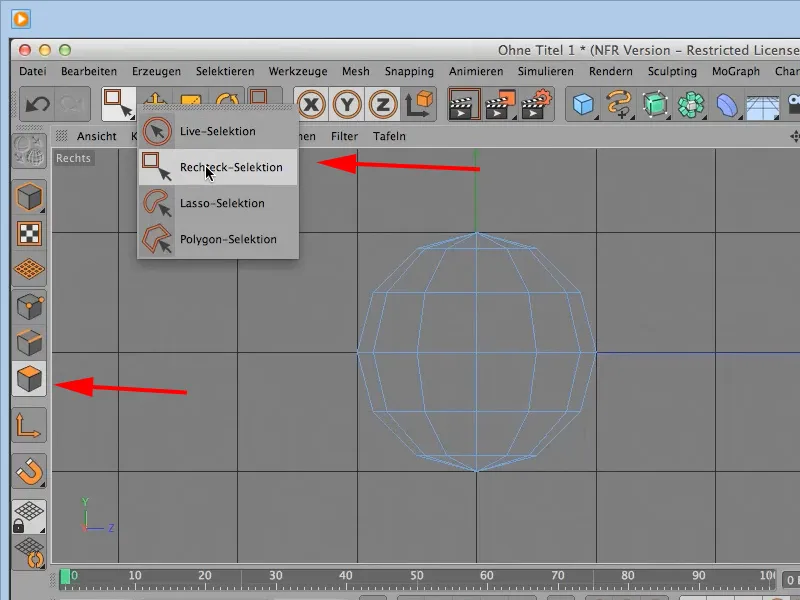
Det er viktig at alternativet Velg kun synlig IKKE er valgt, ellers blir bare den ene halvdelen valgt og den usynlige delen mangler!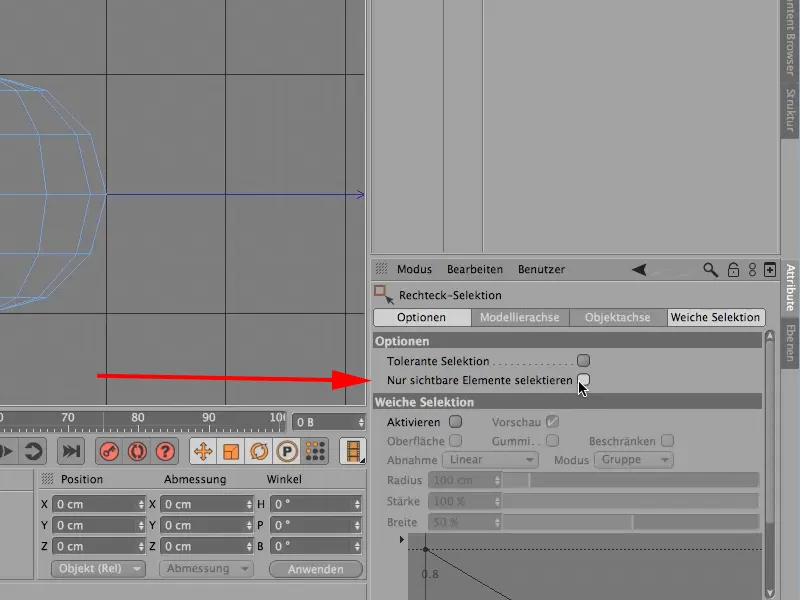
Dra deretter seleksjonen: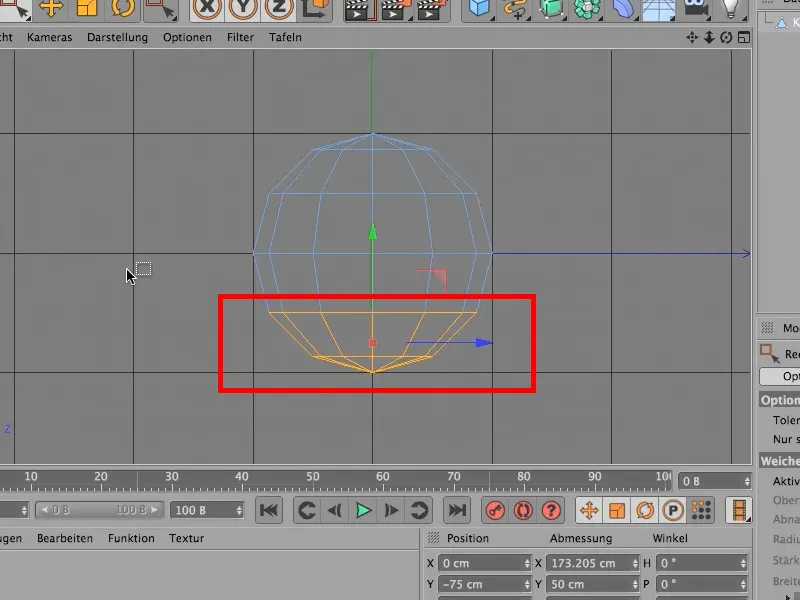
Now move the selected area slightly upwards to flatten the sphere. Since the bottom area is still too "round," the bottom point must be moved further upwards. Switch to point mode and activate live selection. Then select the bottom point and move it upwards..webp?tutkfid=73678)
Then select the front 3 polygons and move them slightly forward. Now switch to edge editing mode (see circle) and now….webp?tutkfid=73679)
… select the 3 lower edges of the polygons and move them a bit forward and downward. So that they resemble a jaw with a chin. The result should then look like this: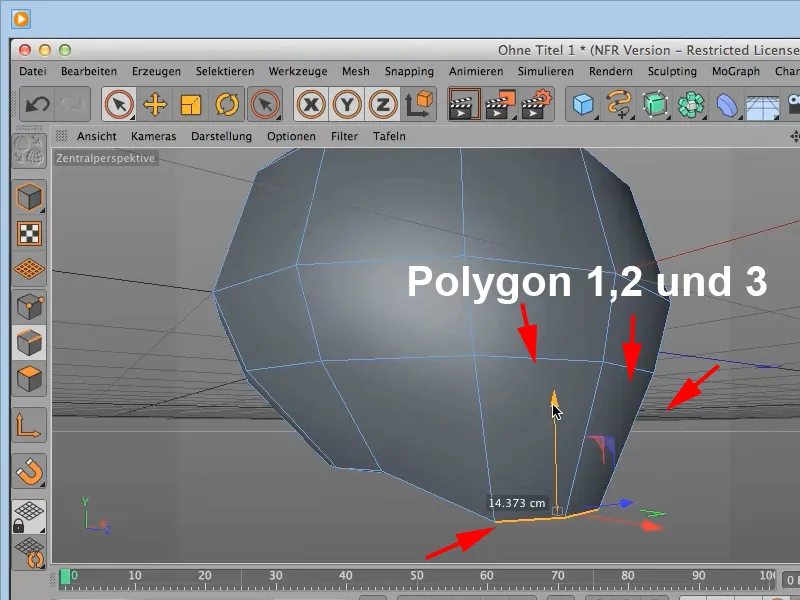
Since the top of a skull does not necessarily resemble a sphere, you should activate point mode and move the top point of the sphere a little downward.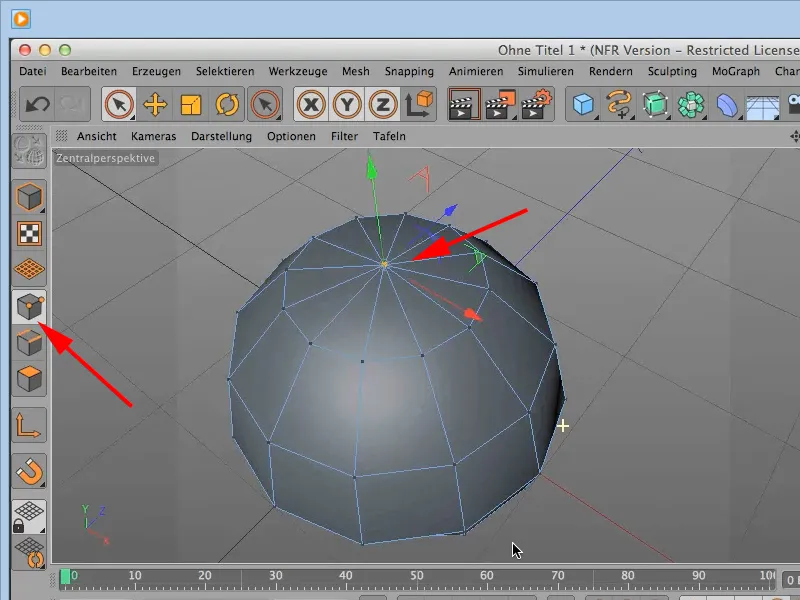
There are no exact values or settings for all of this. For your first own attempts, you can overlay an image of a skull in the front and side views as a basis. The skull is now basically finished. Now switch back to model editing mode and switch the display back to the normal Gouraud shading-view.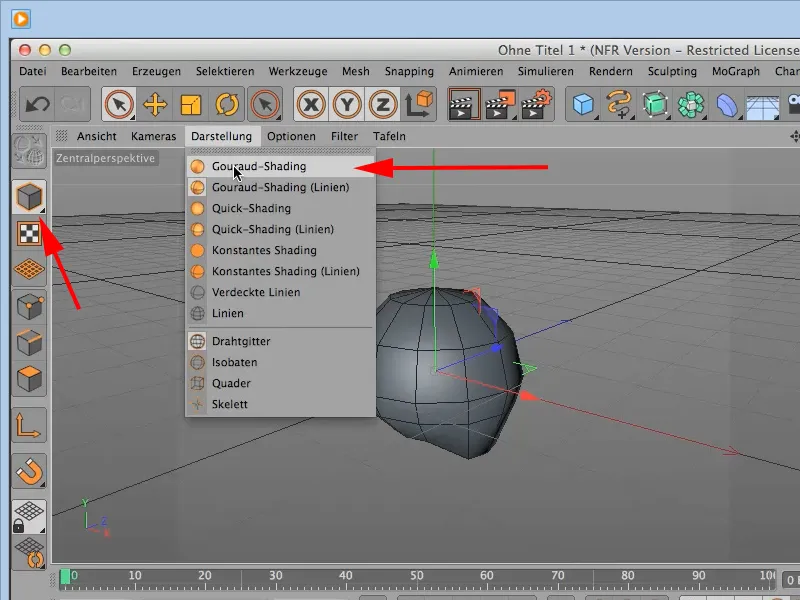
Now switch back to the sculpting layout and divide the whole thing 4 times. And now you are ready to continue with the sculpting tools in the next part.