V tomto tutoriále by som chcel ukázať, ako jednoduché môže byť vytvorenie profesionálneho jedálneho lístka v programe InDesign.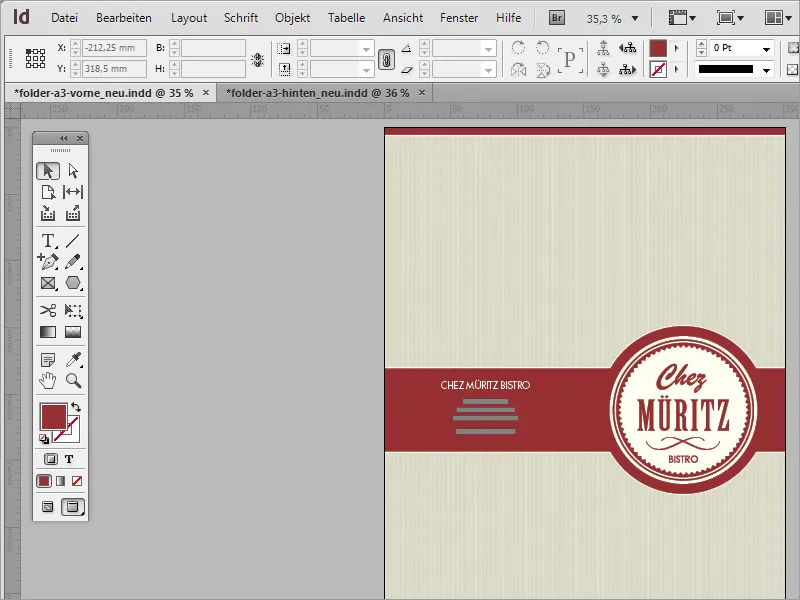
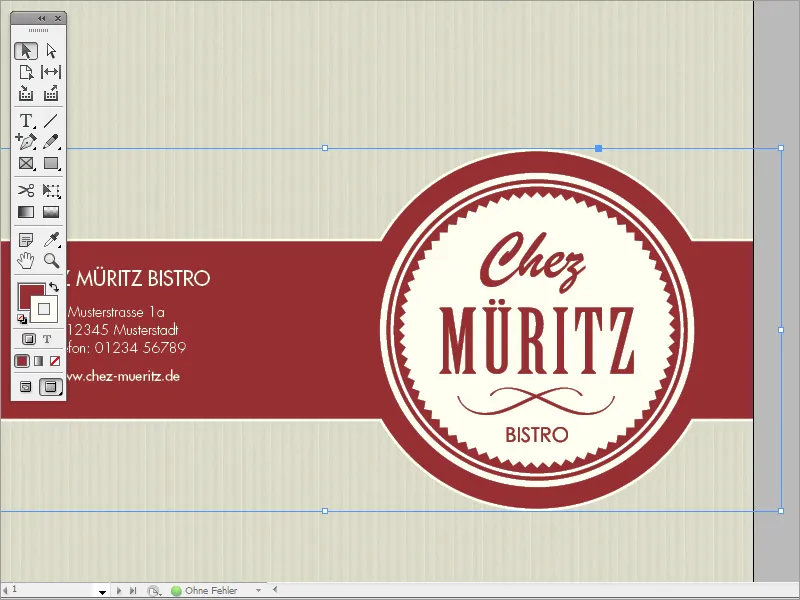
Titulná stránka sa vyznačuje niektorými detailmi, ktoré robia rozdiel oproti nezaujímavým výsledkom bez štipky lásky.
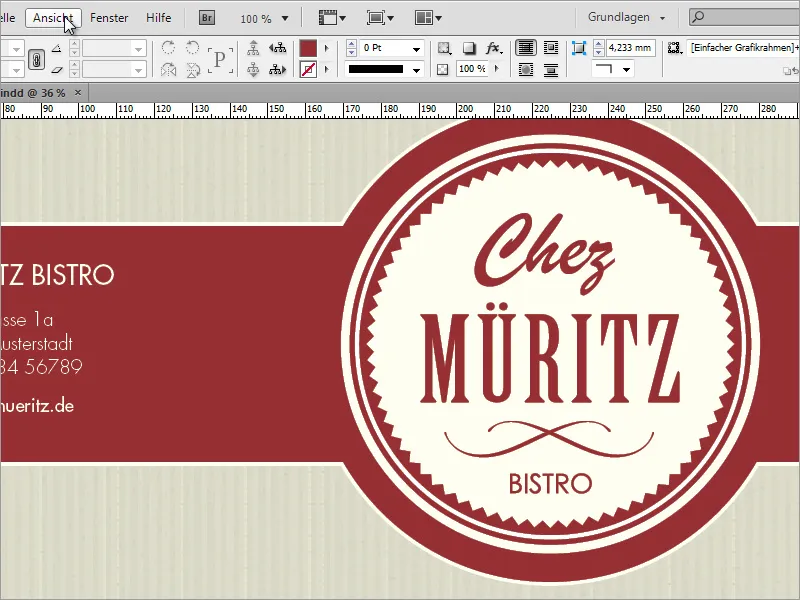
Keďže ide o skladaciu kartu, bola taktiež zodpovedajúco vytvorená aj zadná strana. Ako postupovať pri takomto projekte najlepšie, objasním v nasledujúcich krokoch.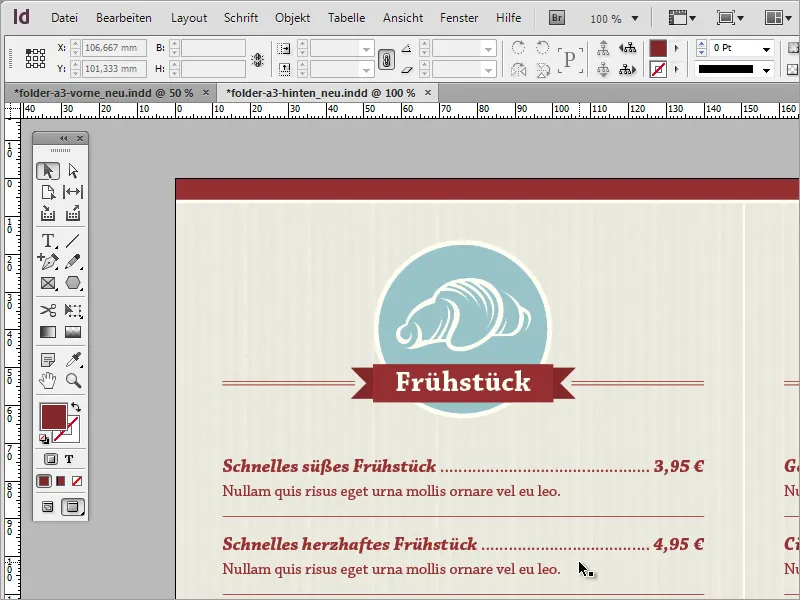
Na začiatok potrebuješ nový dokument. Pomoc si môžeš vyhľadať u tvojho dôveryhodného tlačiara, napríklad na www.Flyerpilot.de. Často sú tam uvedené konkrétne odporúčania na vytváranie dokumentov.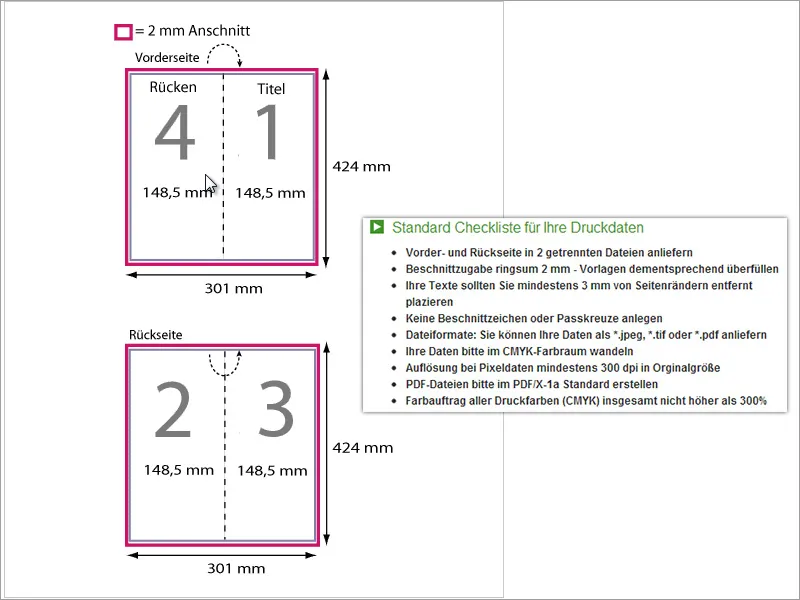
Keď už je teda jasné, ako má byť takýto dokument nastavený, môžeš tieto nastavenia zadať aj v programe InDesign pre nový dokument. V uvedených rozmeroch dokumentu už bol zahrnutý odsuh 2 mm, preto nemusíš nutne nastavovať vlastný odsuh.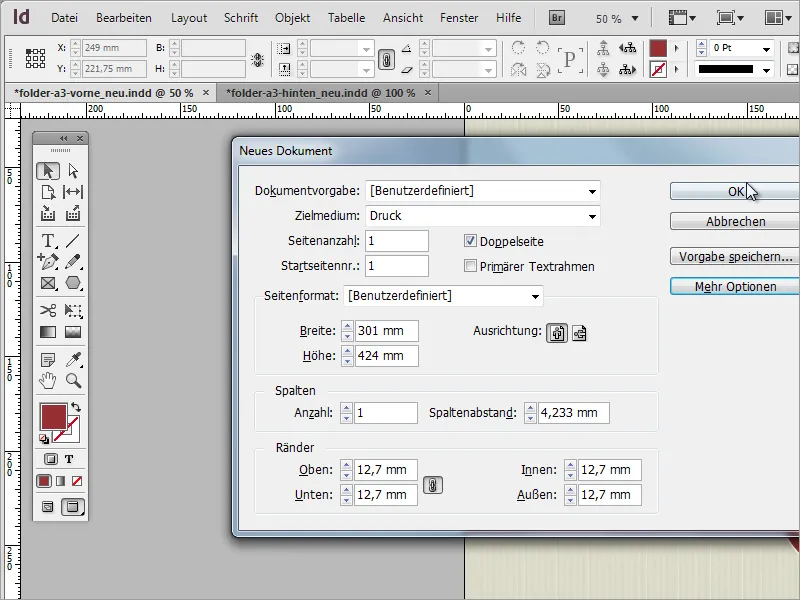
Teraz by si mal rozdeliť dokument v mieste budúceho záhybu. Na to potrebuješ orientačnú čiaru v strede dokumentu. Môže to byť jednoduchá čiara alebo pomocná riadiaca čiara. Tieto riadiace čiary sa automaticky upnú na stredu, preto je odporúčané využiť túto formu optického oddelenia. Tu sa vertikálne riadiaca čiara, ktorú vytiahneš z linky do dokumentu na hodnote X 150,5 mm, upne.
Before filling in the document, you should make some preferences. This includes defining colors. For example, the brownish brand color will play a major role. It consists of 50% cyan, 100% magenta, and 100% yellow. Define this color in the Color Swatches palette and rename it if necessary.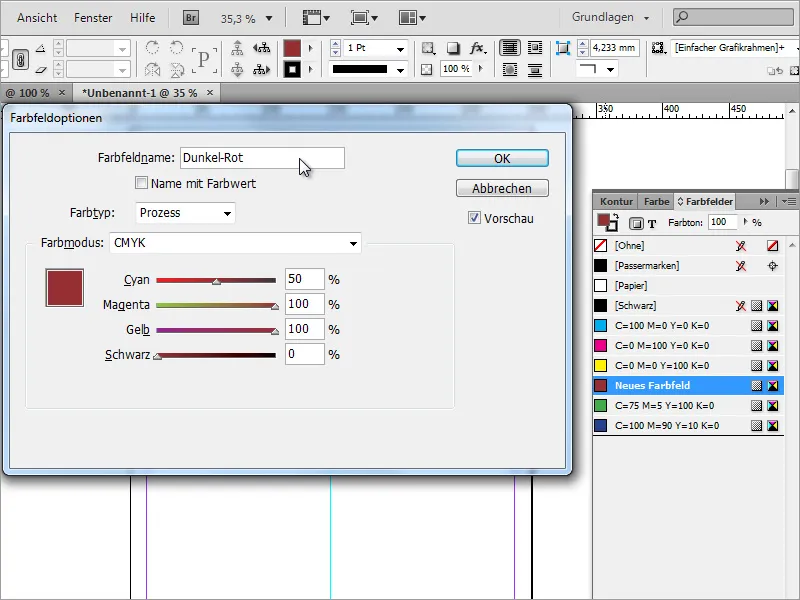
Another color will also play a major role for outlining. A soft yellow/beige with only 5% opacity has been preset.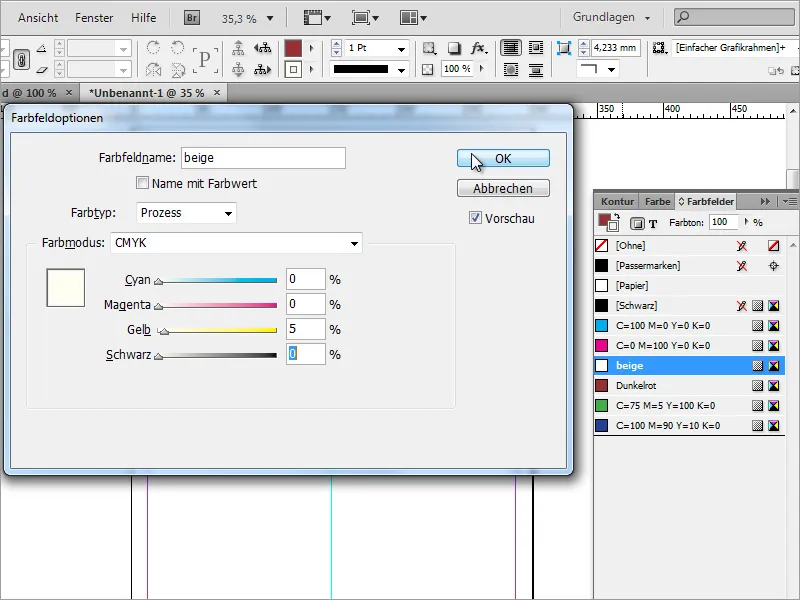
Now you can start creating the content. A dark color area should provide visual separation at the top towards the edge of the document. Simply use the Rectangle Tool to draw a rectangle that covers this area completely. It may even extend beyond the edge of the document, as it will be cut off later. The outline should be in the beige color with a strength of 3 pt.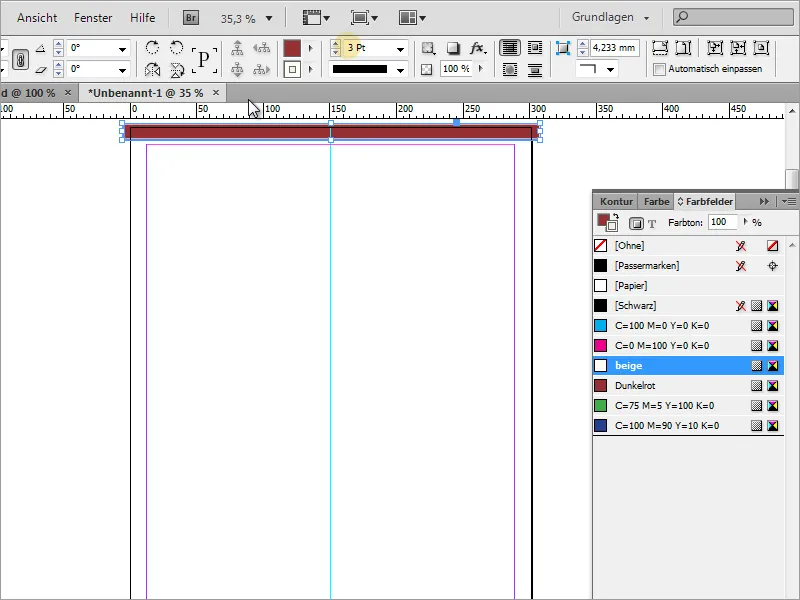
Equally important is the creation of the centerpiece graphic, the middle graphic. It is more than just a decorative element and consists of a rectangular graphic combined with a circle. To begin, create a rectangle graphic without an outline.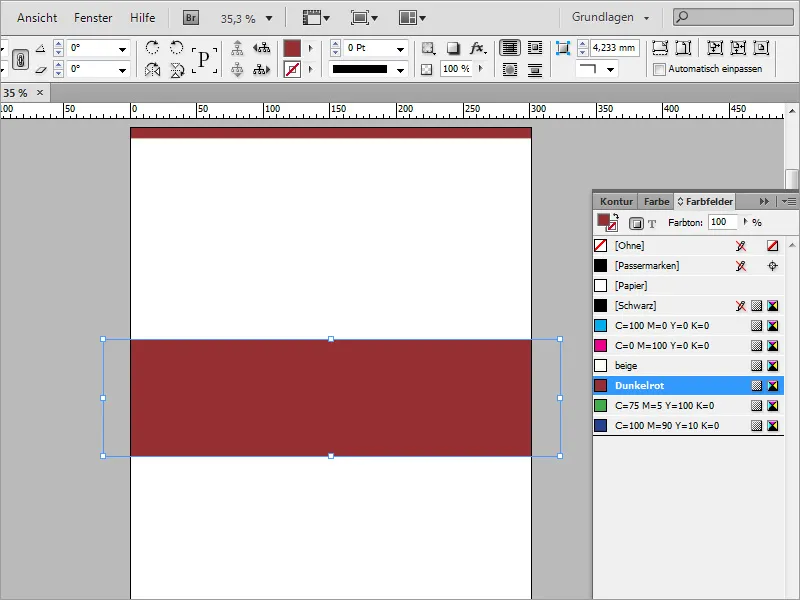
This graphic is complemented by a circle. Draw this circle using the Ellipse Tool while holding down the Shift and Alt keys for uniformity. To be able to draw the circle from the center axis of the rectangle, you must first position the cursor in the middle. Upon contact with the midpoint, the cursor appearance changes to a crosshair with a small black triangle.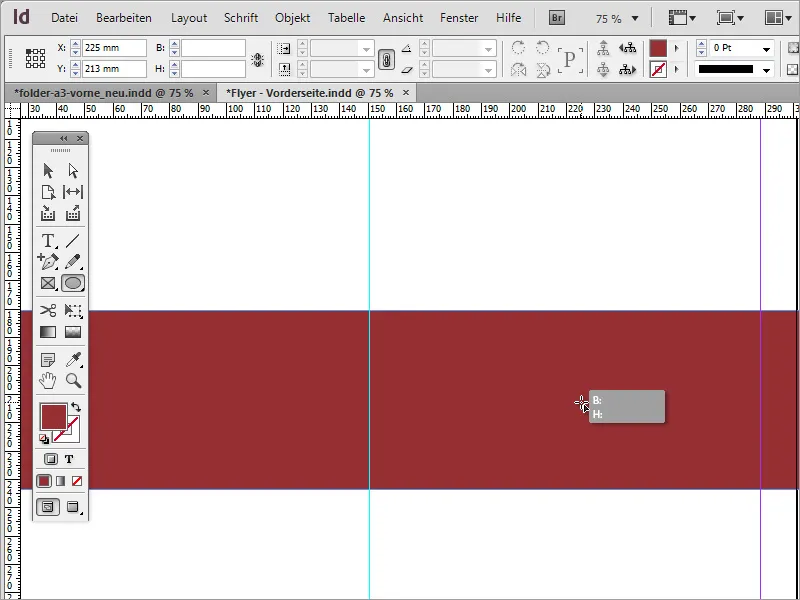
Then you can uniformly enlarge the circle with Shift+Alt.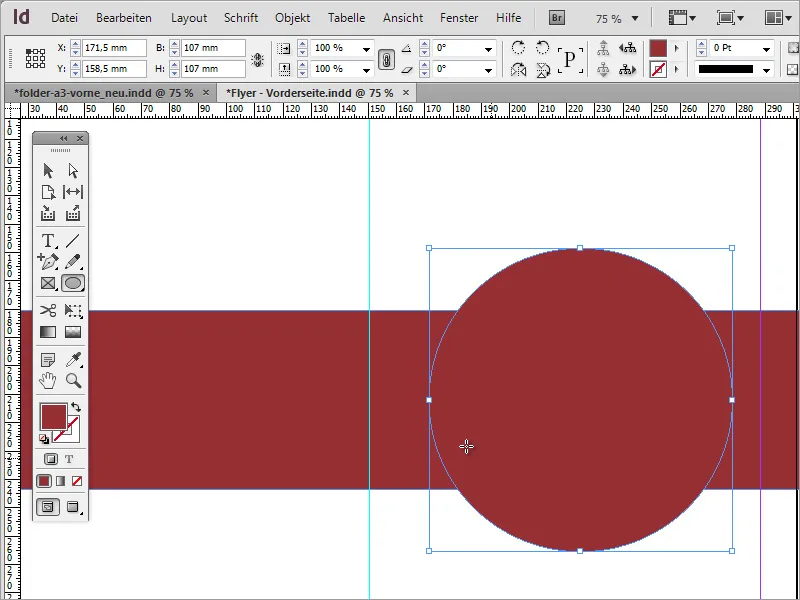
Subsequent enlargement of the circle also poses no problem. However, you must again use the Shift+Alt keys to ensure that the circle is not enlarged only on one side.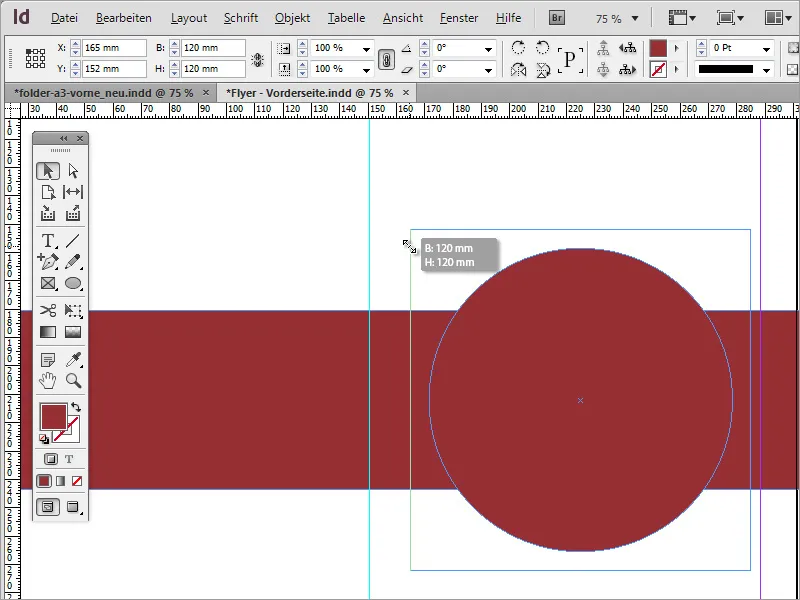
Visually, it looks pretty good now. However, you need a single shape consisting of these two segments. If you add a 3 pt outline to both shapes, one shape will always overlay this outline over the other. To make this more visible, I spontaneously dipped the background in a green color.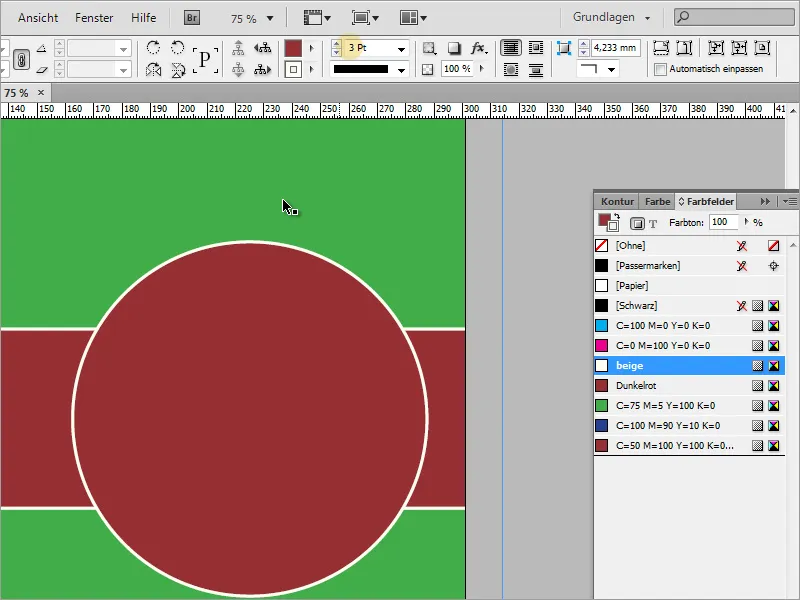
So that these two individual shapes become one large, contiguous shape, all you have to do is combine them together. Using the Selection Tool while holding down the Shift key, select both shapes.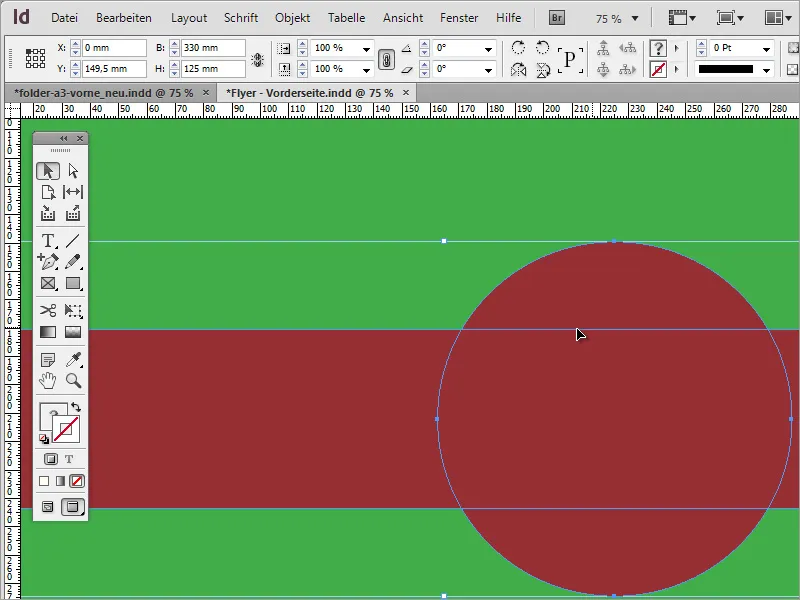
Now you need a special function that you can access under Window>Object and Layout>Pathfinder.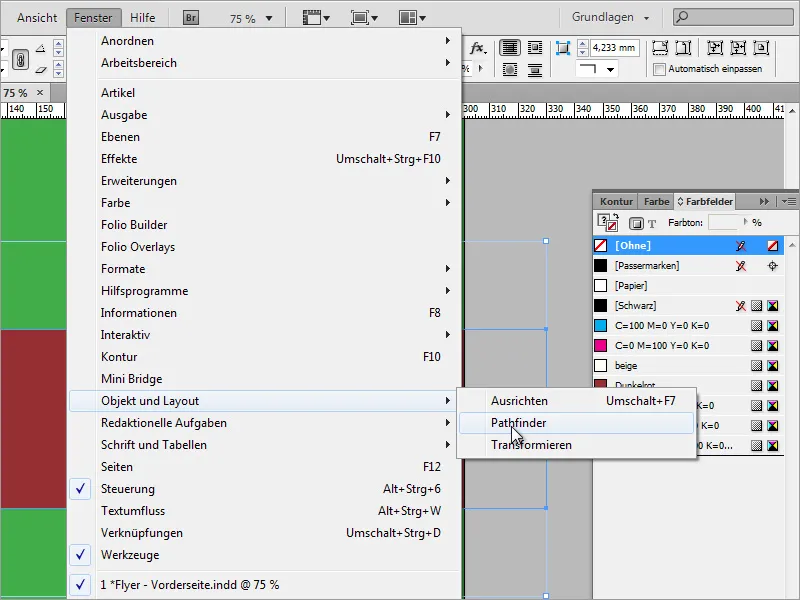
In Pathfinder, select the option Add. In other layout programs, this is also often referred to as Merge and involves the function of creating a new, contiguous shape from both individual objects.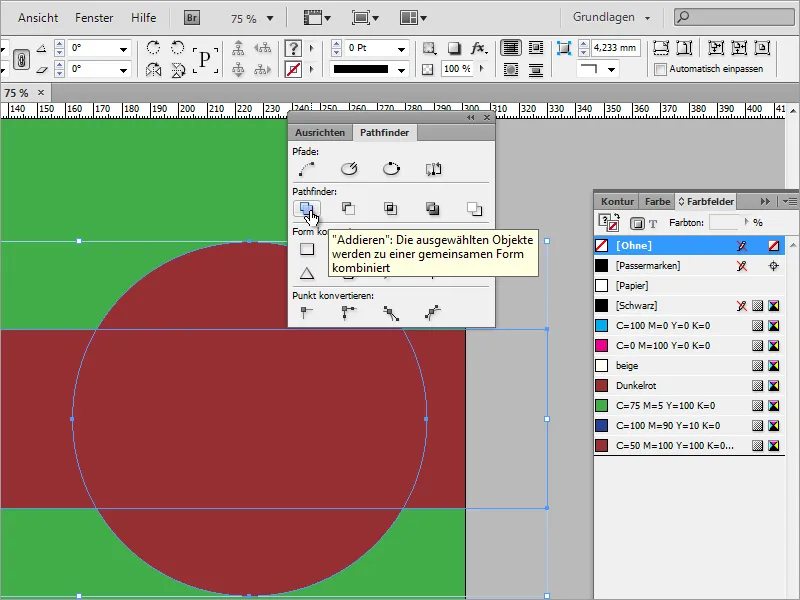
Po kliknutí na Pridať sa vytvorí kombinácia oboch objektov. Teraz môžete tomuto tvaru prideliť jednotný obrys s hrúbkou 3 bodov.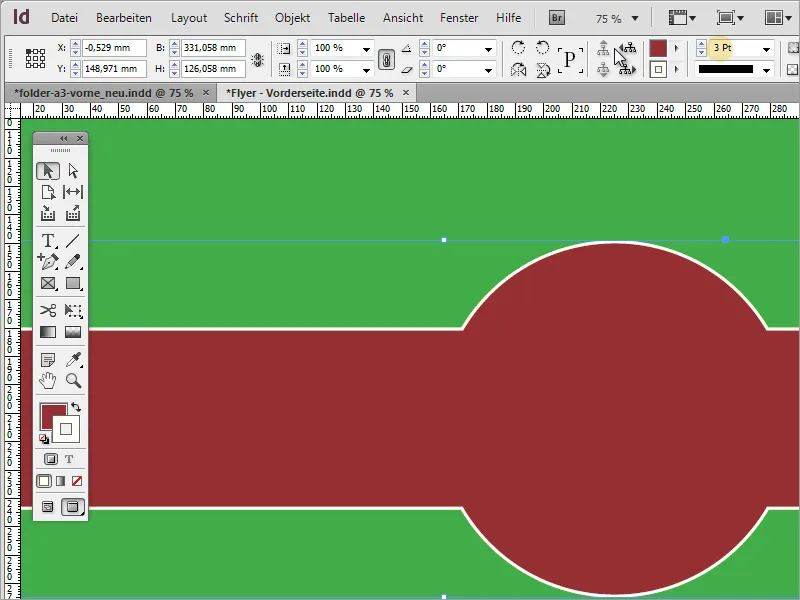
Pozrime sa na logo. Samozrejme, predtým muselo byť vytvorené. Ako, ukážem v nasledujúcich krokoch v časti 2 tutoriálovej série.