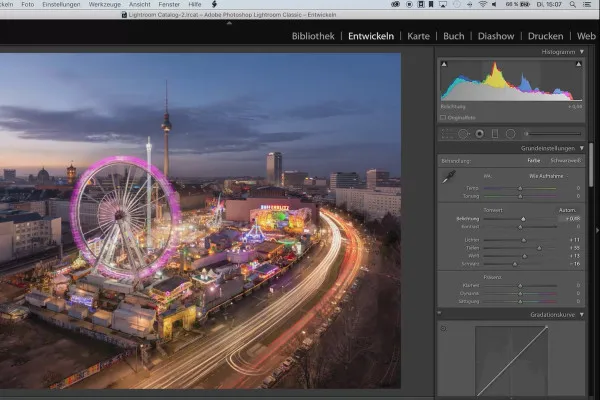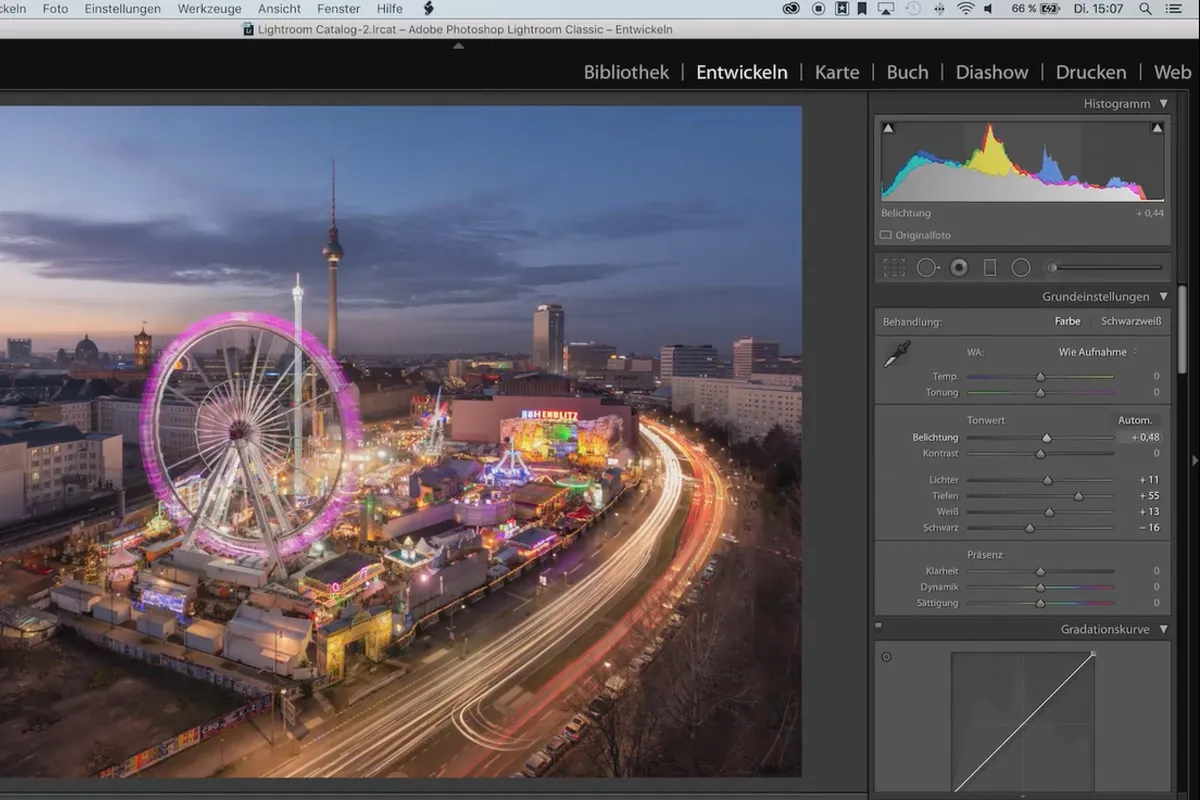
Lightroom Tutorial - Tips for photo editing
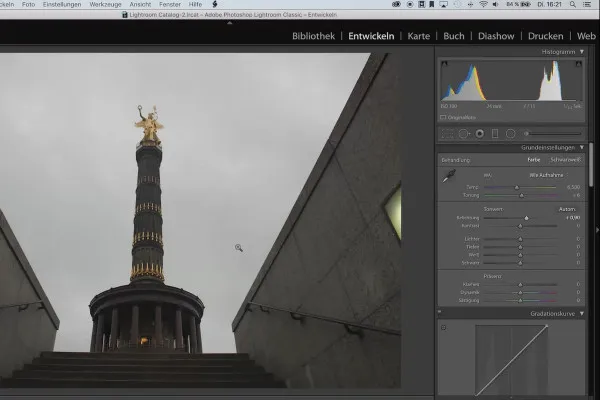
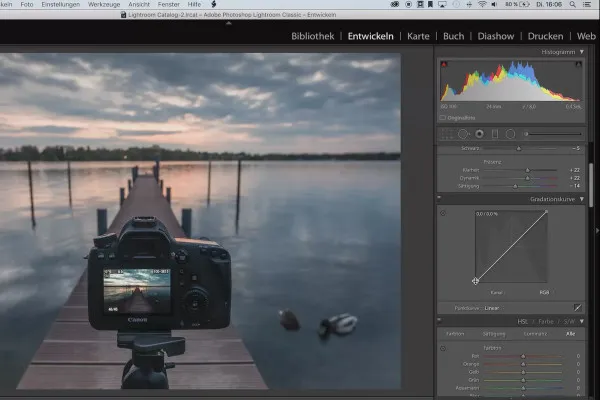
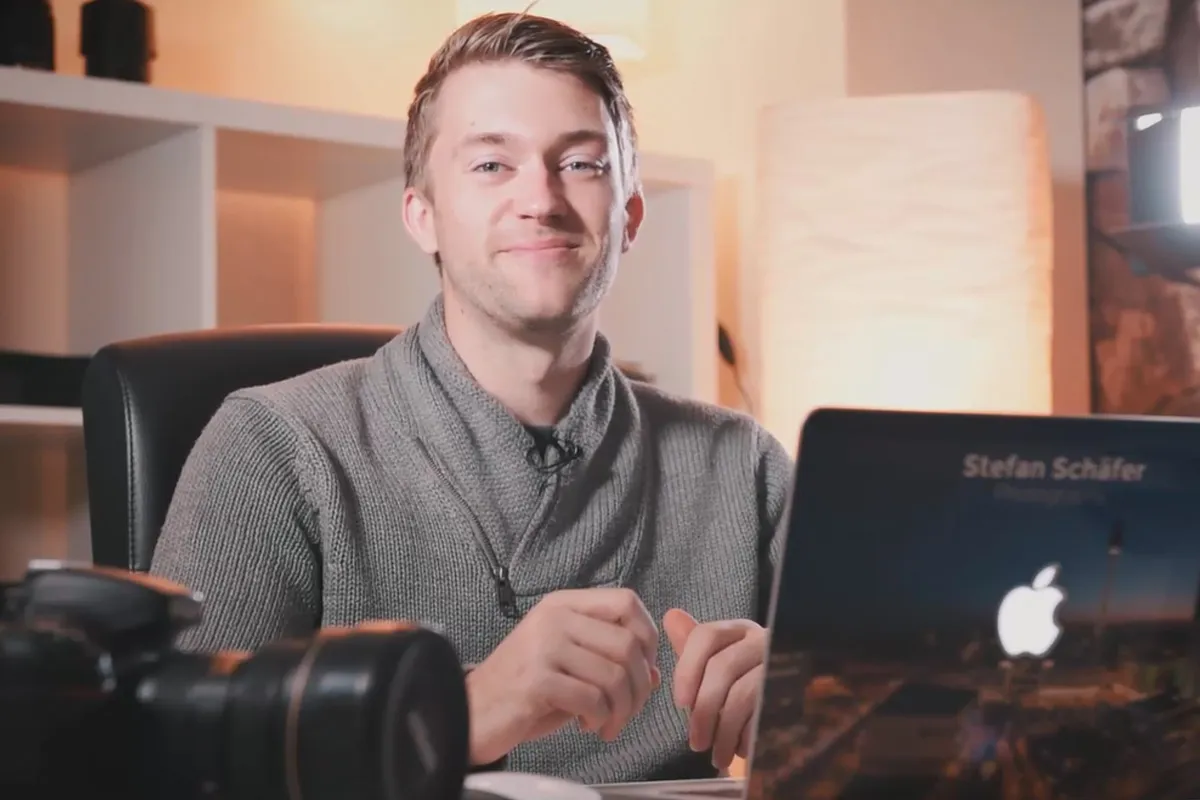
Take your workflow to the next level with this Lightroom tutorial. In just under 90 minutes, trainer Stefan Schäfer will show you tips and shortcuts for photo editing in a nutshell. Missed a small sensor spot again? The sky is overexposed? Do you have dozens of beautiful photos, but with varying brightness? Here's a remedy - adjust the Lightroom sliders to work efficiently!
- Rediscover Lightroom and use tricky methods to create looks and effects in your photos.
- Work more efficiently with Lightroom by using the built-in automatic functions.
- Also included: local white balance, high and color key, sensor spot detection, day-night conversion
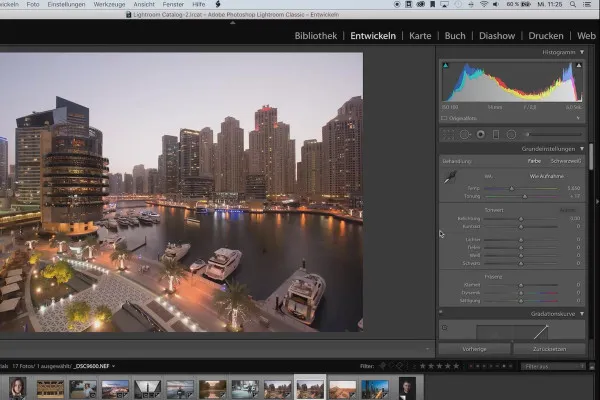
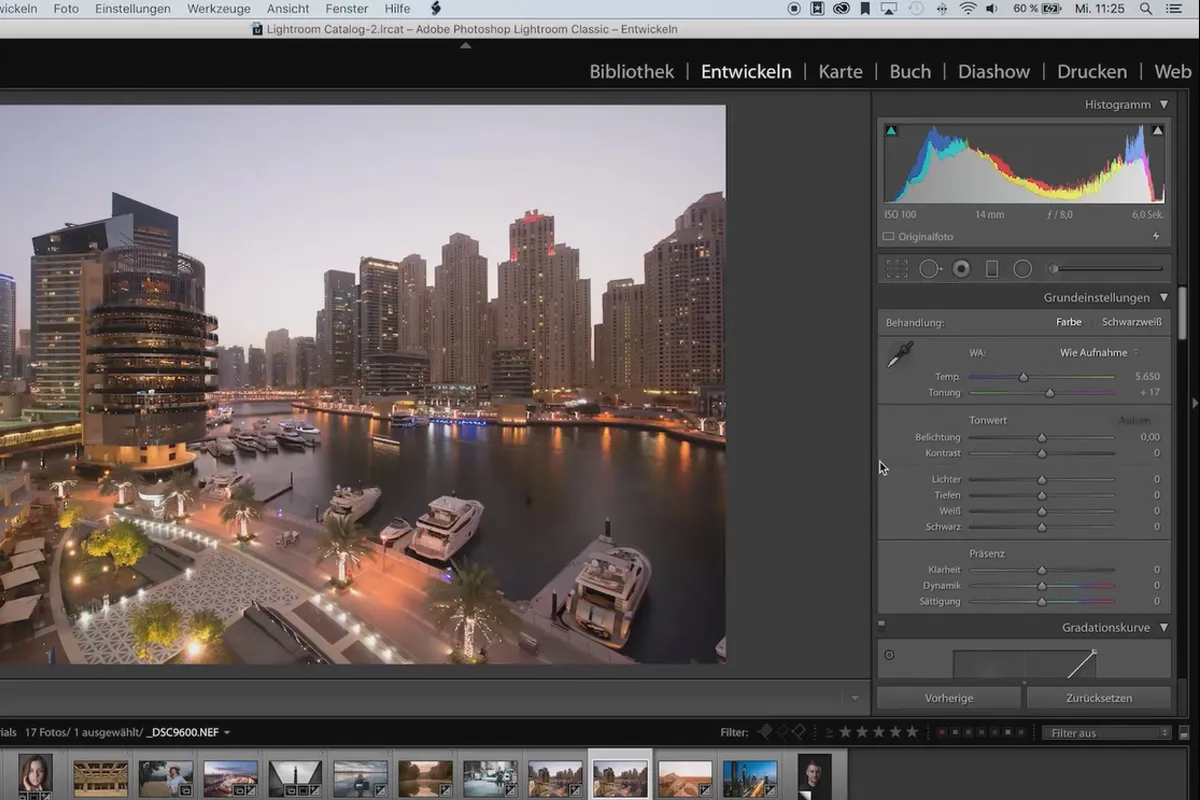
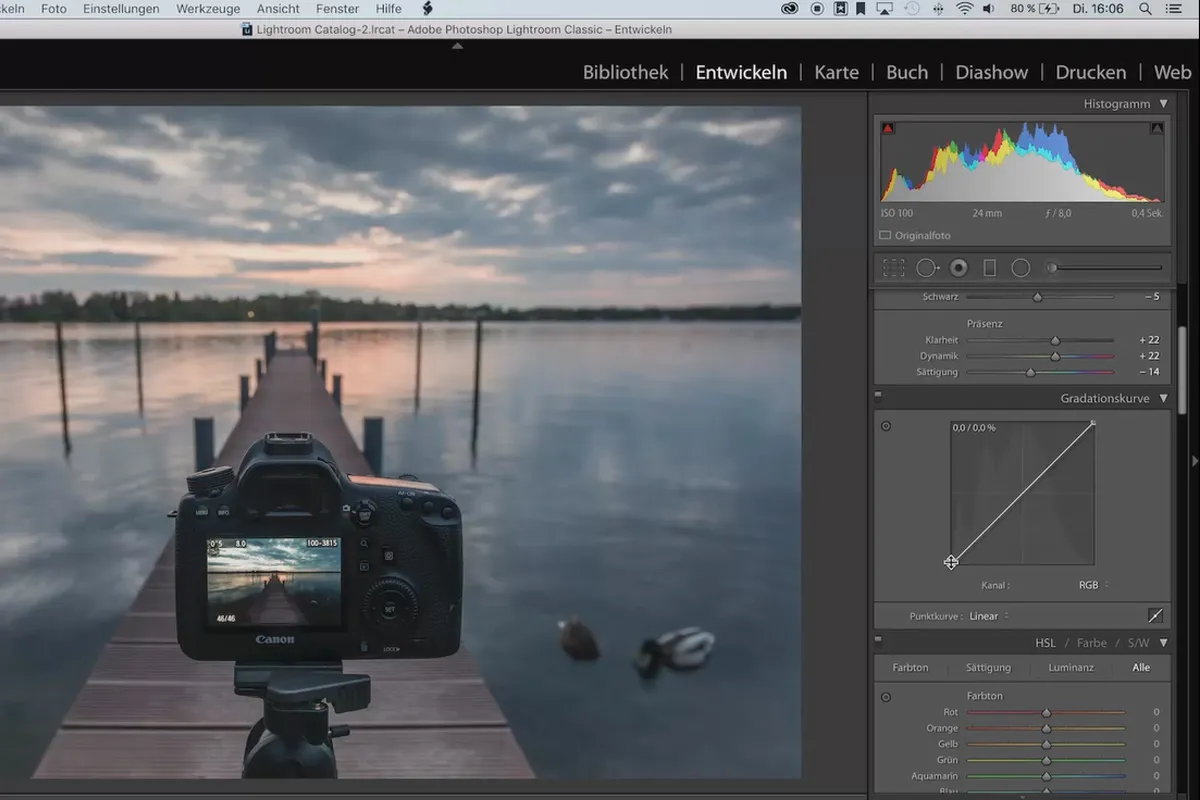
- Work well with histogram, gradation curves, noise reduction and camera calibration
Take a closer look at Lightroom and discover undreamt-of possibilities for even faster and more creative photo editing.
- Usable with:
- content:
1 h Video training
- Licence: private and commercial Rights of use
Lightroom - Tips and Tricks
Details of the content
Lightroom tutorial for efficient and effective photo editing
Concisely formulated! Stefan Schäfer guides you from one tip to the next in lesson time.
Tips & tricks for photo editing with Lightroom
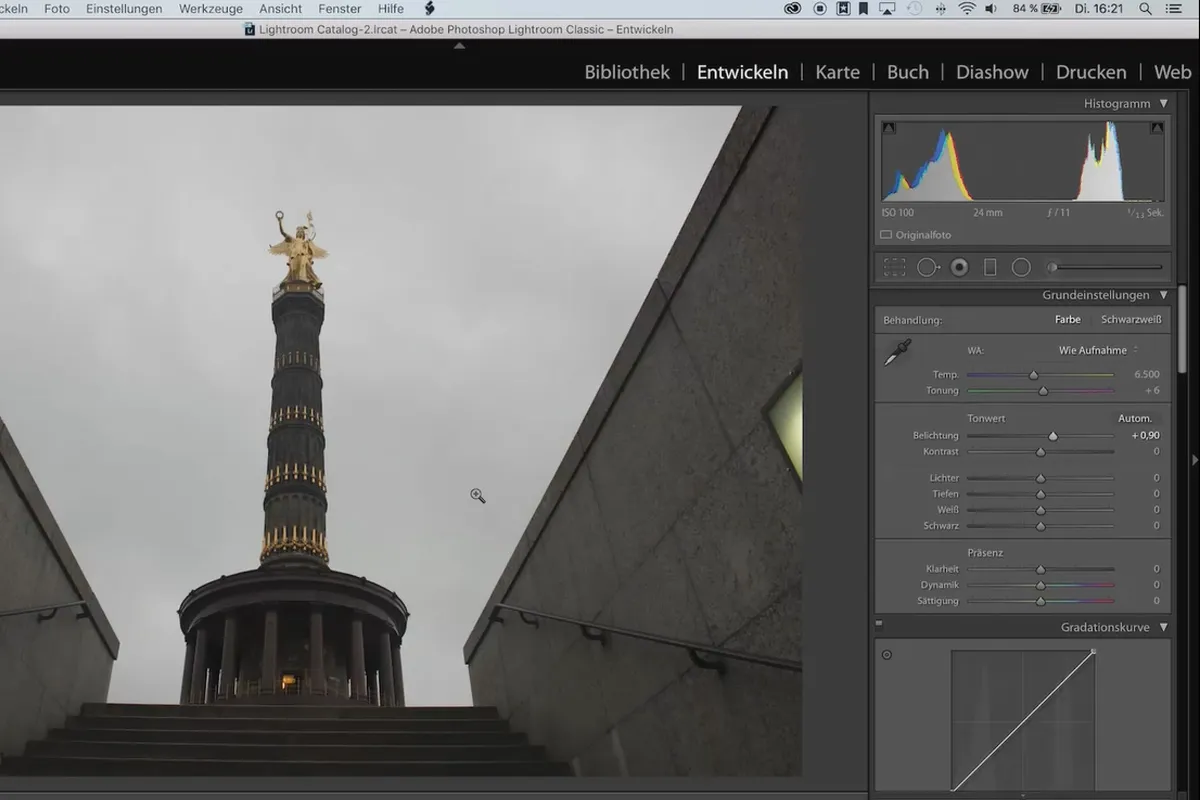
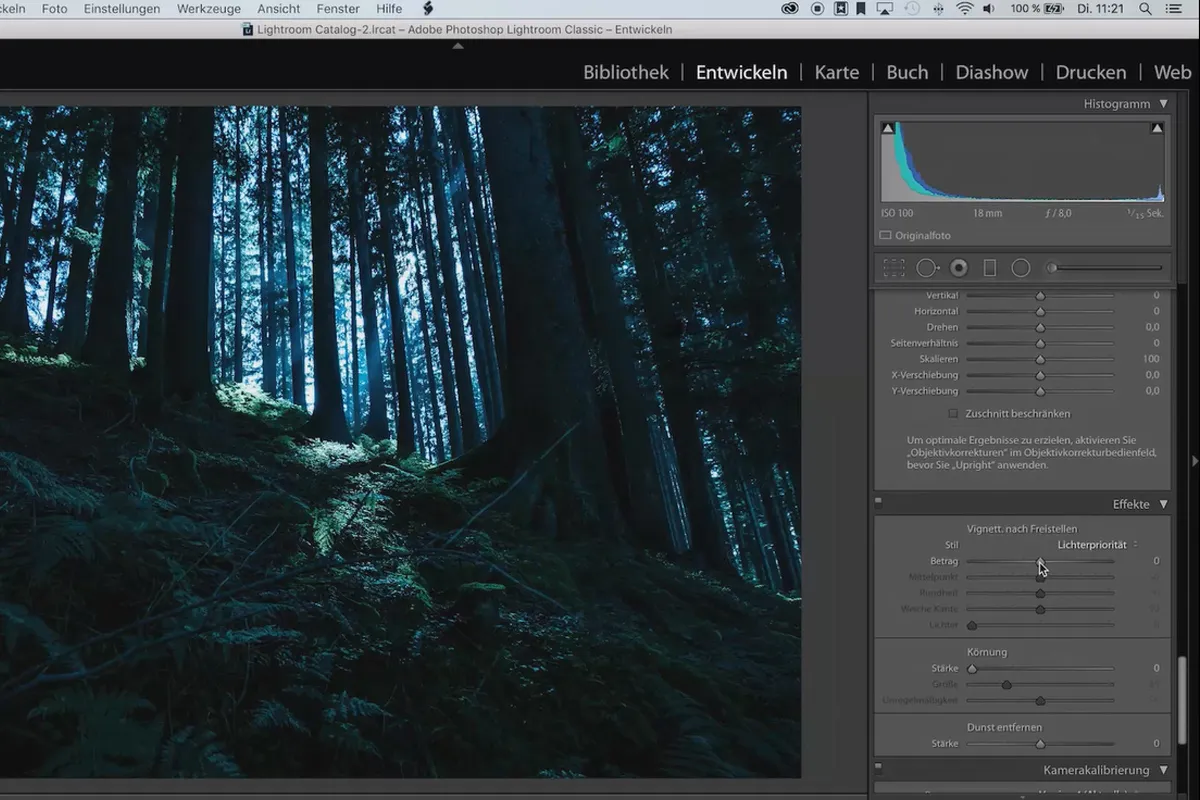
In just under 90 minutes, you will glide through the program's tools to discover efficiency-enhancing automatisms and methods that will take your creative work to a new level. How about this, for example:
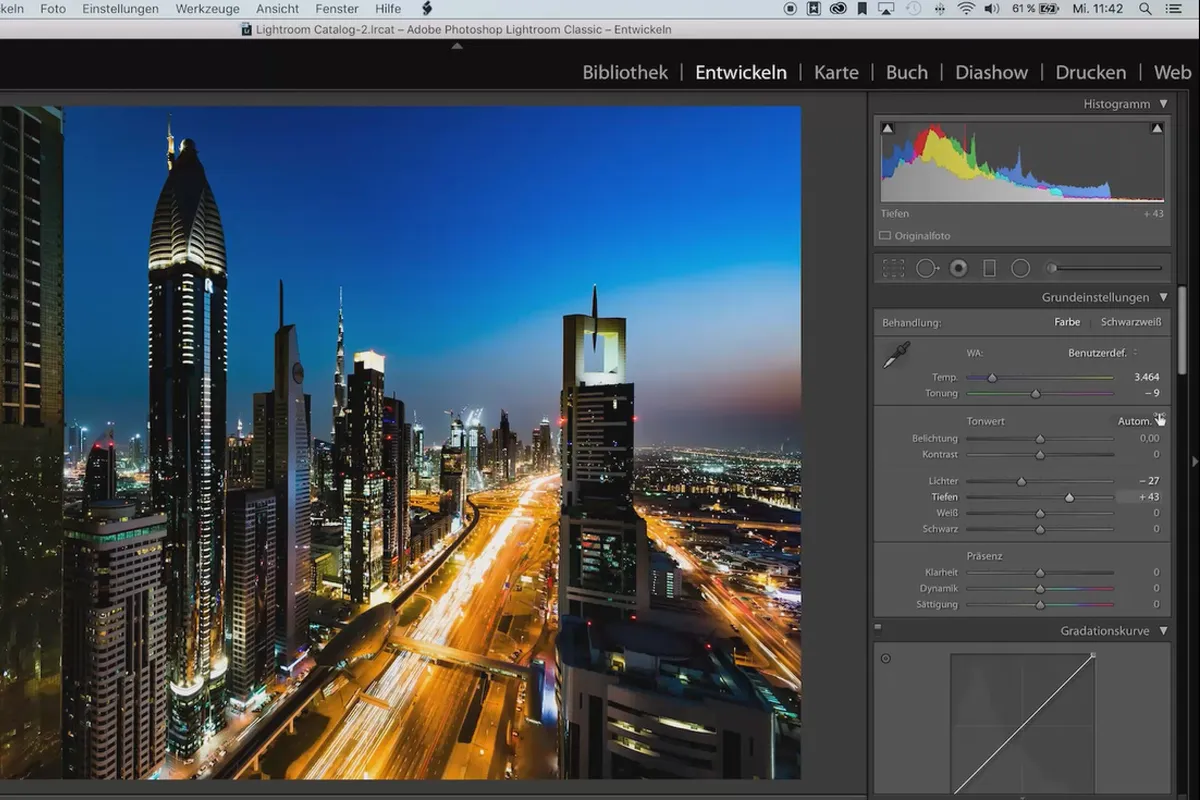
- Automatically adjust the different brightness levels of photos in a photo series.
- No time? Then leave the setting of white and black points to Lightroom.
- Convince yourself that Color-Key, when used correctly, produces magnificent effects.
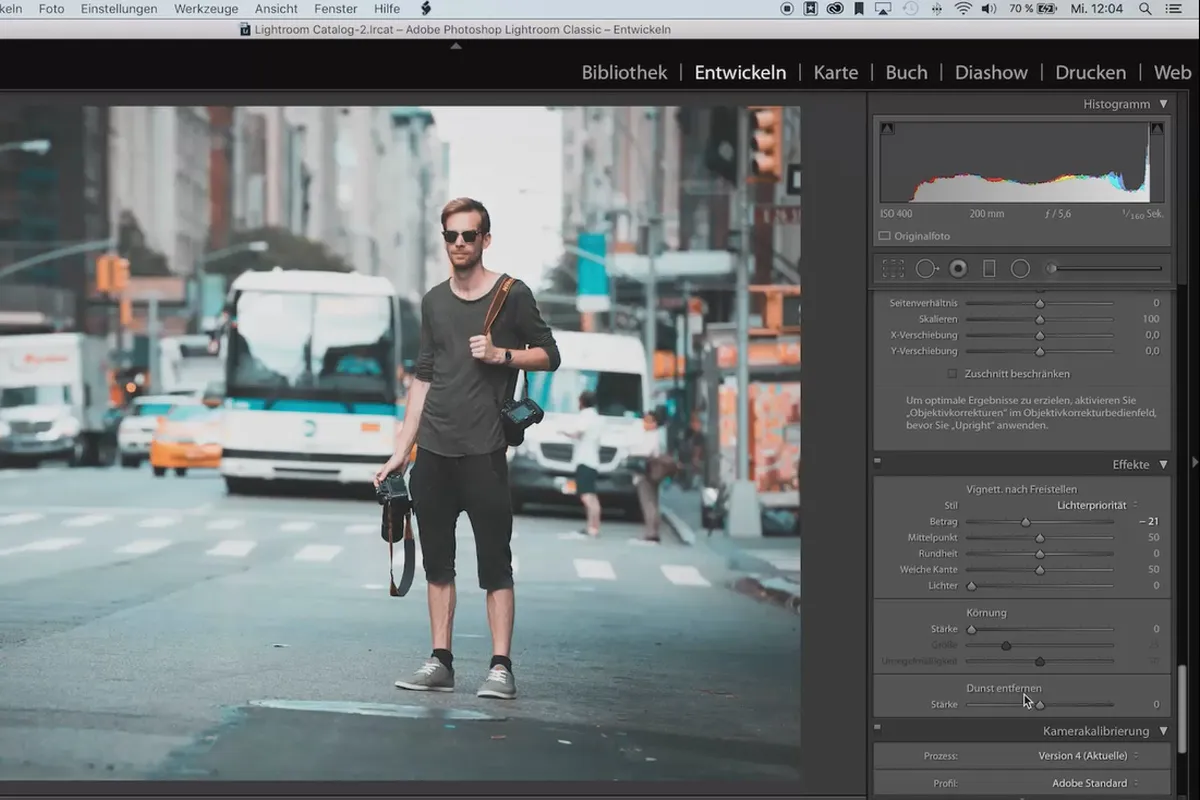
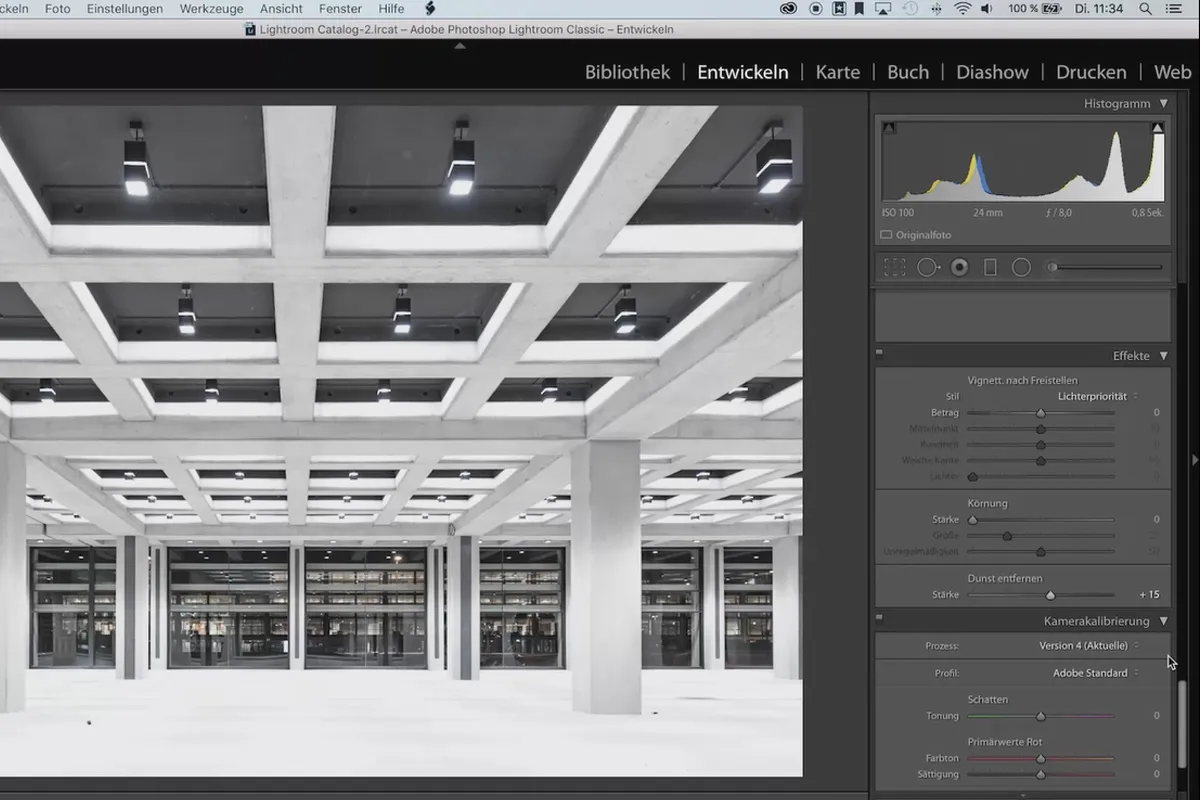
- Use the camera calibration to create the right look for your photos.
- Want to adjust the exposure even more easily? Then use the histogram!
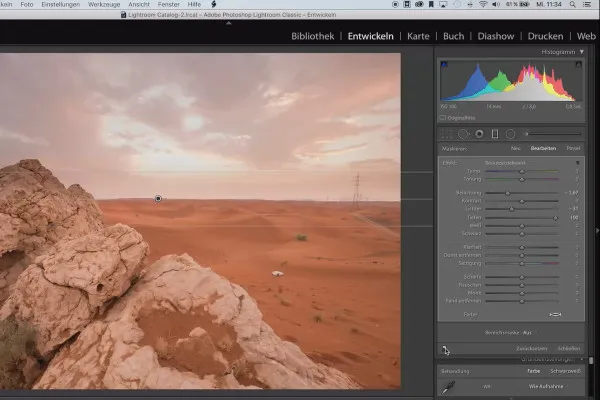
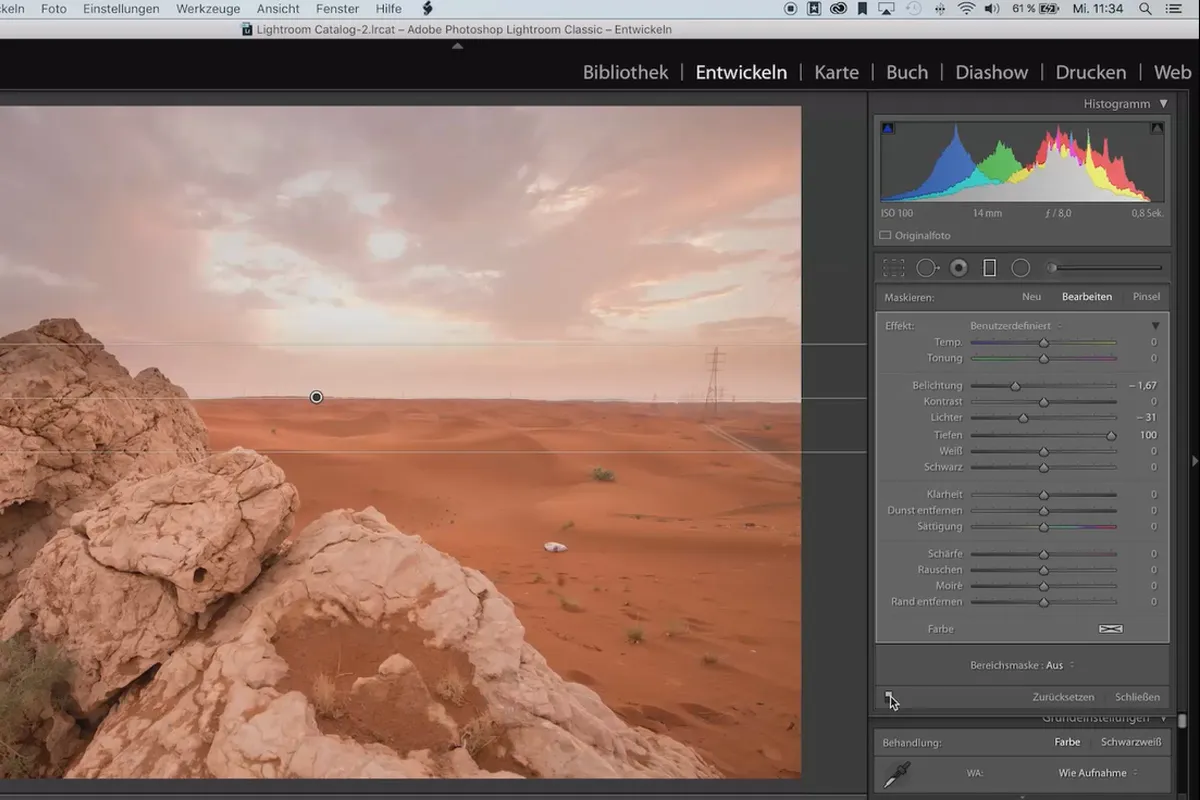
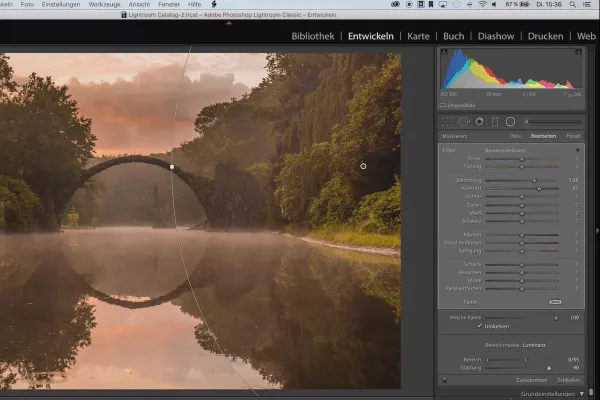
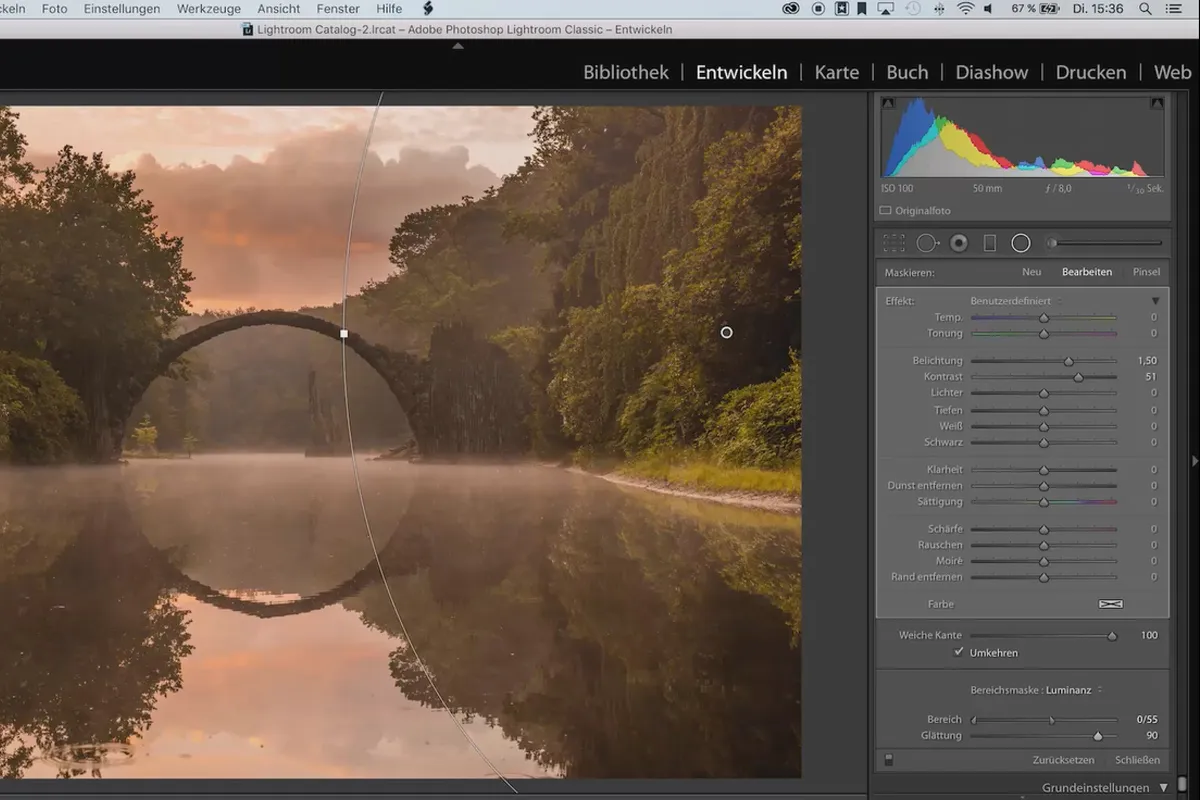
- The photo is good, but the sky is too bright? Then save it with the best method!
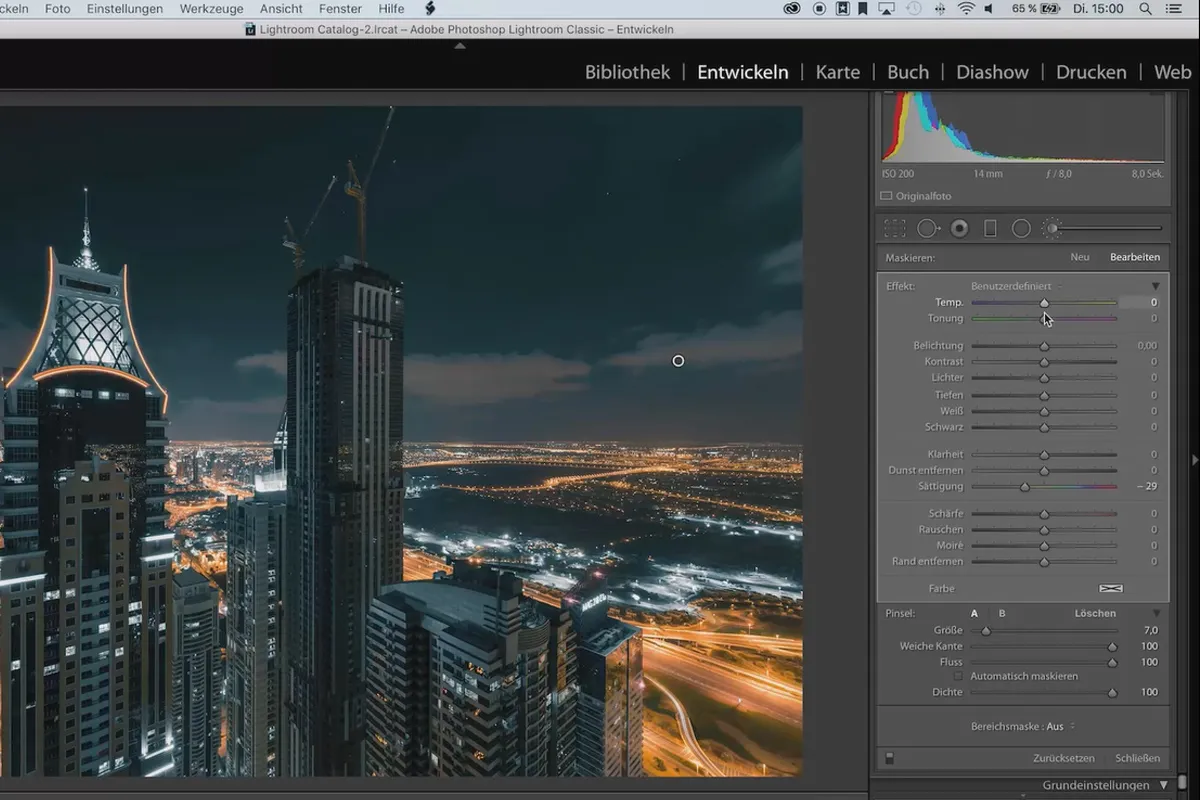
- Change the white balance locally in individual areas of the image for exciting results.
These Lightroom tips also await you in the training:
- Get to know a procedure with which you can really recognize and remove every sensor spot .
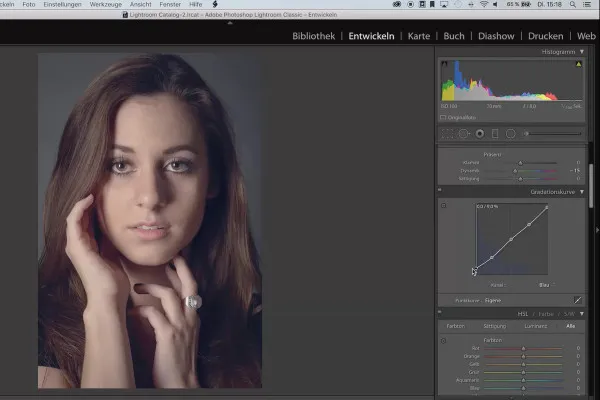
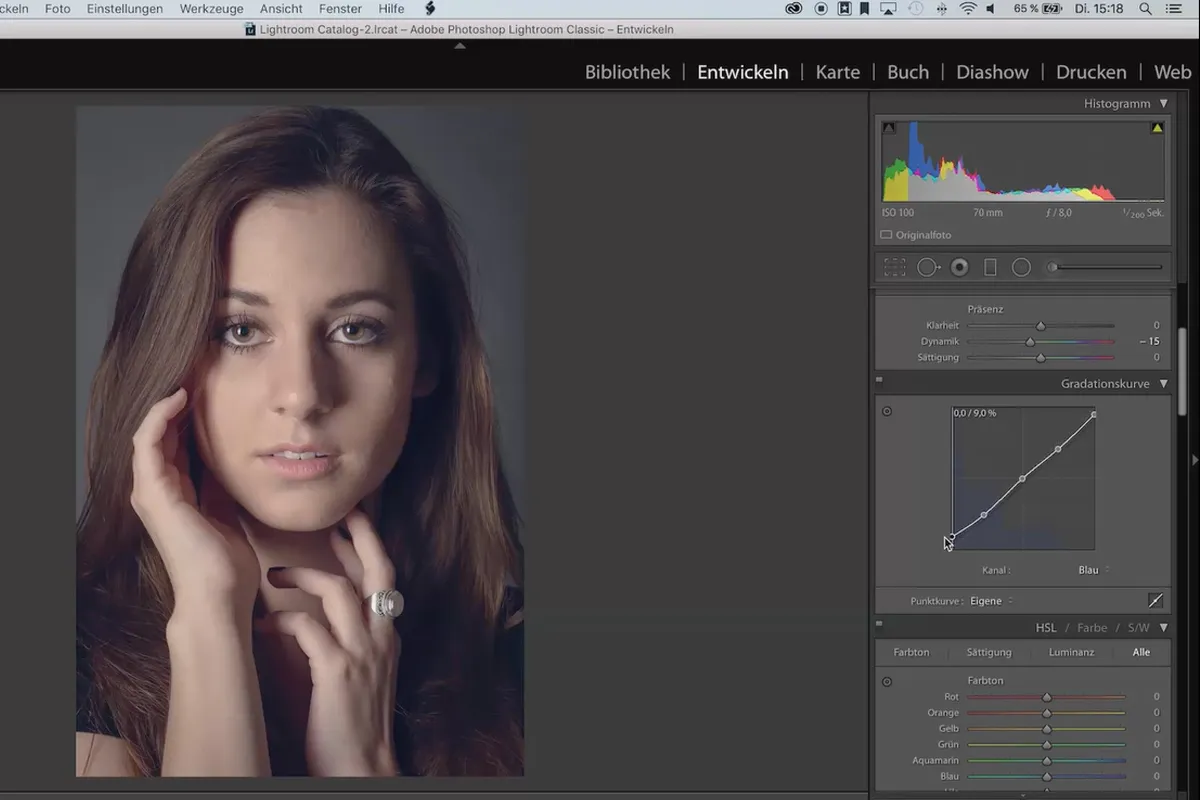
- What do these gradation curves actually do ? - Find out more about their purpose and application.
- A high-key look is only possible with Photoshop? Far from it! It also works with Lightroom.
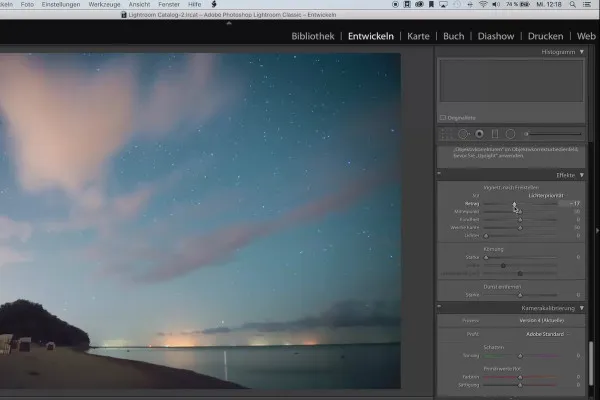
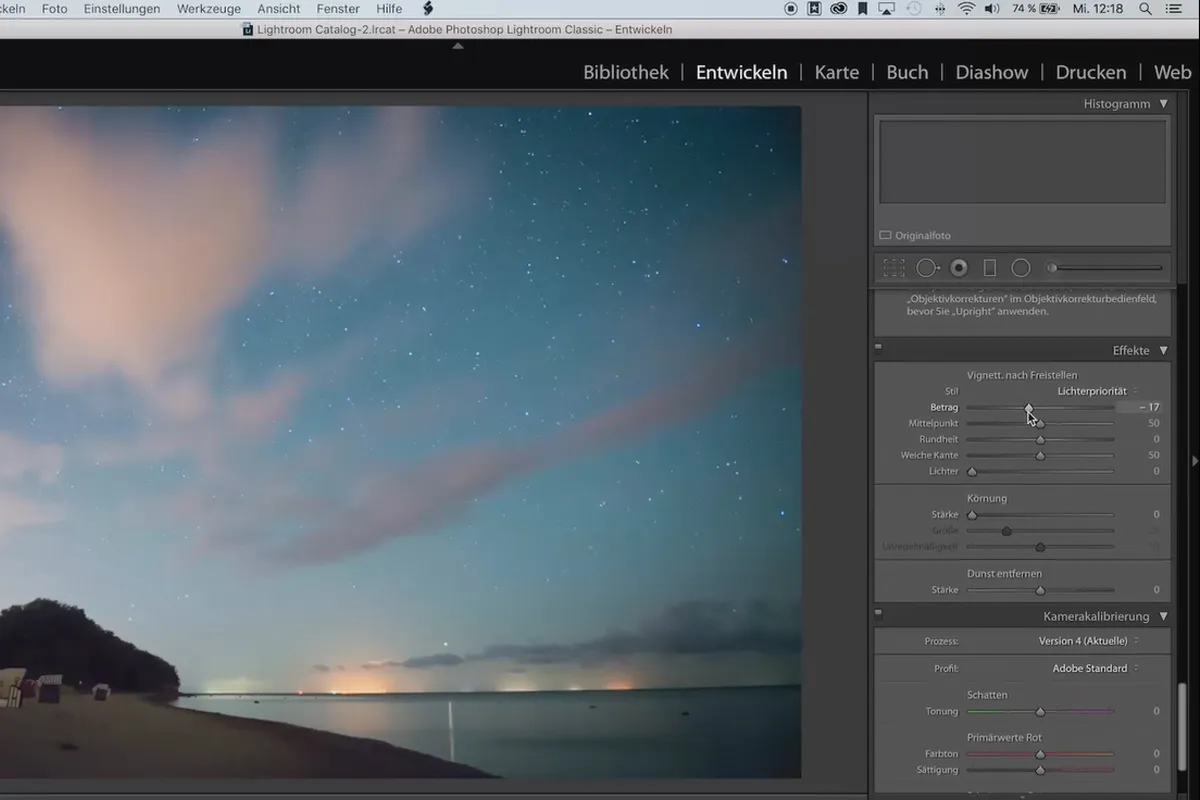
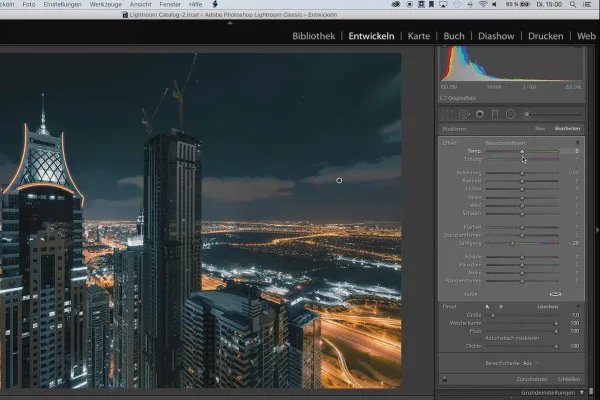
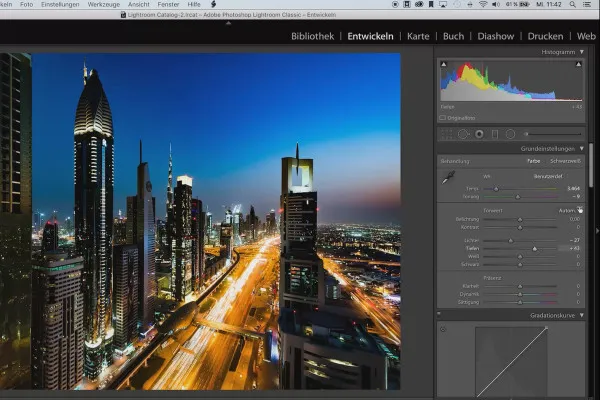
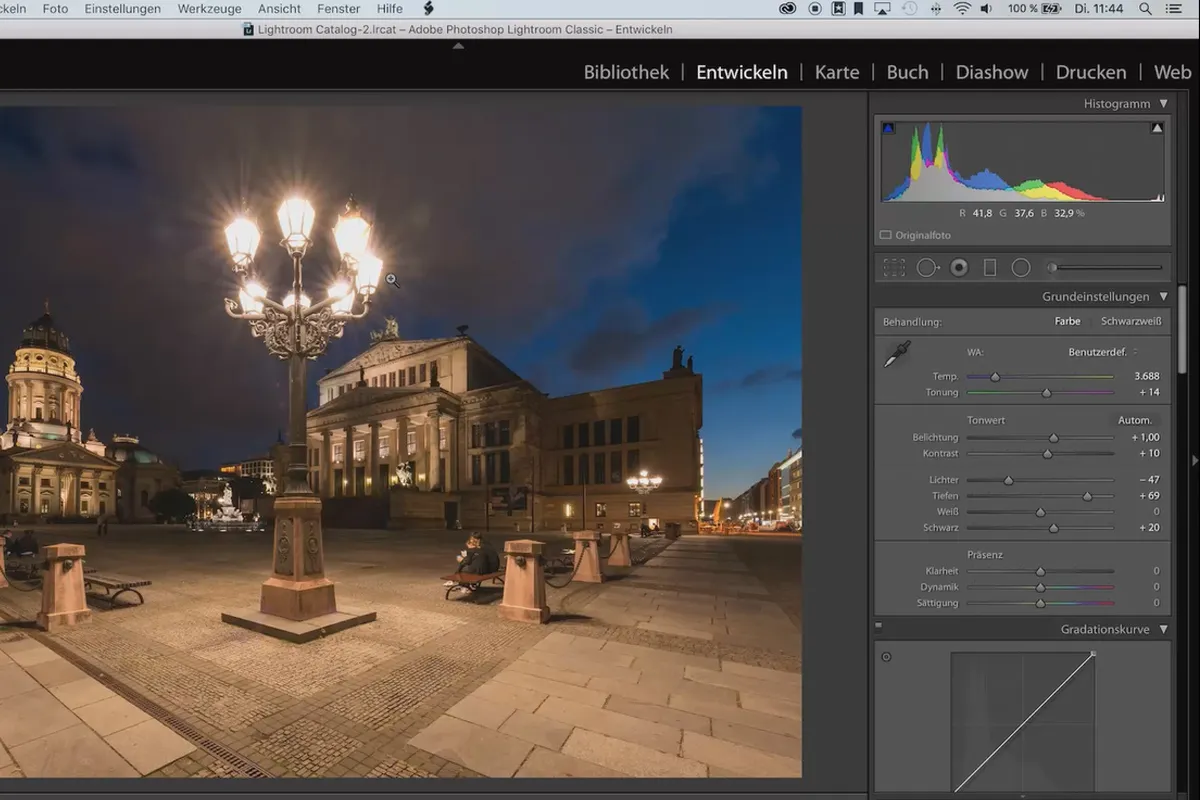
- From light to dark - in just five minutes you can transform a day photo into a night photo .
- And while you're at it, turn on the lights in the night photo.
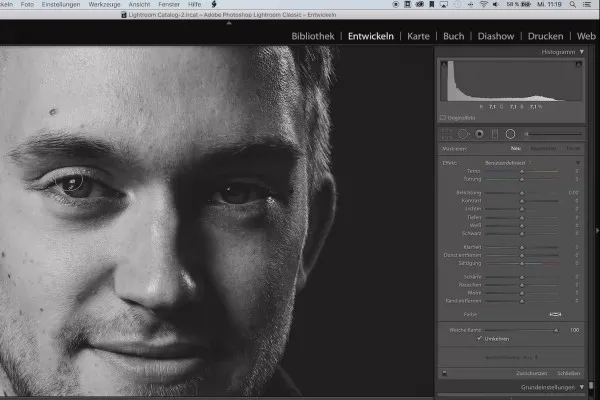
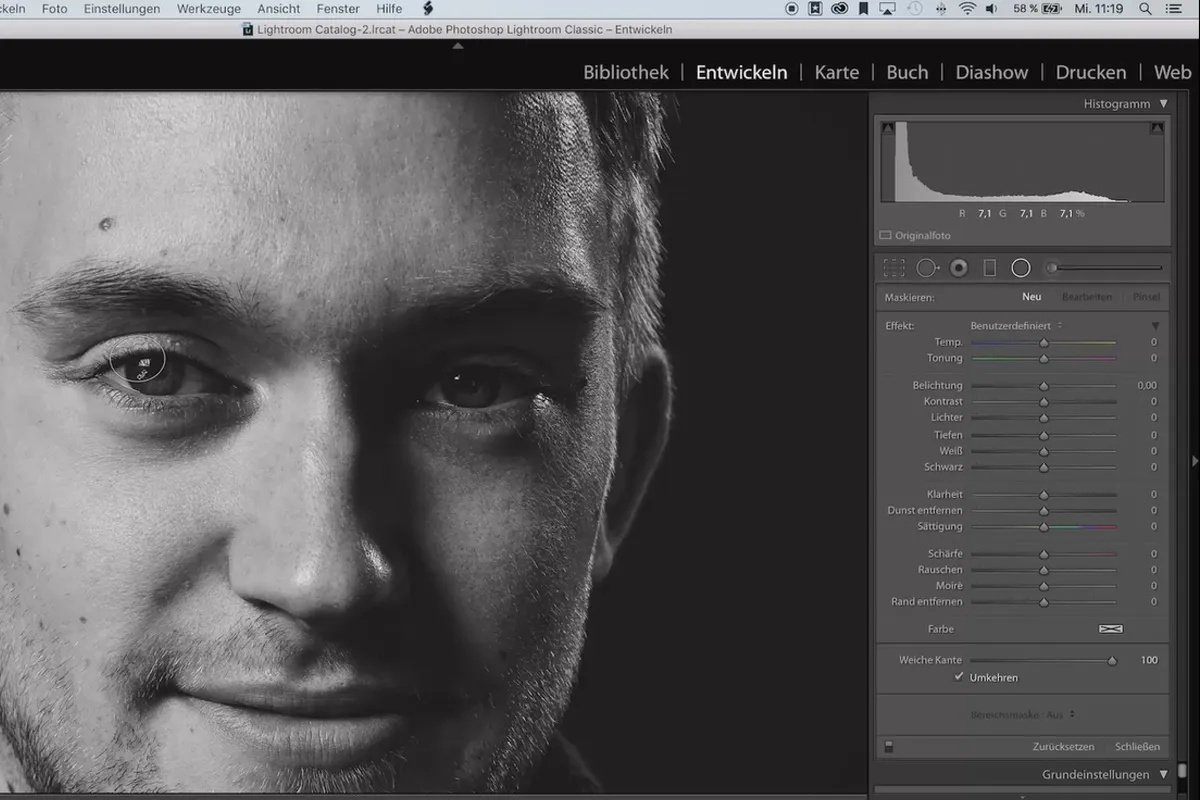
- Create a portrait in black and white - but one that focuses on the character.
Anyone who uses Lightroom Classic CC can take a look at two new features from version 7:
- Brightness and Color - use these two parameters to create area masks.
- Find out what the improved noise reduction can do and what you should still pay attention to.
What the Lightroom tutorial will teach you
Use automatic Lightroom functions to edit your photos faster. Get to know different methods to achieve exciting looks and effects. In short: take your Lightroom workflow to the next level of photo editing!
Other users are also interested

Full power, more inspirations, maximum WOW effect!

Photo editing & image composition
Save time with artificial intelligence
Simply edit images professionally

More style, more power, more templates!
Adjust your knowledge to AI!

Follow an instructive path of image editing!

Neatly cut out!


