Printing Excel documents can sometimes be a challenge, especially when it comes to optimizing the layout of consecutive data on individual pages. Often it is not obvious where Excel should set page breaks. This guide will help you effectively add manual page breaks in Excel so that your data is presented exactly as you wish.
Key Takeaways
- You can efficiently add manual page breaks to control the printing layout of your Excel data.
- The page break preview feature helps you visualize the position of page breaks.
- You can easily remove unwanted page breaks and adjust the page configuration.
Step-by-Step Guide
To set manual page breaks in your Excel document, follow these simple steps:
First, open the Excel document where you want to adjust the page breaks. Make sure the data you want to print is ready and in the correct order. To have a better overview of your data, it is often helpful to activate the page break preview.
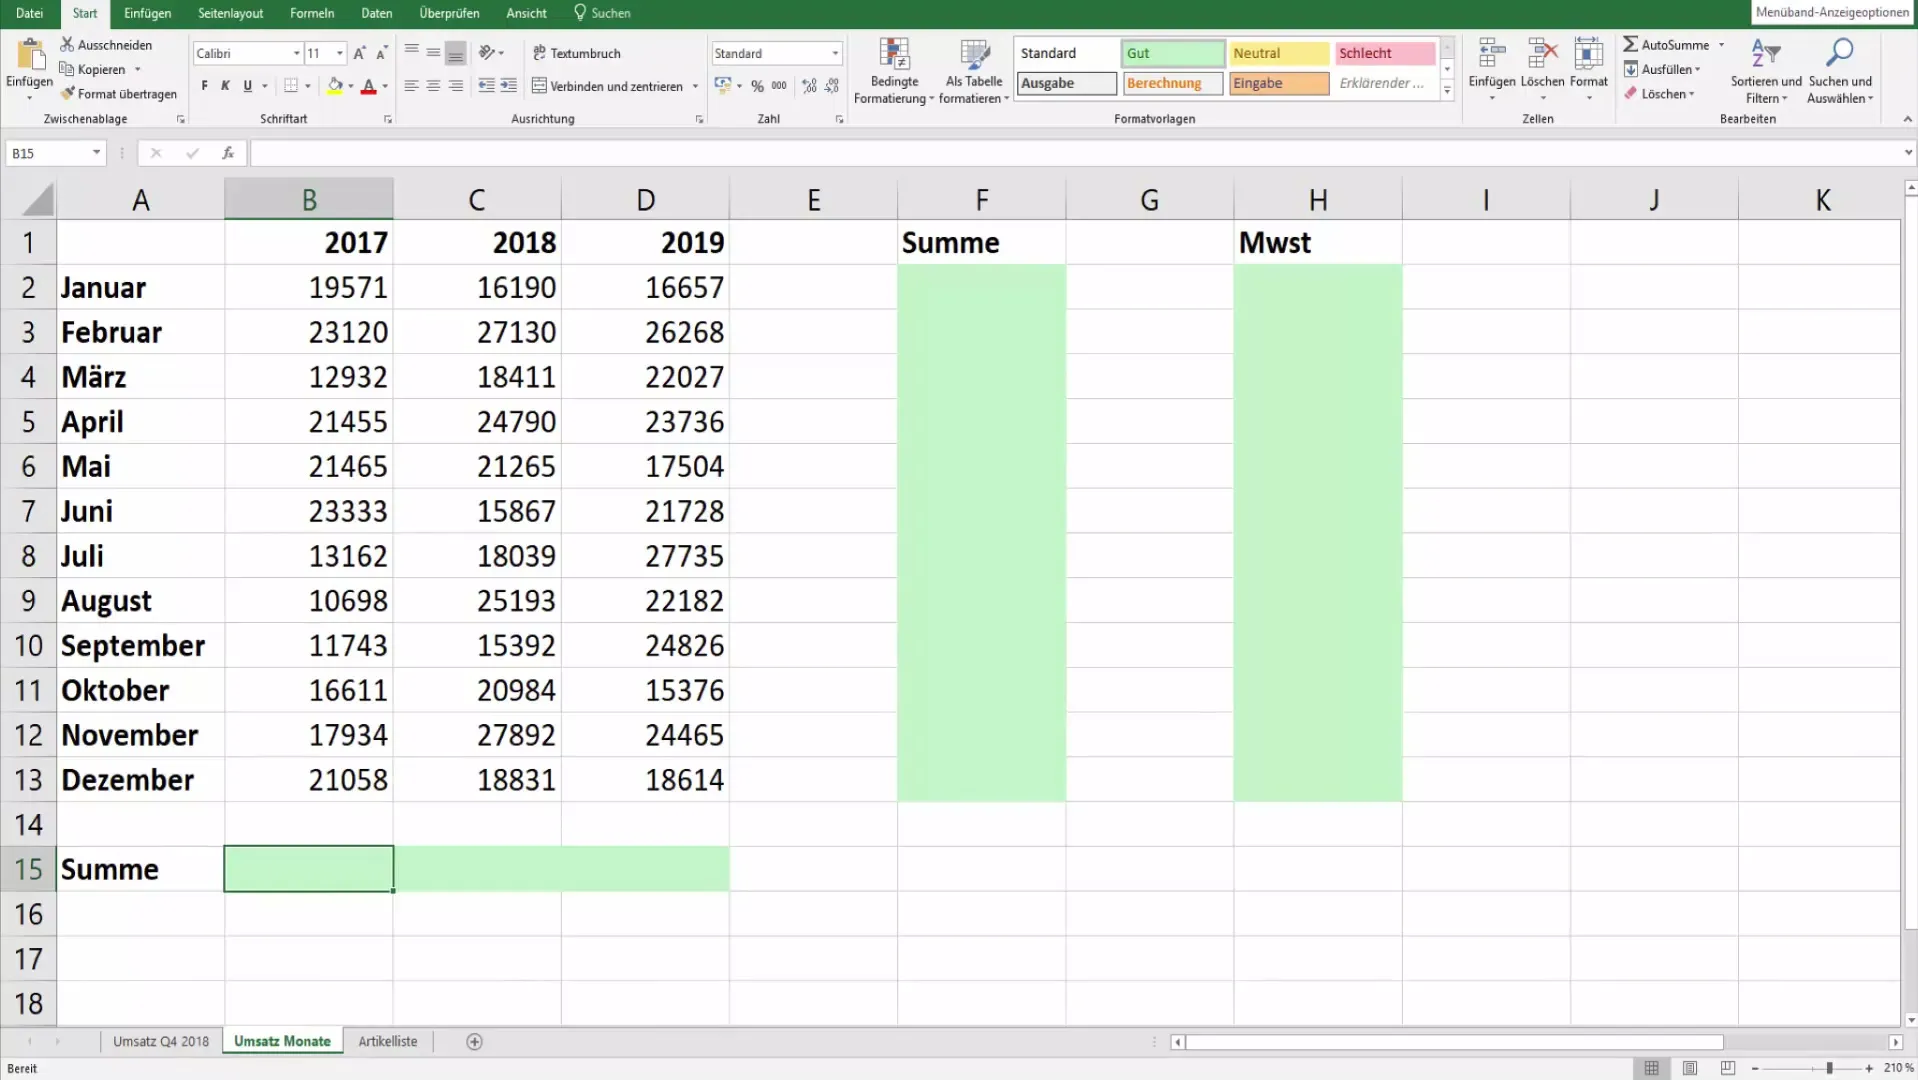
Now go to the "File" tab to access the print options. Here, you can make initial considerations about your print view. It is important to think about how the data should be placed on each page. Often, it is necessary to print certain years or data on separate pages.
To set precise page breaks, activate the page break preview. You can find this feature in the lower right corner of your Excel window. The page break preview graphically shows you where Excel has set page breaks and where you can add manual breaks.
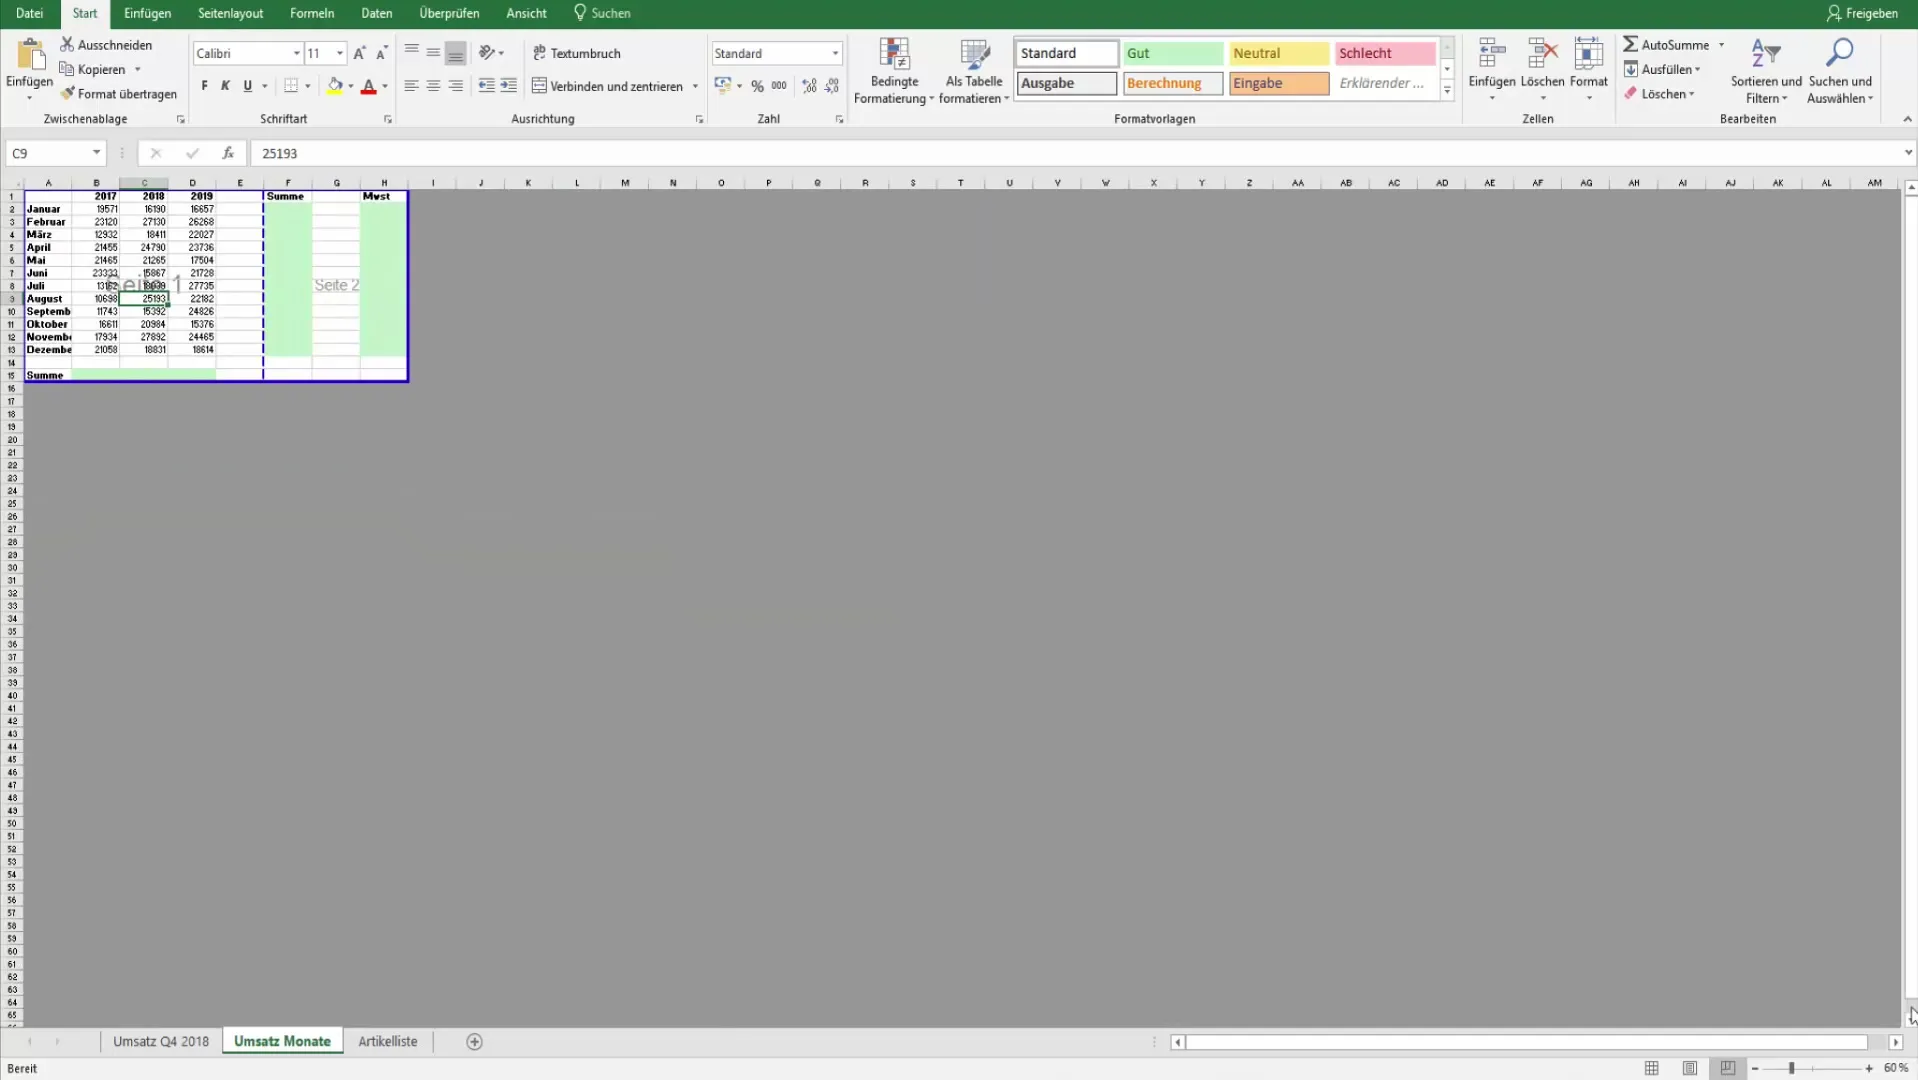
When the page break preview is active, you should be able to see the existing page breaks. To add a new page break, you can drag with the left mouse button to the position where you want to place the break. Here, you have the option to switch between pages and define the position of the data.
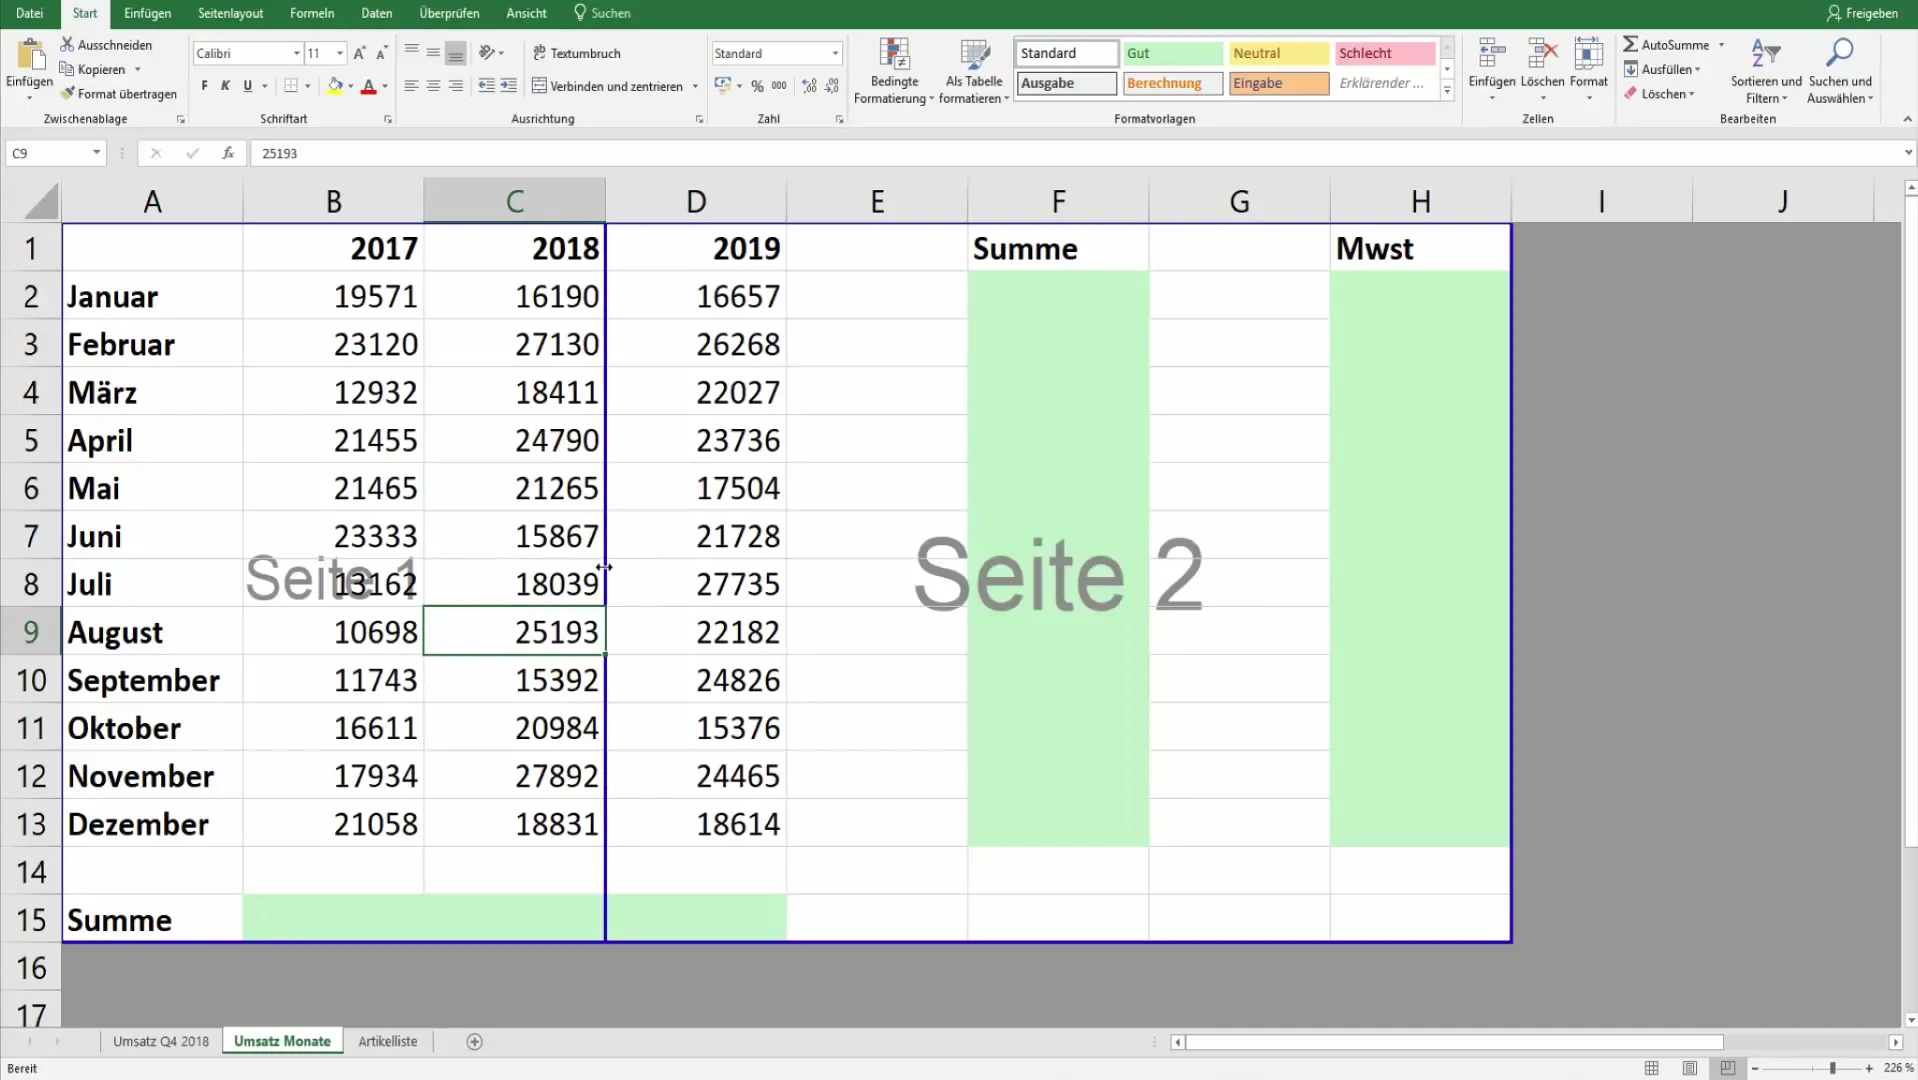
Another method to add page breaks is by using the right mouse button. Right-click on the desired location in the data list and select "Insert Page Break." This action will set a page break at that point.
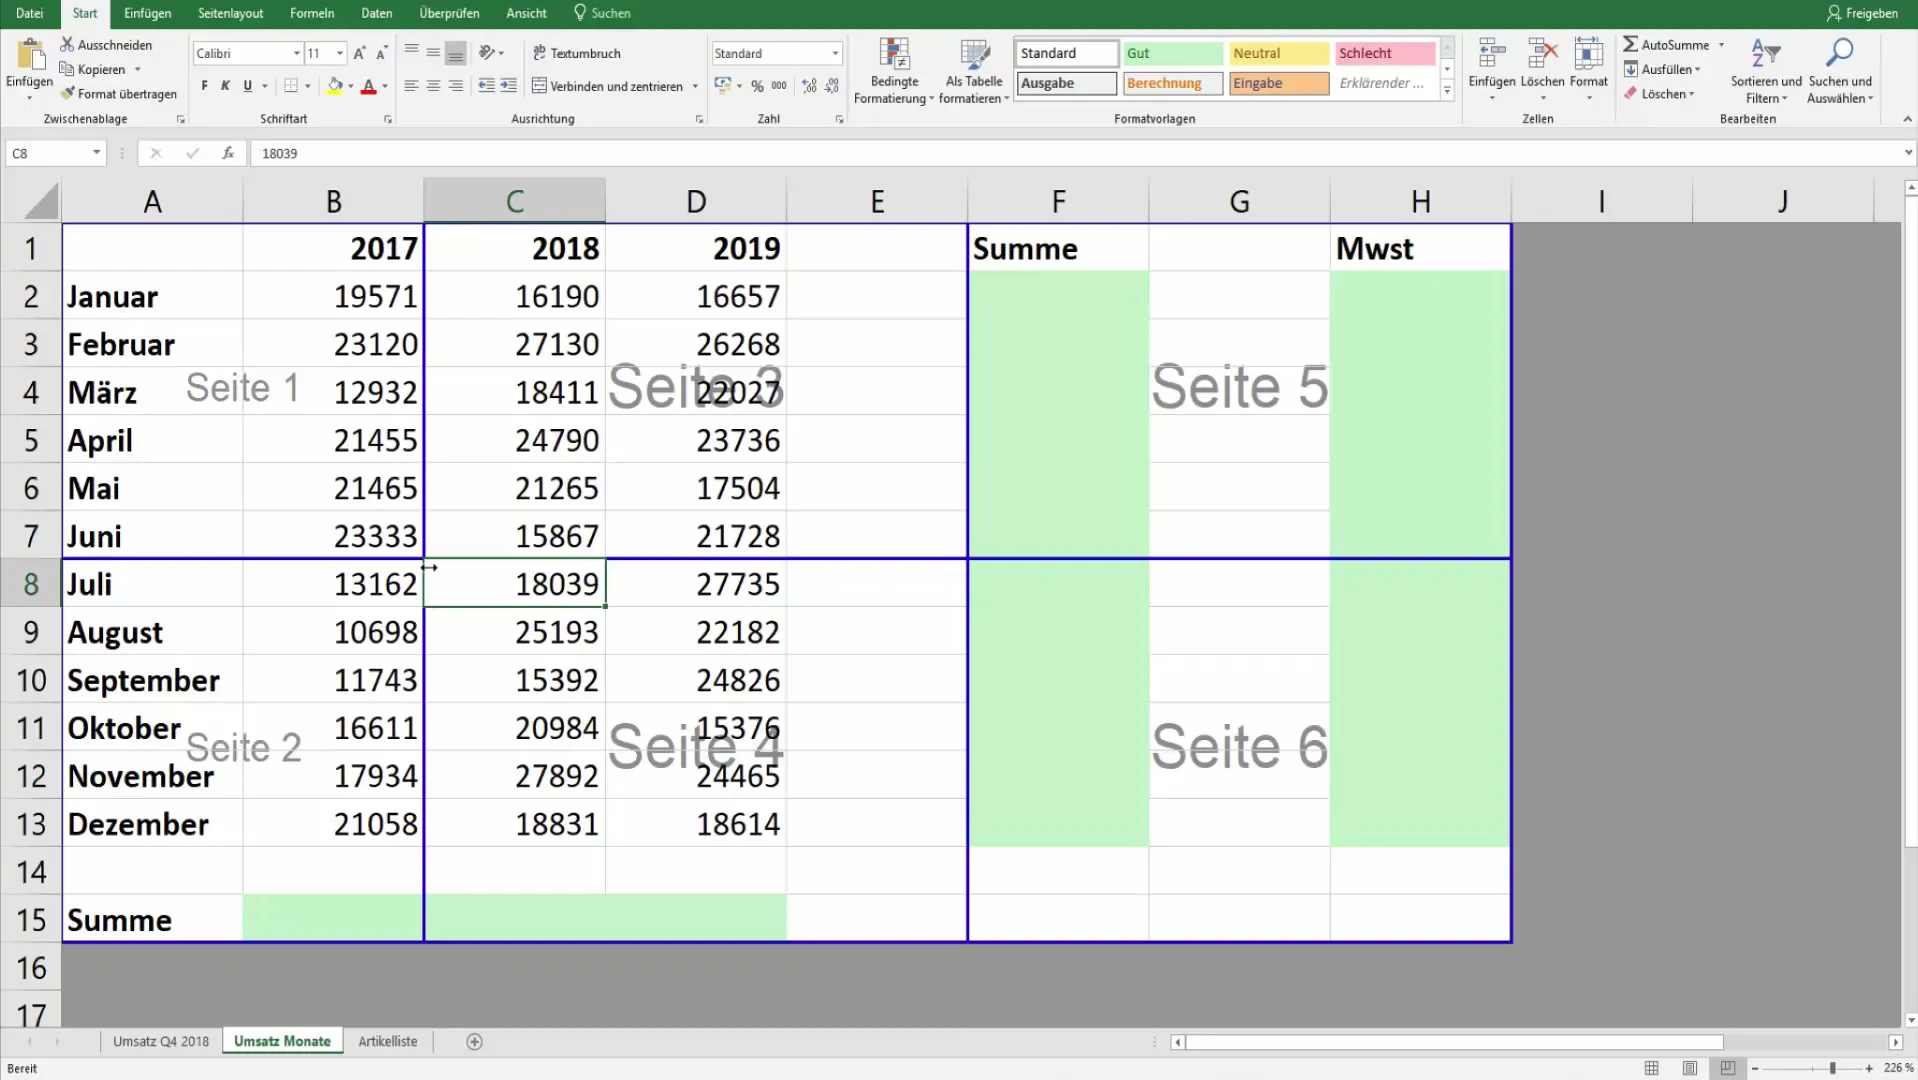
If you have added too many breaks, you can easily remove them. Simply drag the unnecessary break out or right-click on the break you want to remove and select the corresponding option. This way, you can keep track of your page breaks.
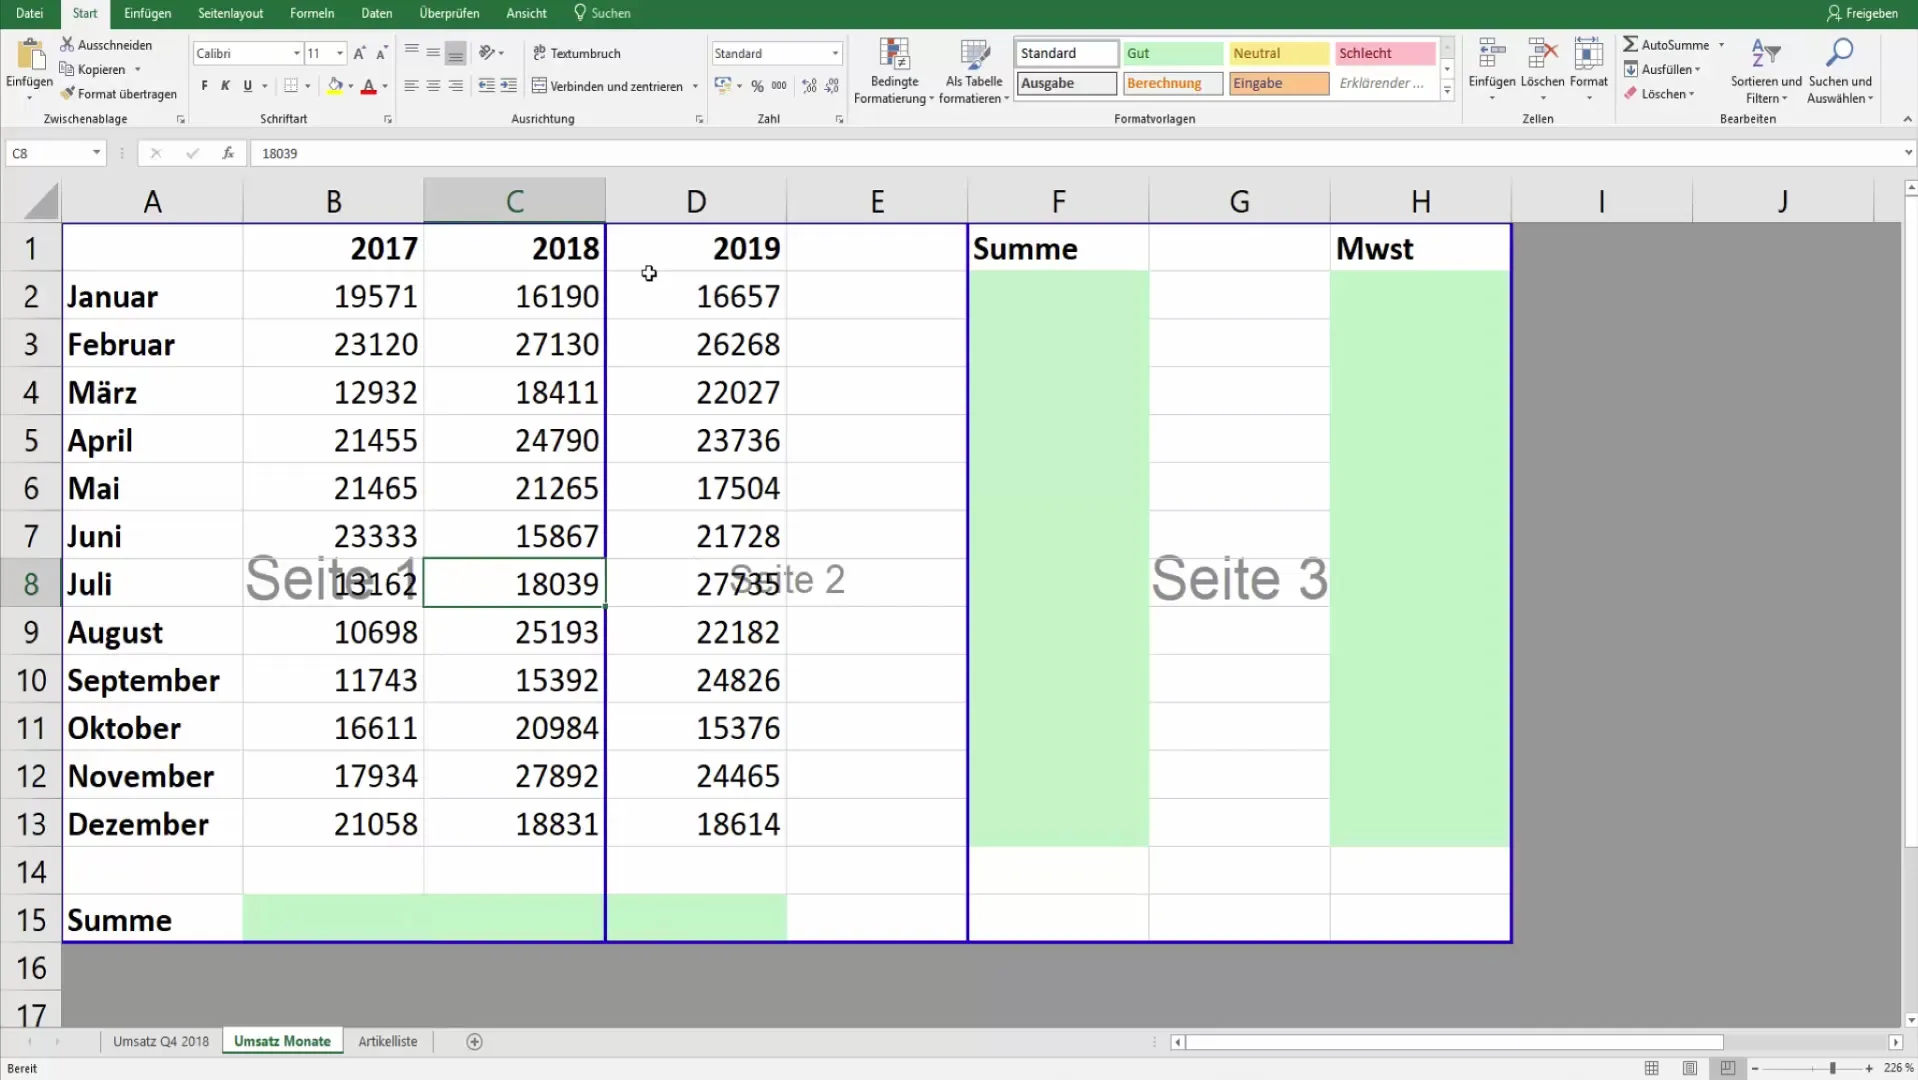
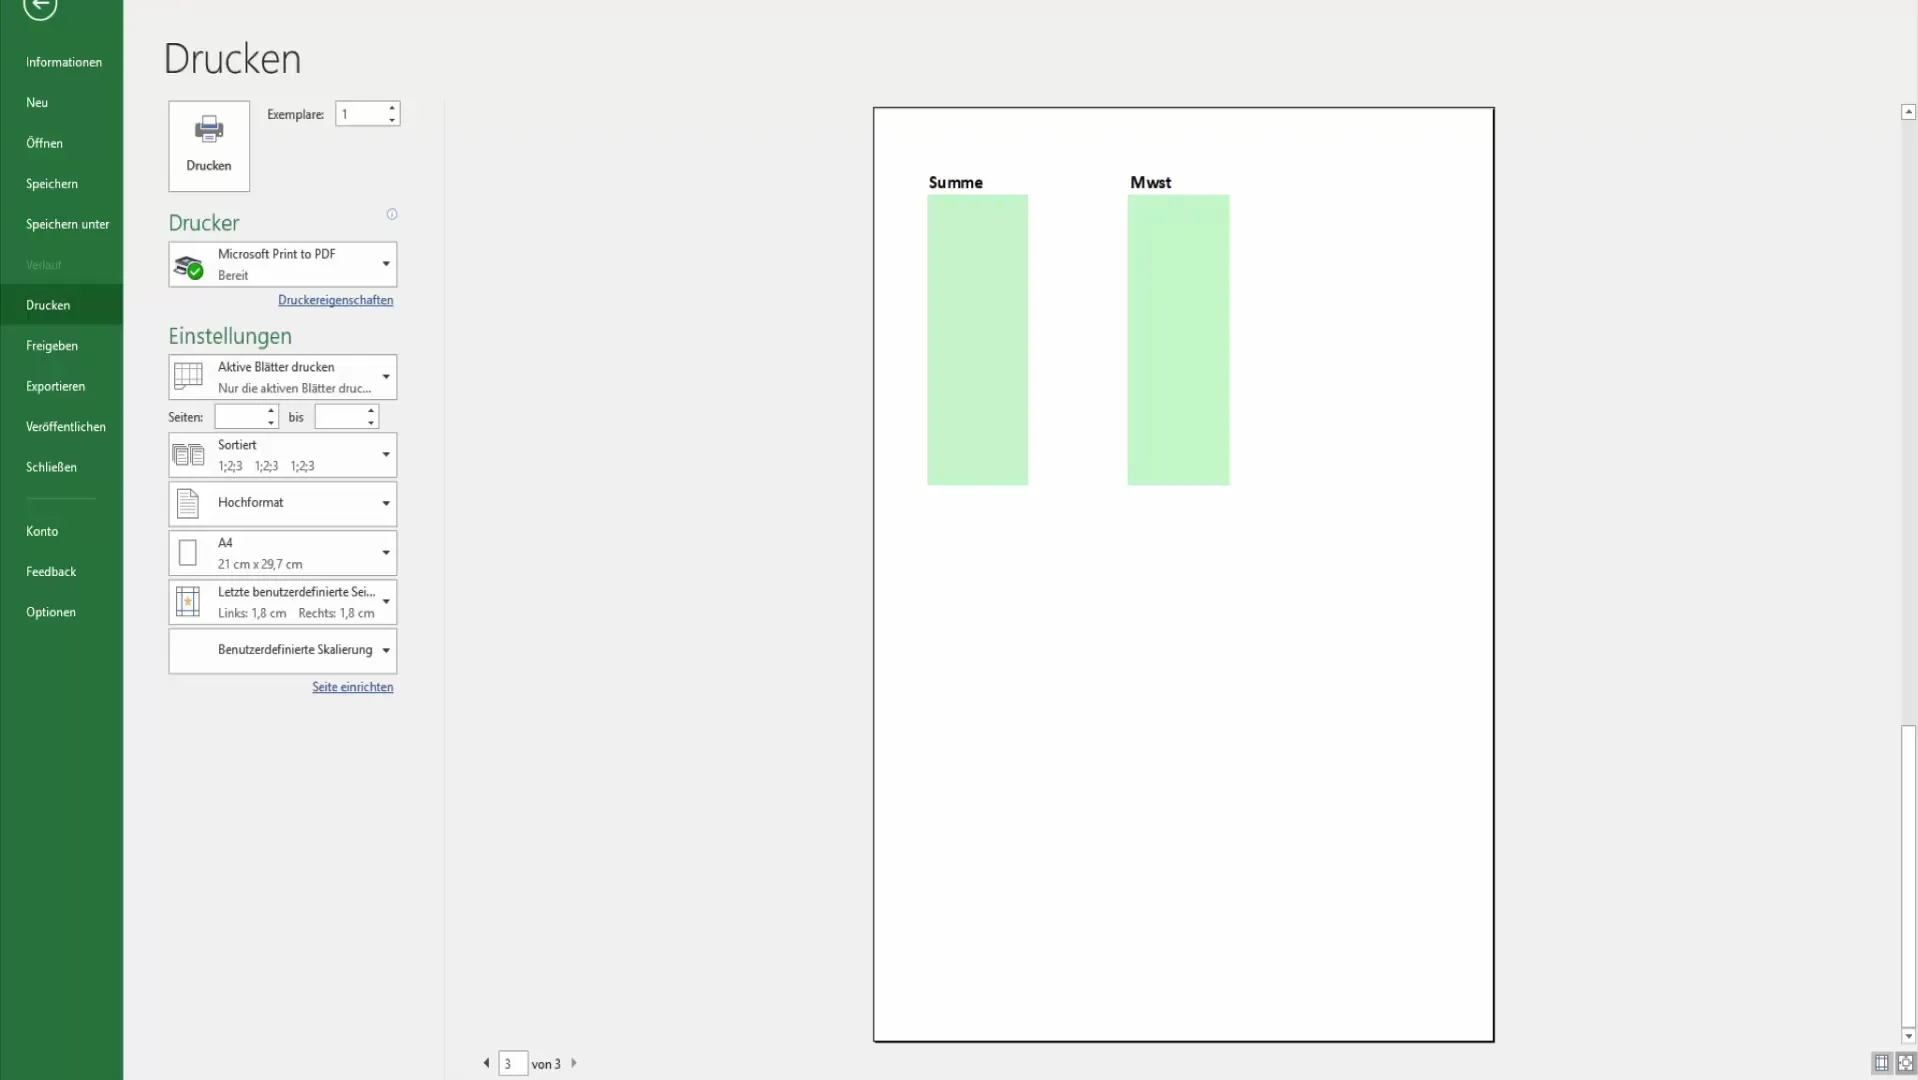
Once you have set the page breaks according to your preferences, you can review the print preview to ensure everything looks as desired. Go back to the "File" tab and select "Print." Here, you will see how the pages will be printed and can verify that your data appears on the correct pages.
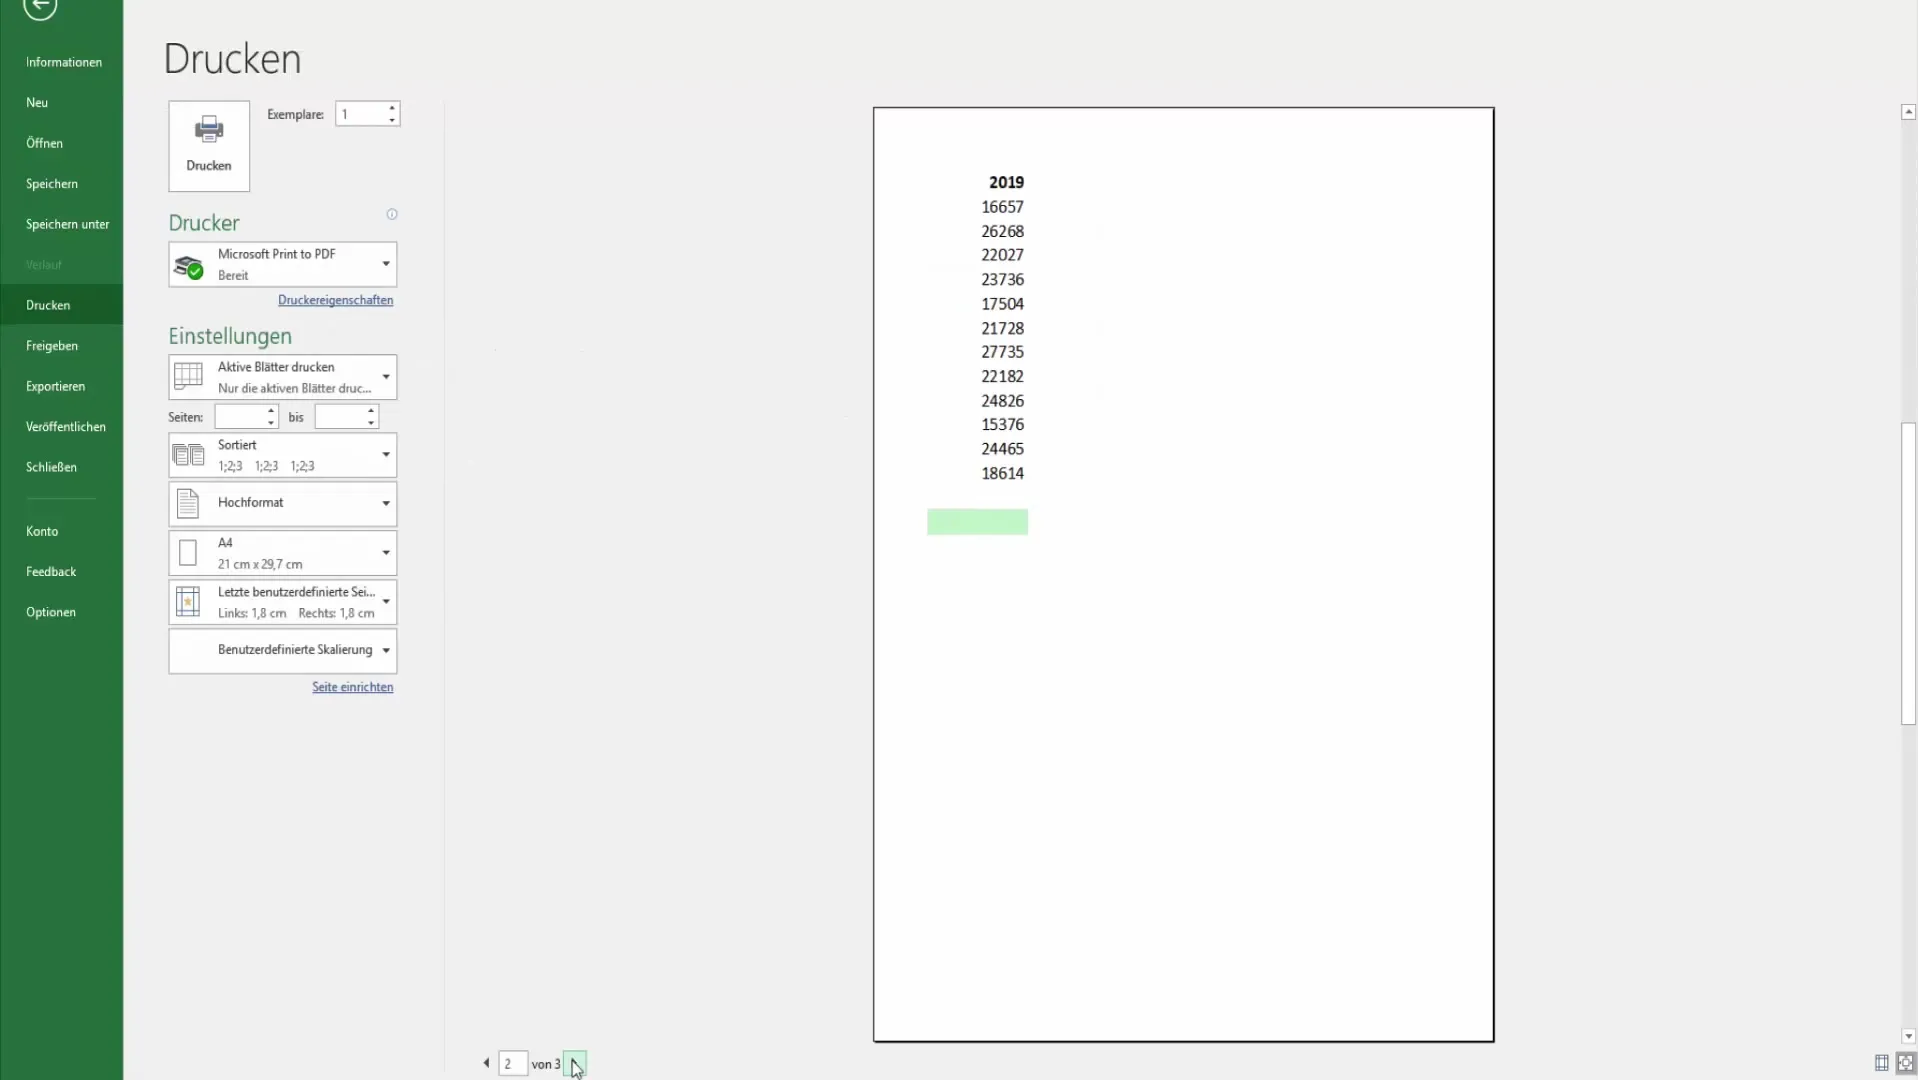
If everything looks good, you can proceed with the print job. By precisely setting the page breaks, you have control over the presentation of your data, ensuring that your report is legible and well-structured.
Summary
In this guide, you have learned how to insert manual page breaks in Excel to present your data in an optimal order when printing. Thoughtful arrangement of your data leads to an appealing print result.
Frequently Asked Questions
How do I insert a manual page break in Excel?Right-click at the desired location and select "Insert Page Break."
How can I remove an unnecessary page break?Simply drag the page break out or right-click on it and select "Remove Page Break."
Can I customize the page break preview?Yes, you can adjust the size of the view while using the page break preview to better visualize different breaks.
How can I ensure that my page breaks are correctly set?Check the print preview under the "File" tab to see how the pages will be printed.
